Summer 2024: Building Blocks, Woodworking, and Family Fun!
Summer’s here and school’s out! Even while our Craft in Schools program takes a short summer break, our Craft in America Center team is hosting all kinds of eclectic crafting workshops, artist-musician events, and talks – not to be missed!
Drop-In Fun: Summer ‘24 Family Activity Sheets
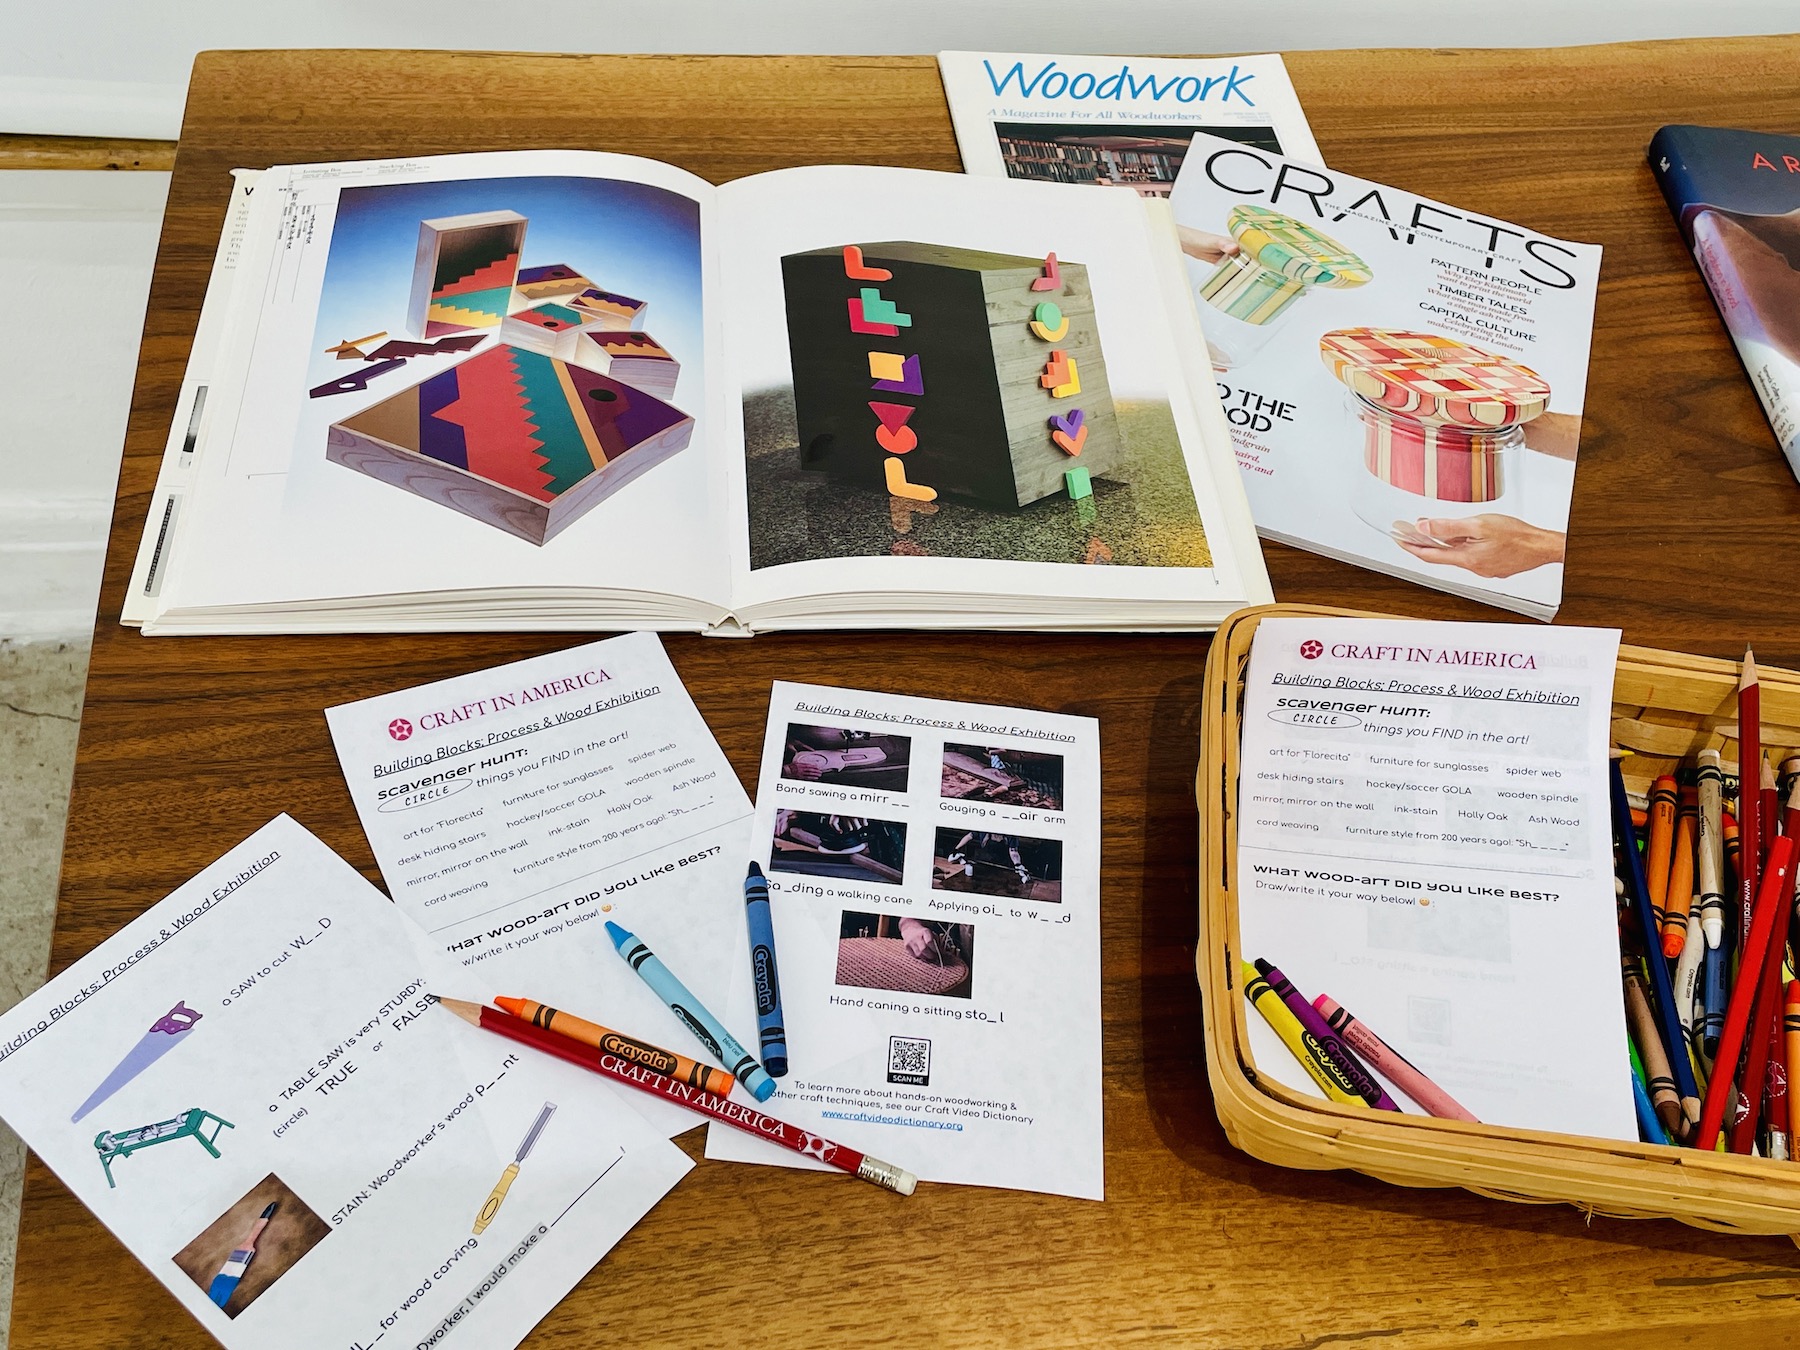
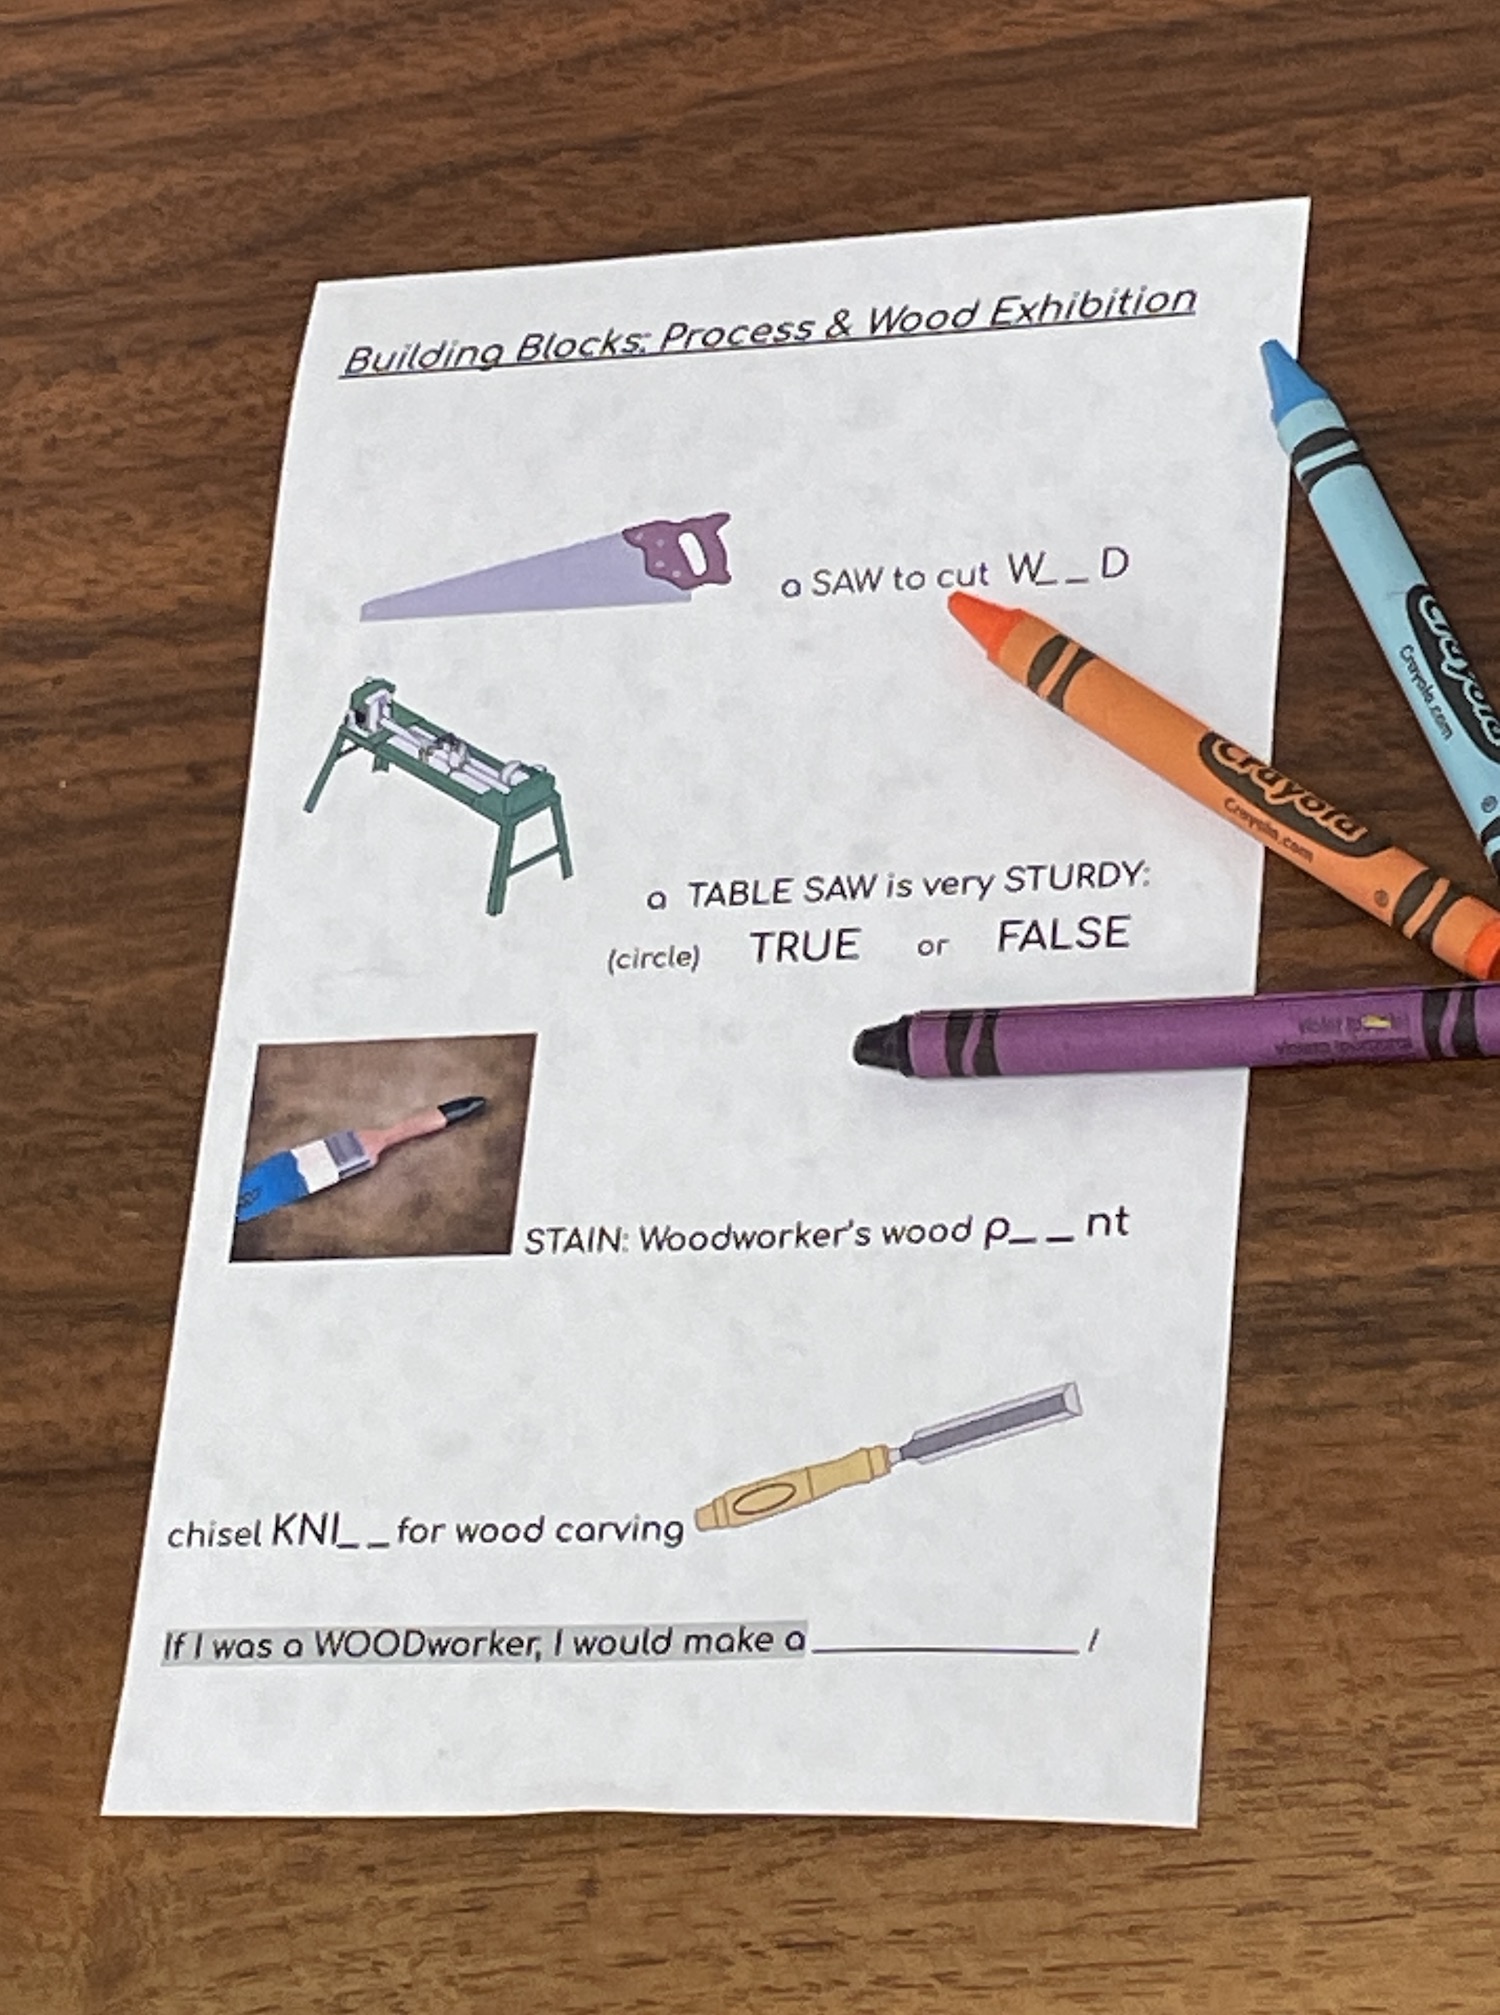
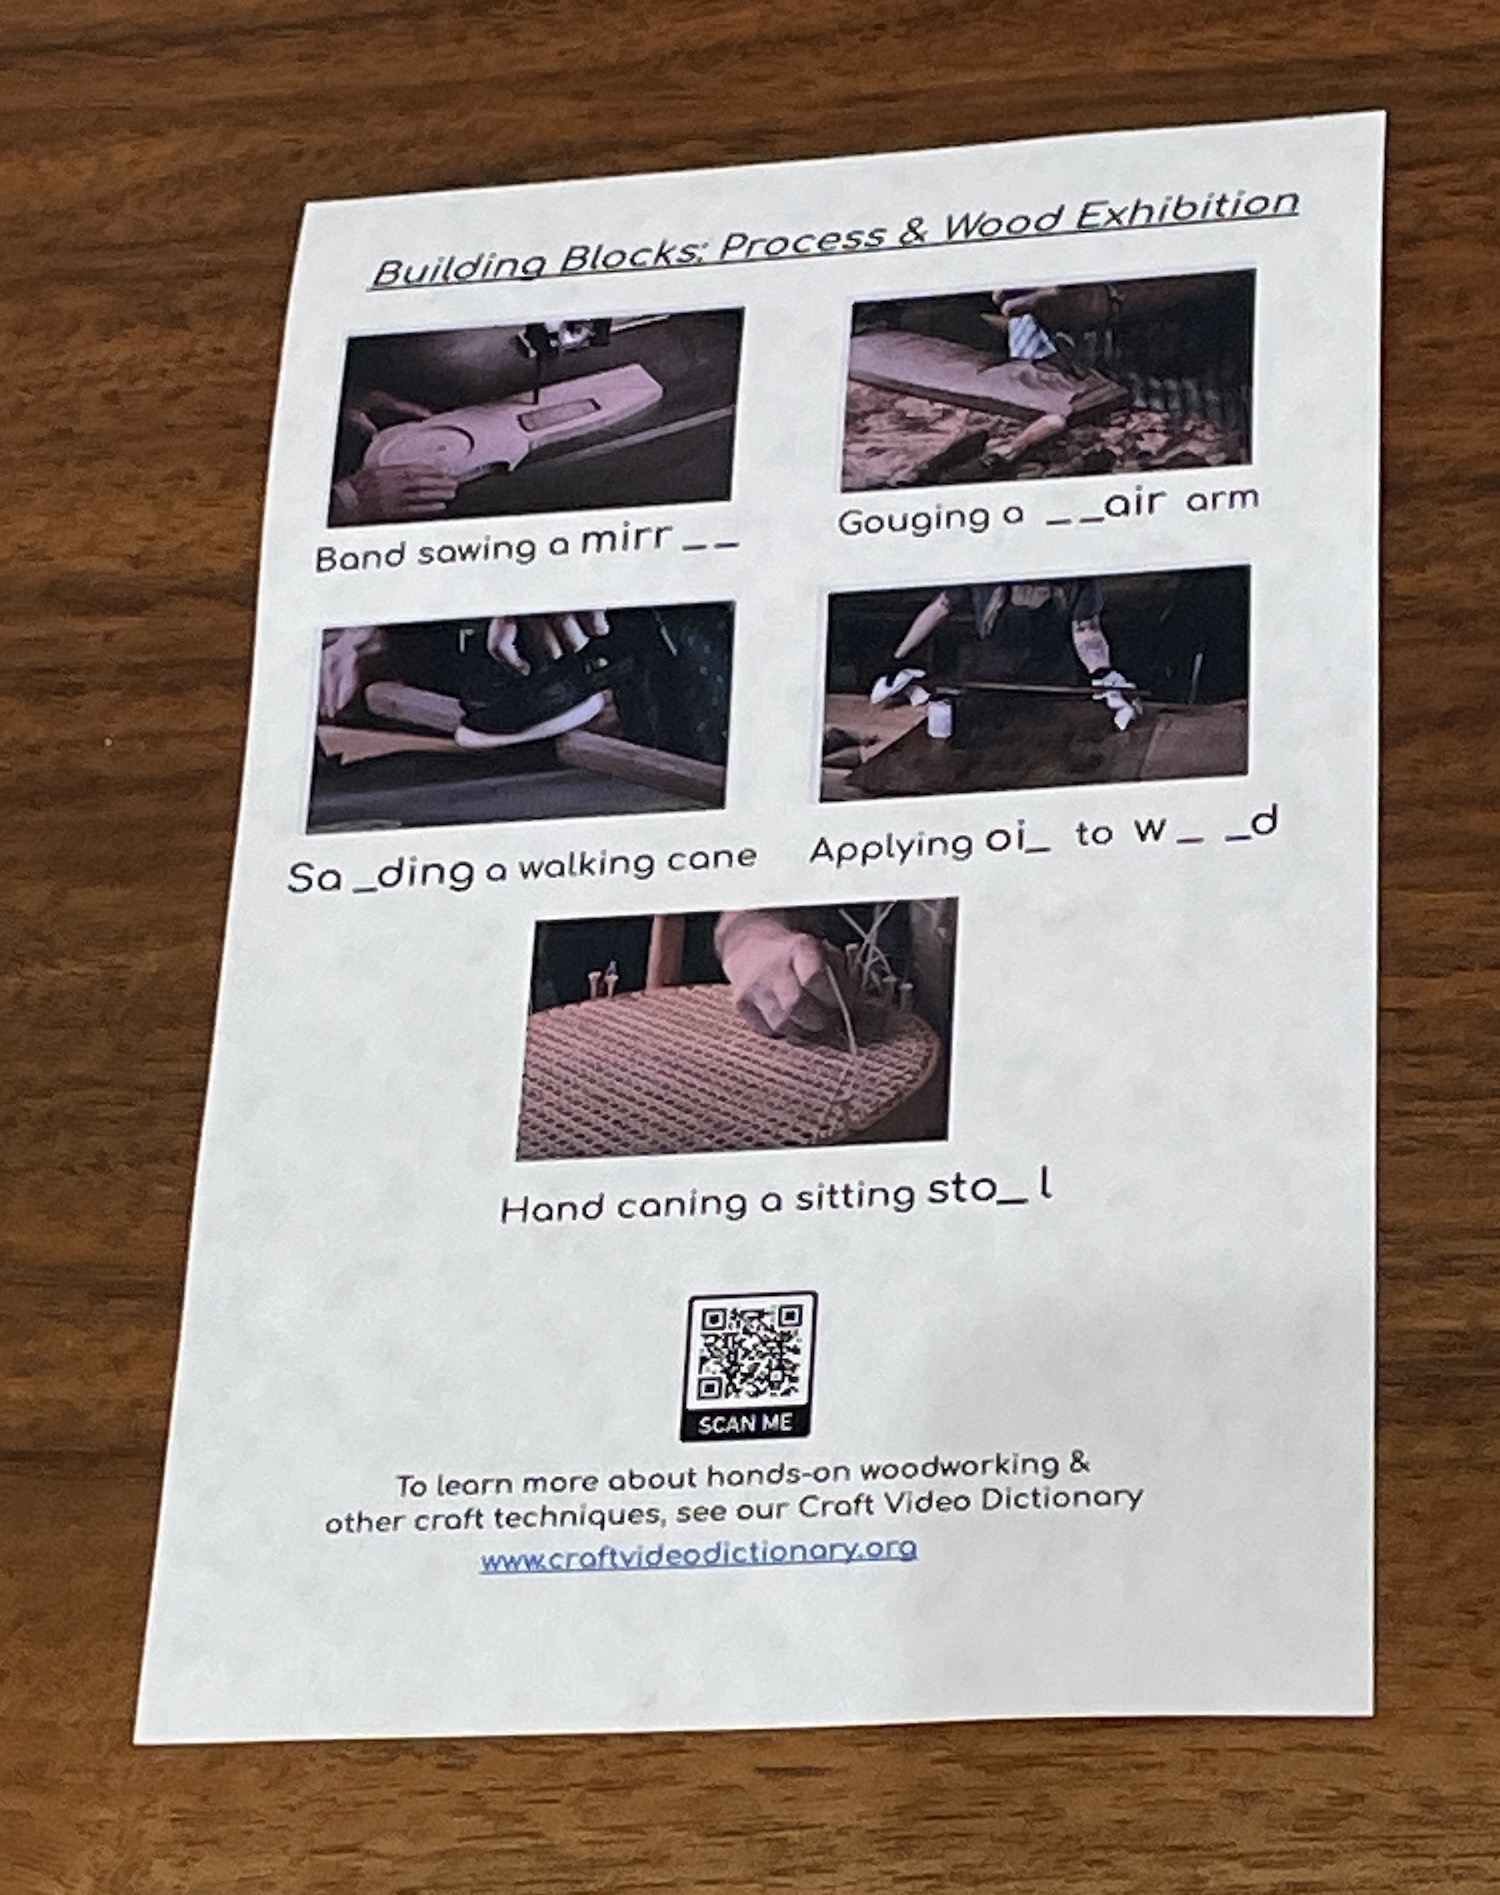
We welcome young creatives, their friends and families to come enjoy our AC alongside this summer’s Building Blocks: Process & Wood exhibition (all free of charge). We’re excited to host some creative and fun activities, suitable for youth ages preK-8th grade; with past times that will entertain young visitors with (pictured below):
- a drawing/coloring station
- a playful scavenger-hunt through our exhibition
- an intro to woodworking ideas
- short technique-video clips on how craft artists make their art in studios
- & small surprise prizes!
For more explorative crafters and learners, we encourage taking an inspirational dive into our PBS Craft in America docuseries: full episodes, and artist storytelling shorts. In between summer adventures and much needed rest ~ we hope you’ll drop by and connect with us soon!
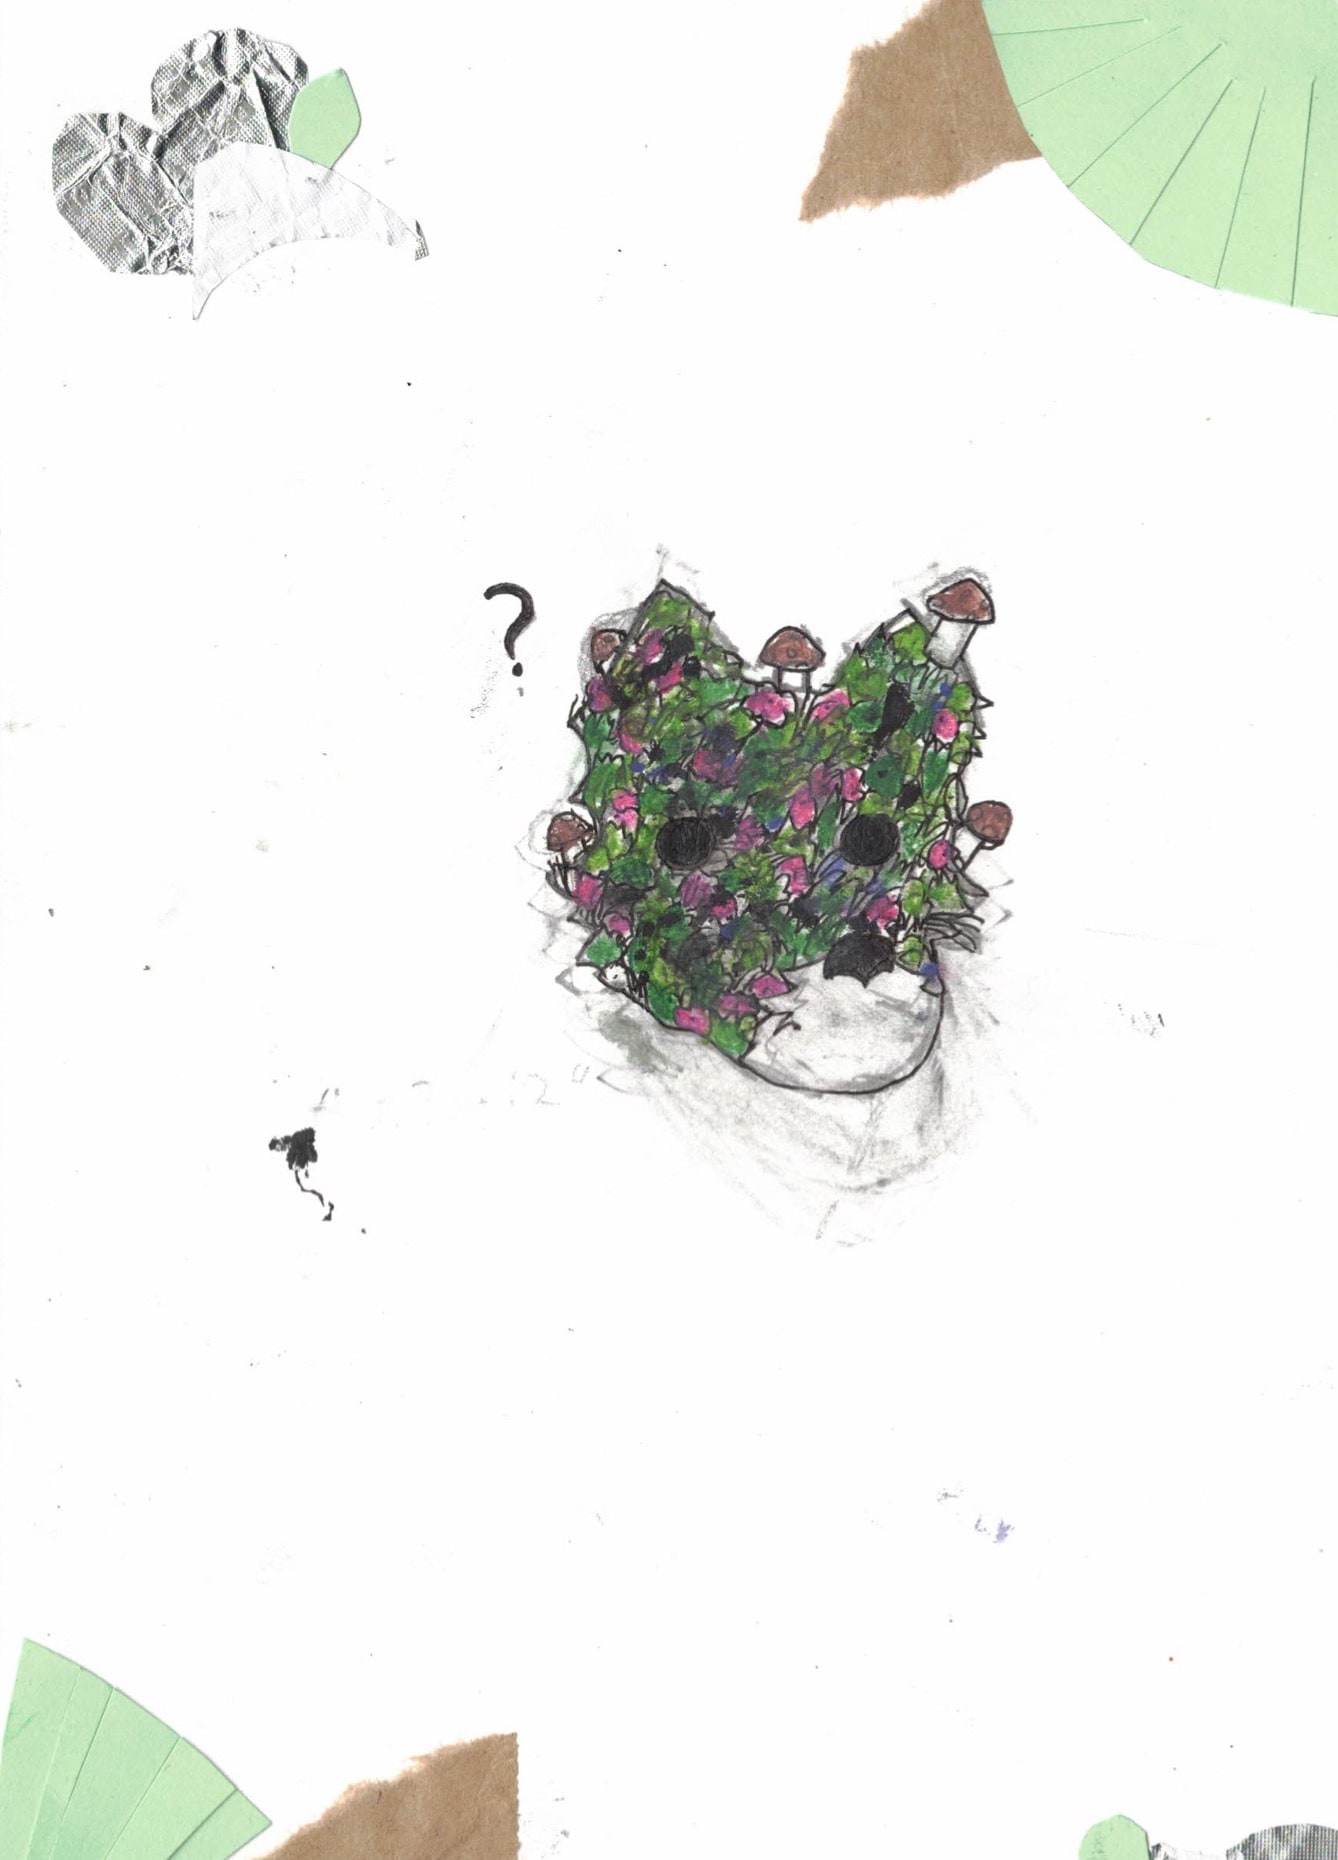
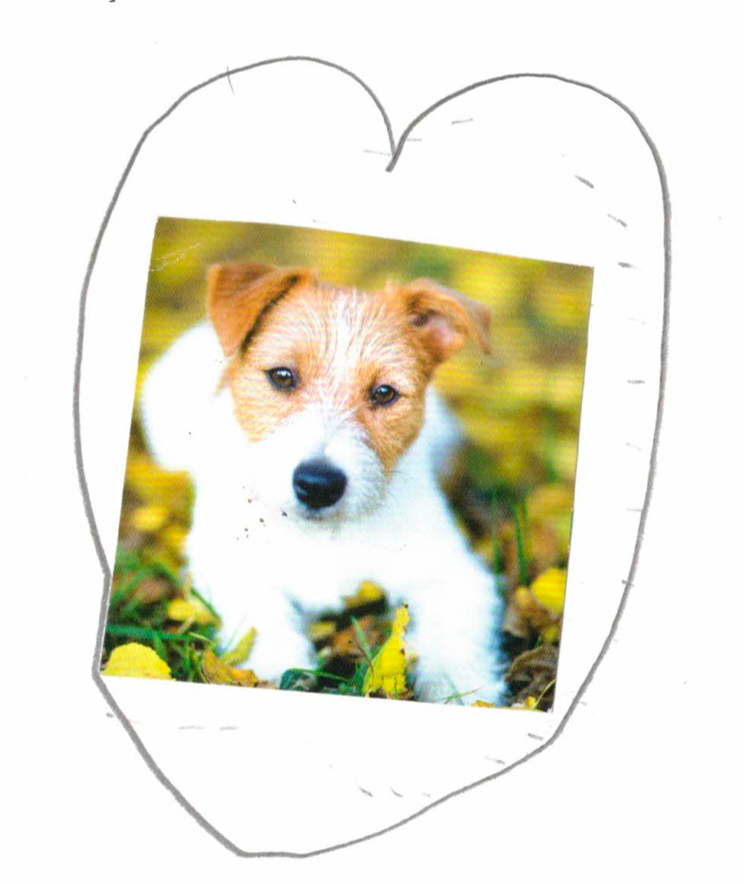
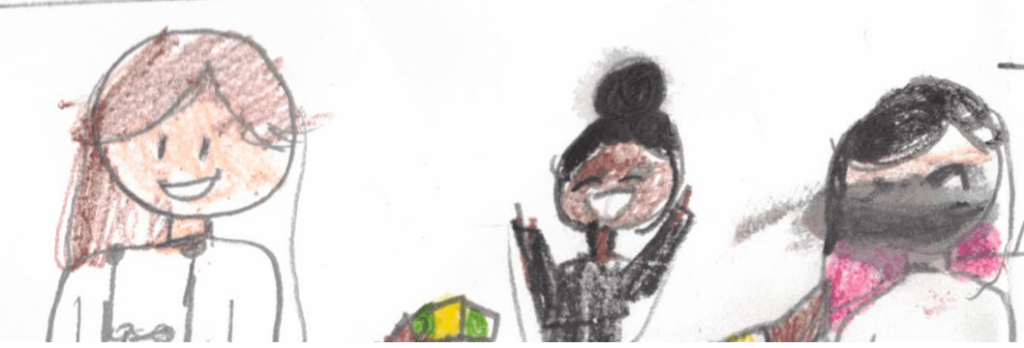
Happy Earth Day! Art from Craft in Schools 4th graders and Calder Kamin
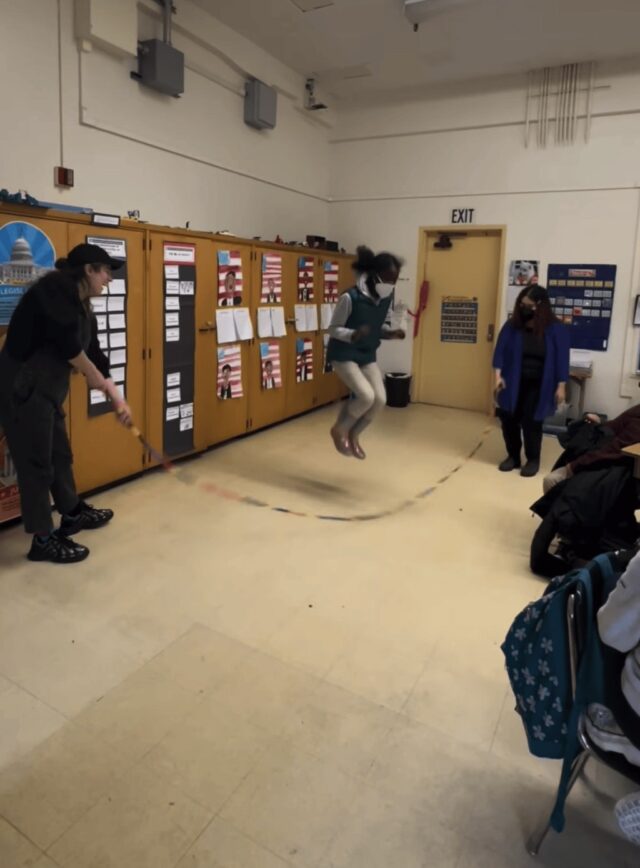
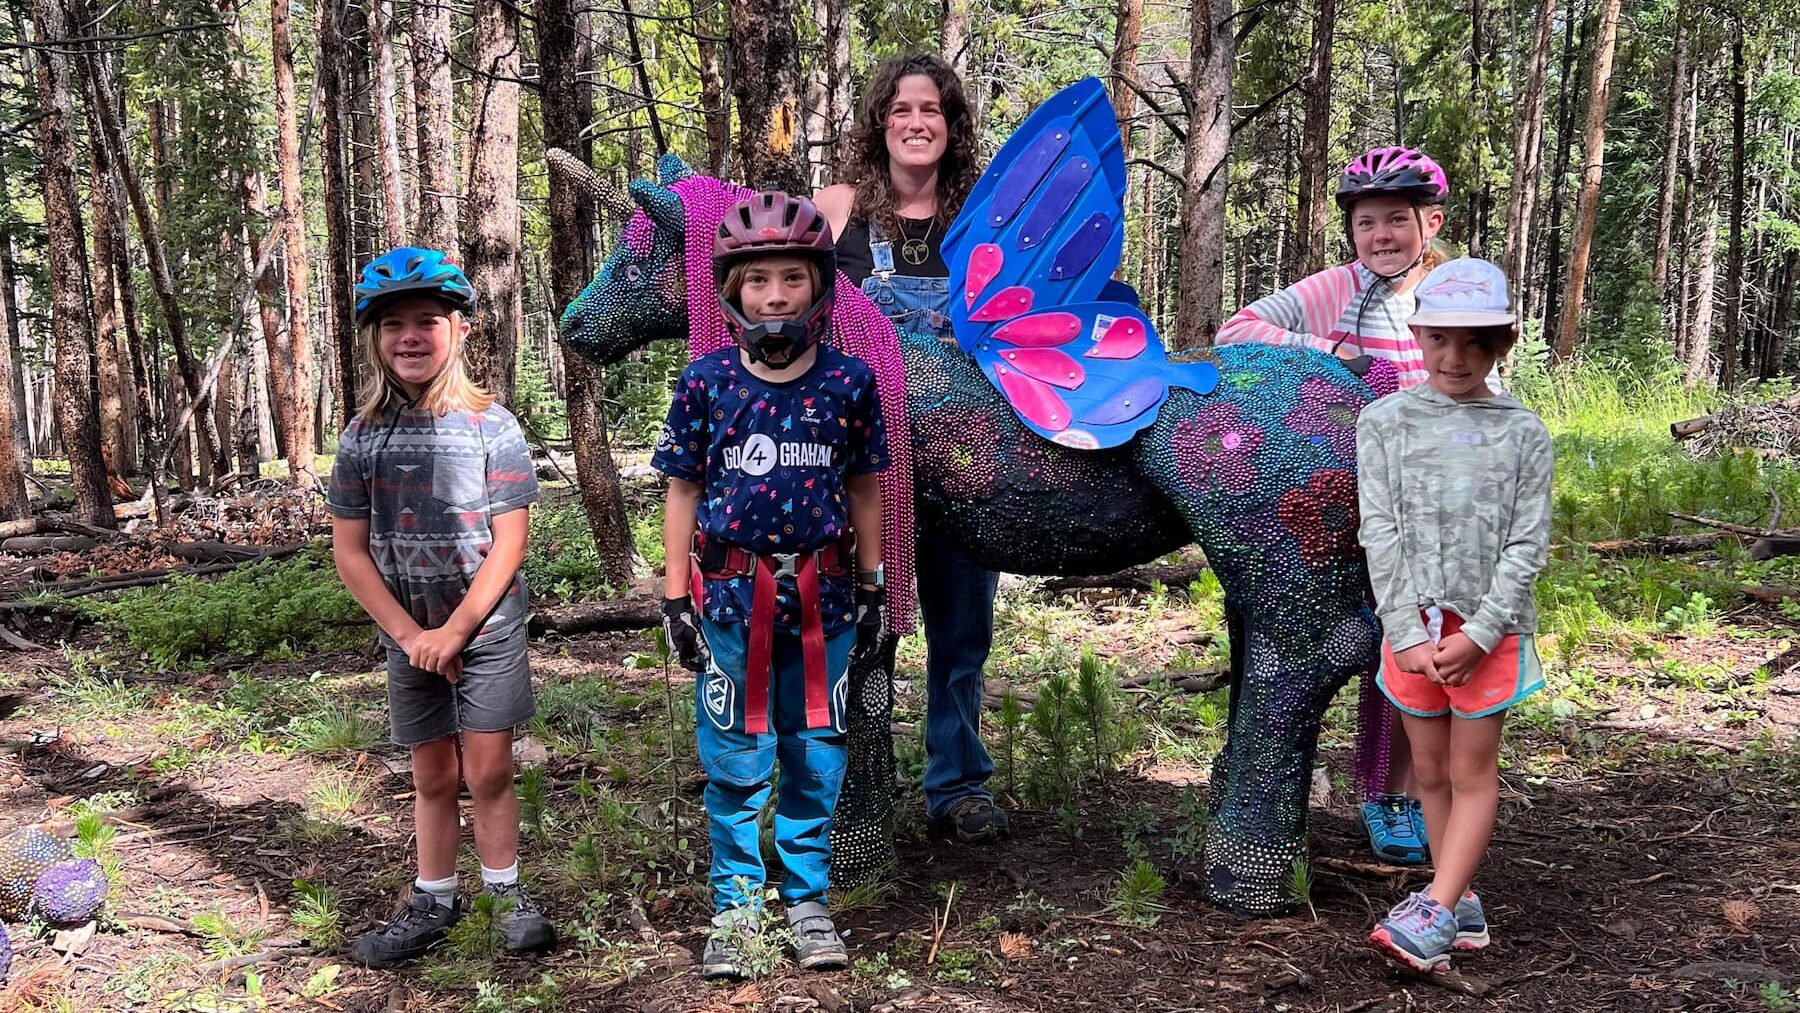
Earth day is just a few days away! Our Craft in Schools program had a blast hosting reclaimed/reuse artist and sustainability advocate Calder Kamin for our Winter field trips. Our young, neighborhood artists from Mrs. Dror’s Rosewood Elementary 4th grade class were especially inspired by Calder’s work, artist conversations, and reclaimed-art hands on projects. As a group we repurposed marker caps to create a vibrant jump rope (photo at very end, below).
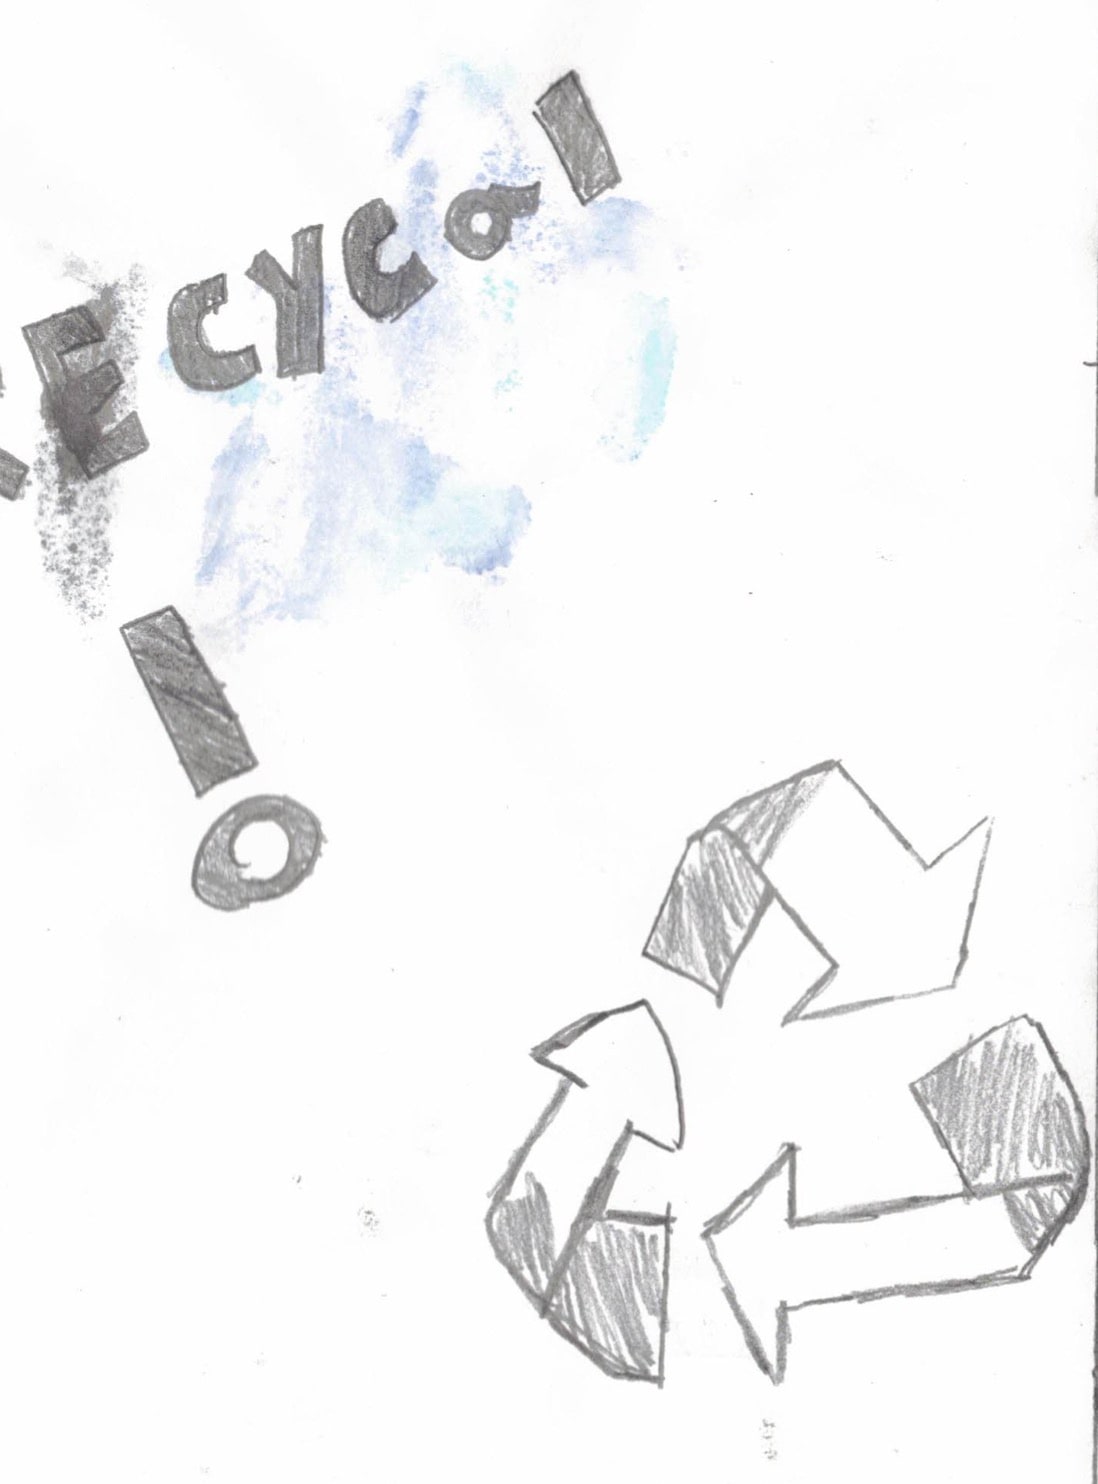
These 4th graders related to Calder’s message of ecological stewardship and environmental values. Calder shared her artist’s journey and ethos for using recyclable materials to address and reduce waste problems through her art residencies. We had lively classroom conversations around the recurring theme of transforming the human made problem of waste into art– because “nature never wastes, that’s why I(Calder) reuse!” In turn, these 4th graders shared about their student-led recycling club and how they repurpose everyday objects for creative and inventive projects. Environmental care and creativity~ what fun!
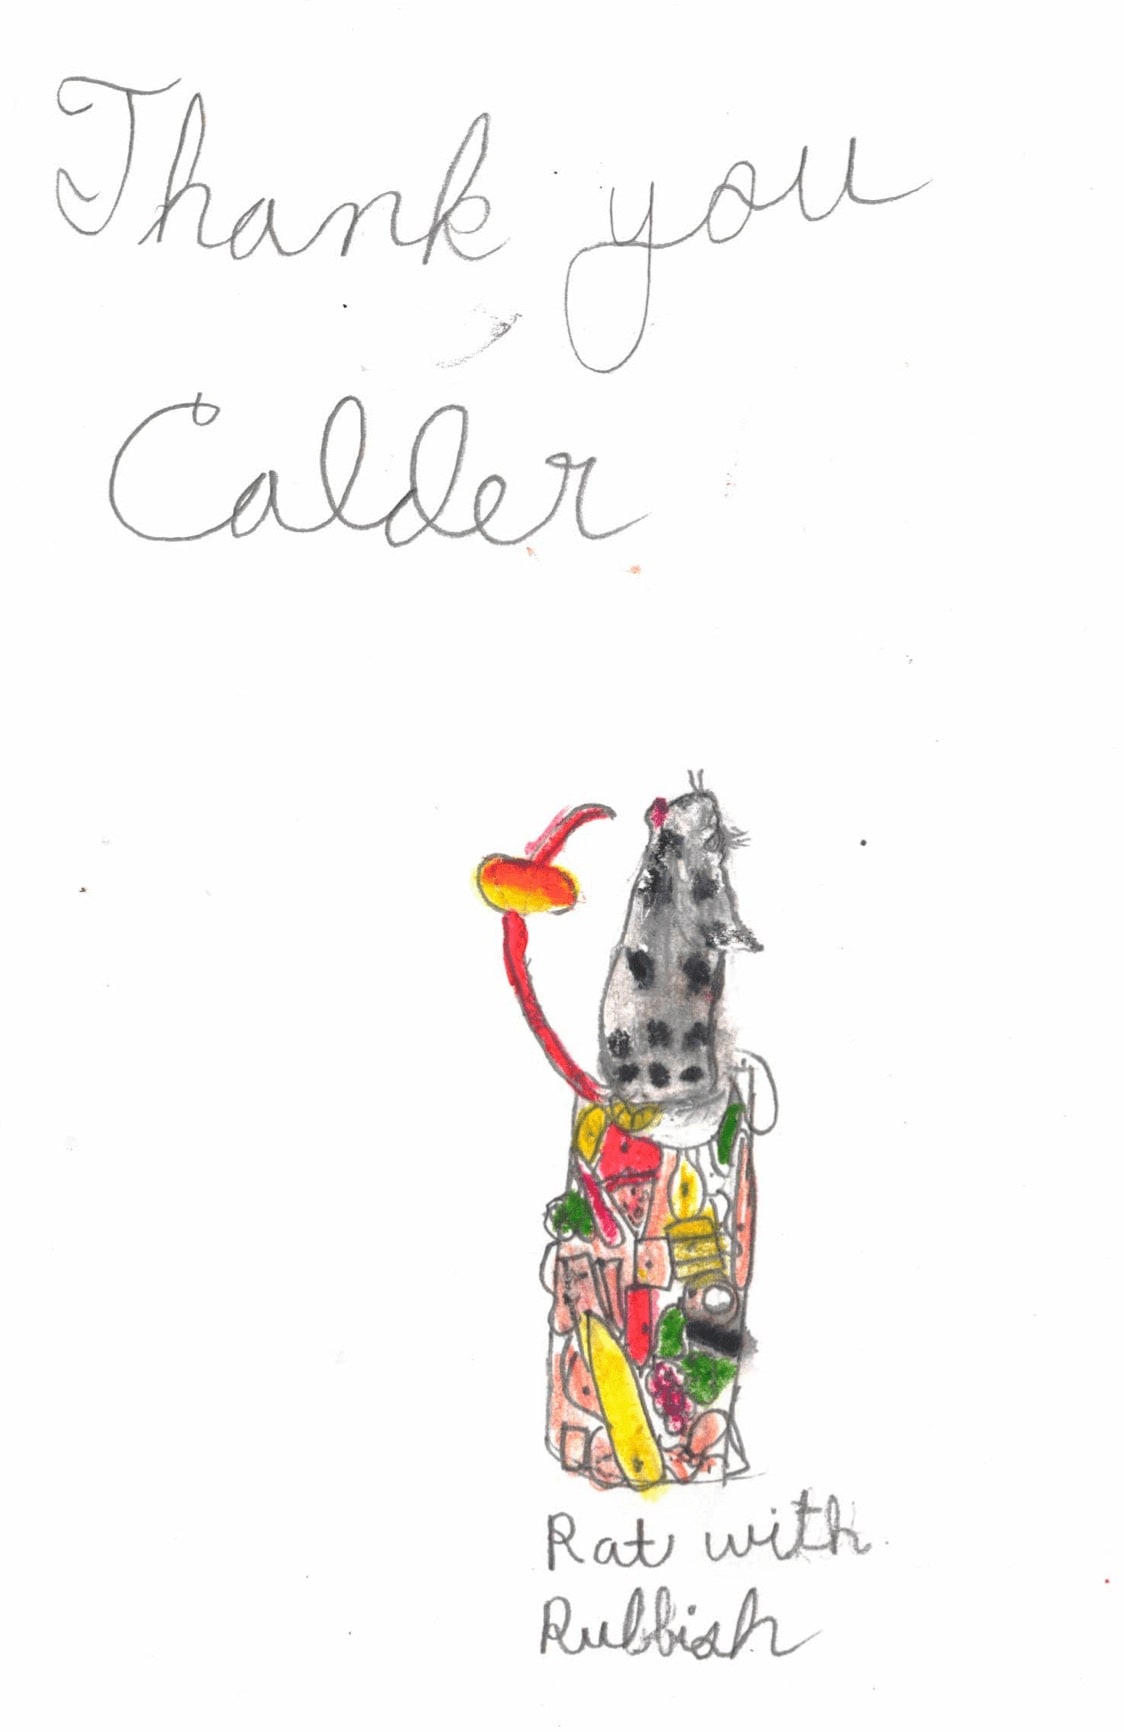
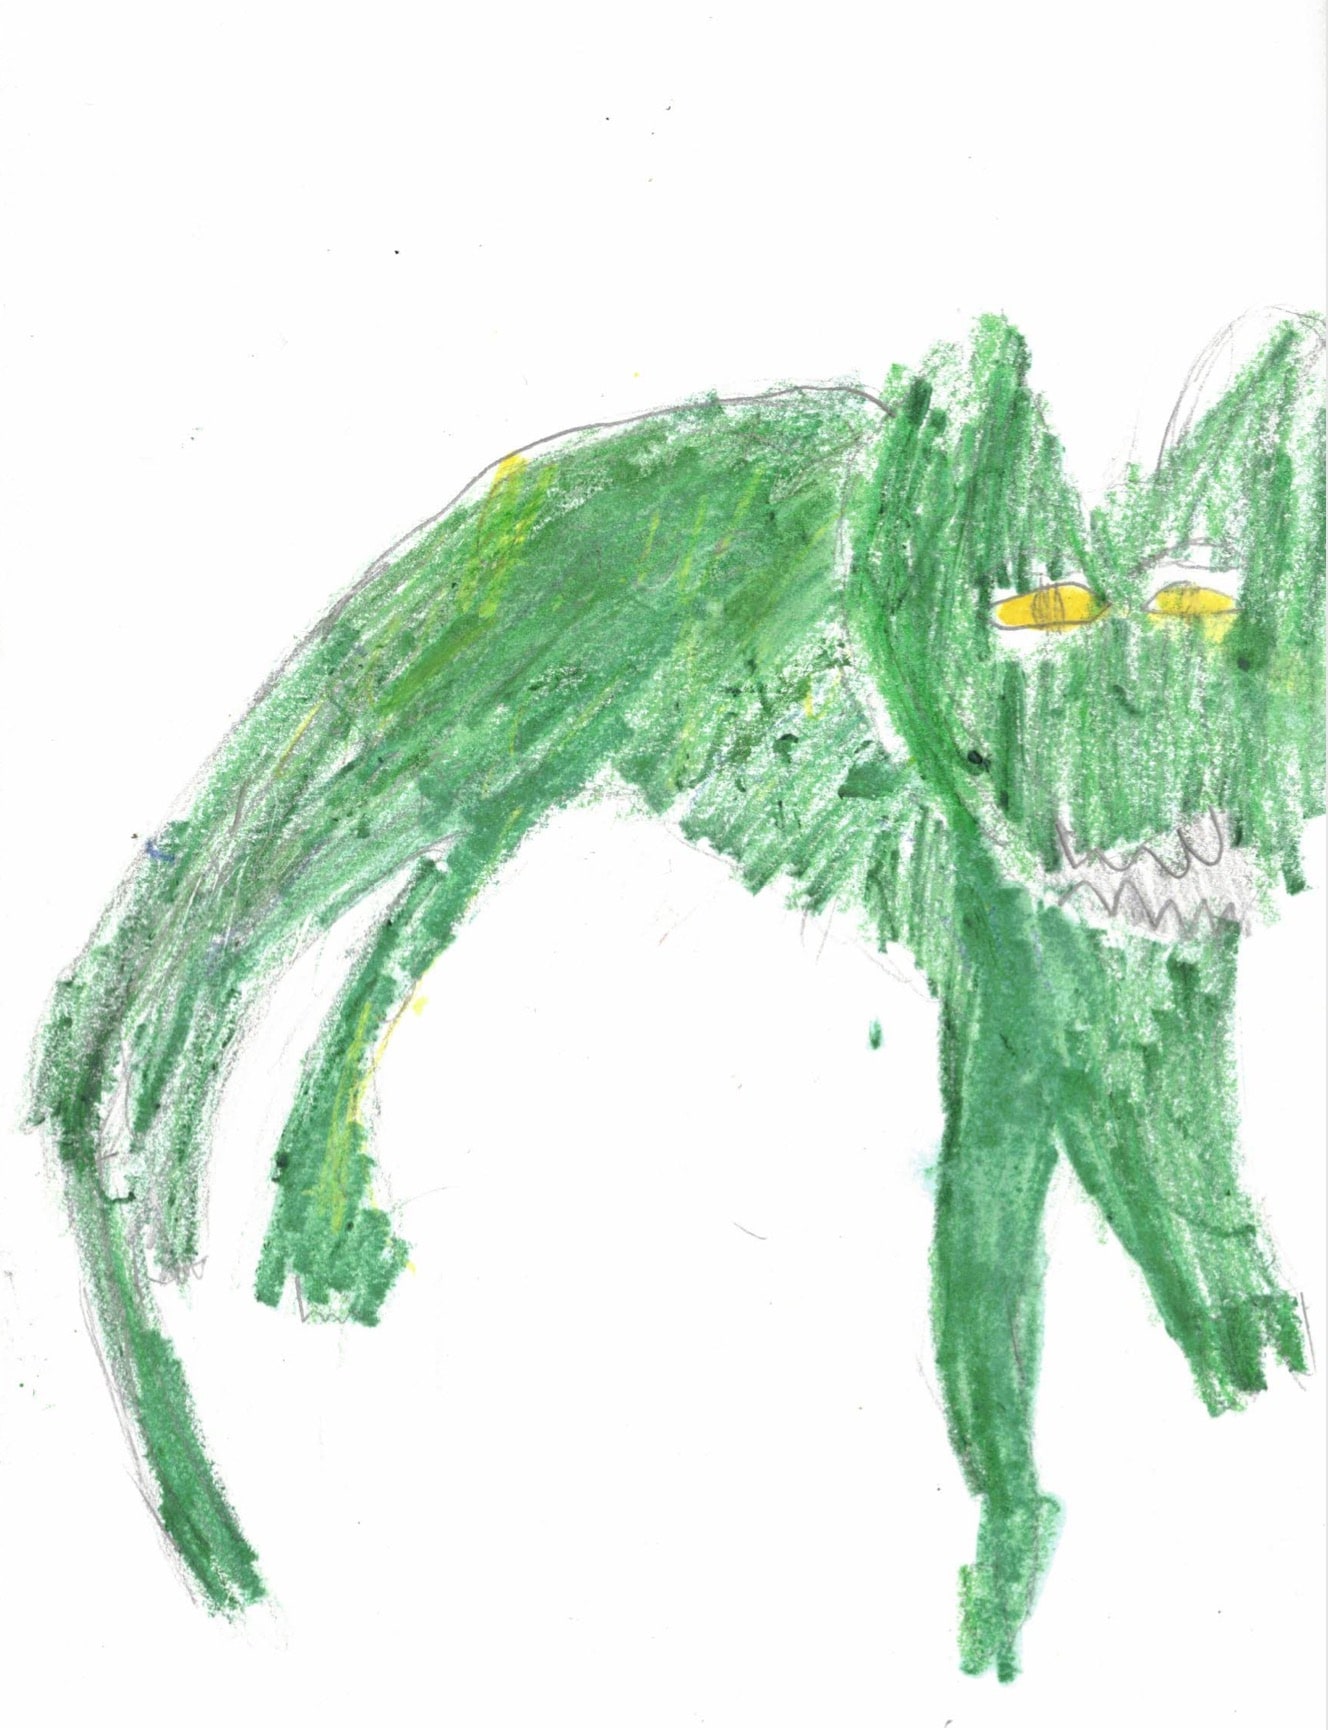
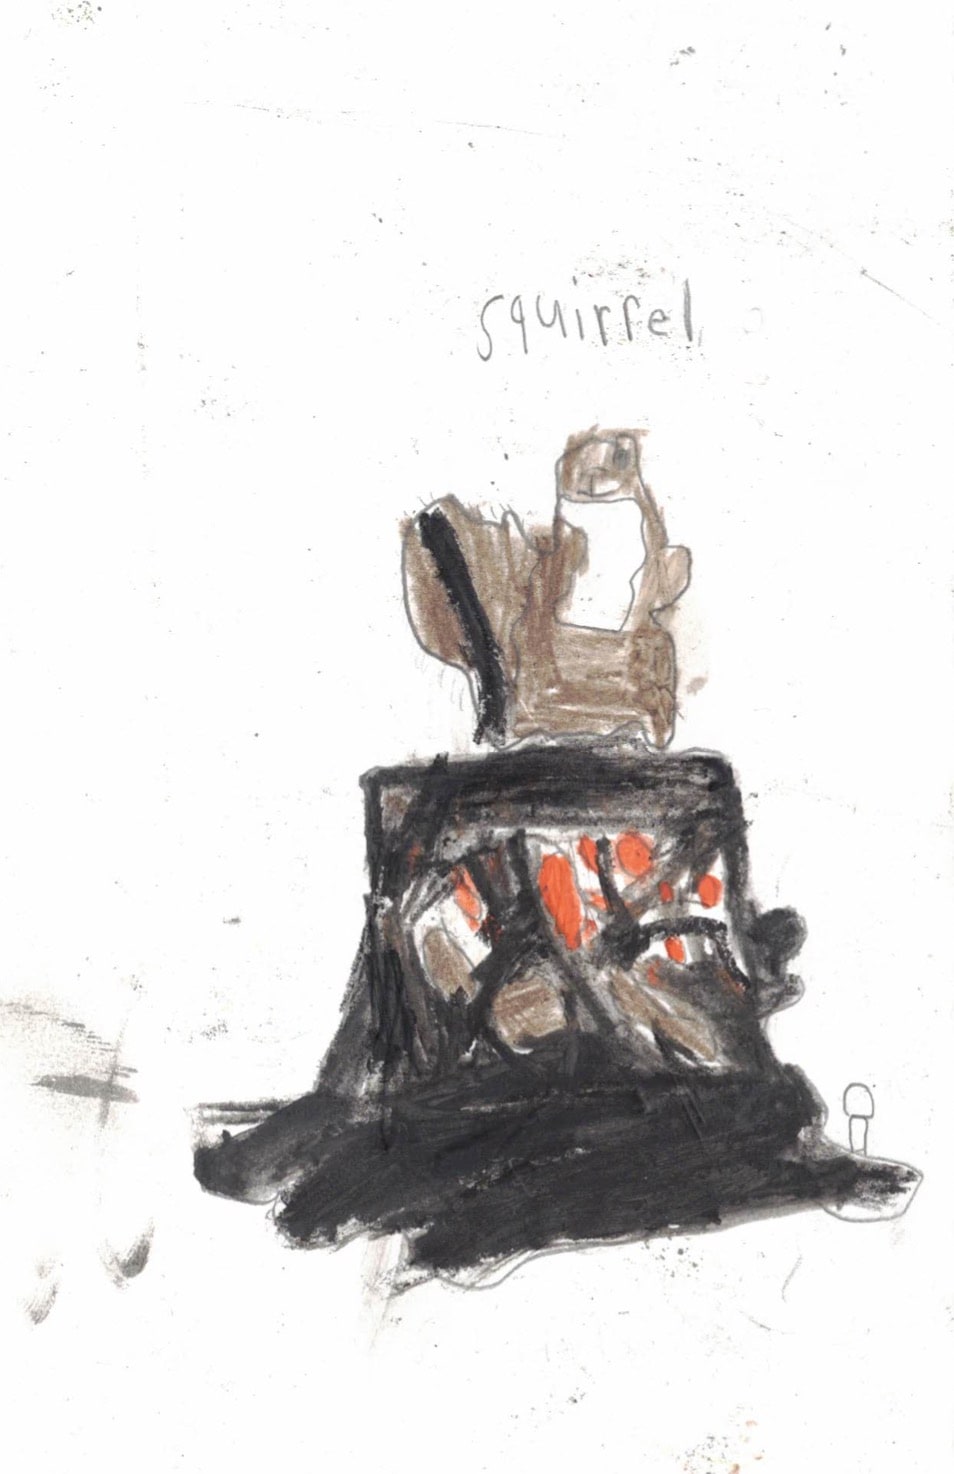
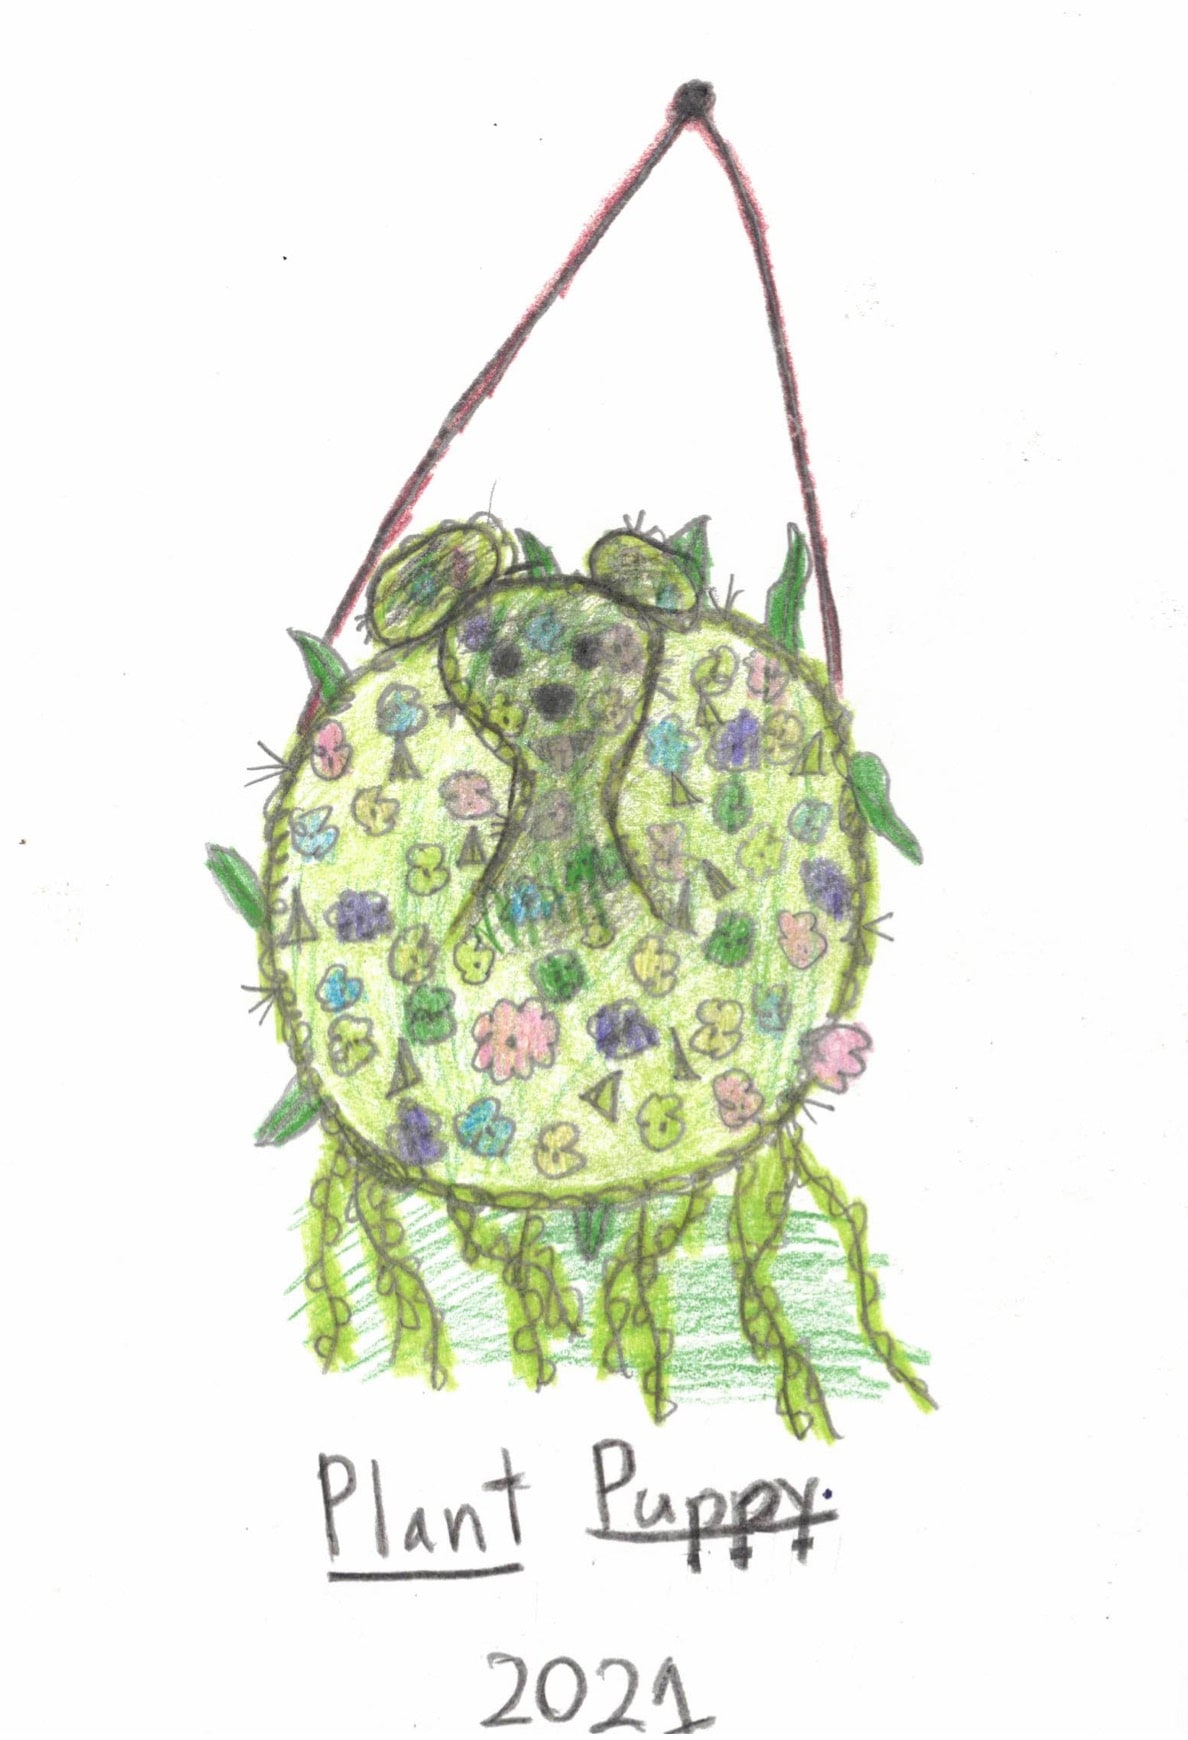
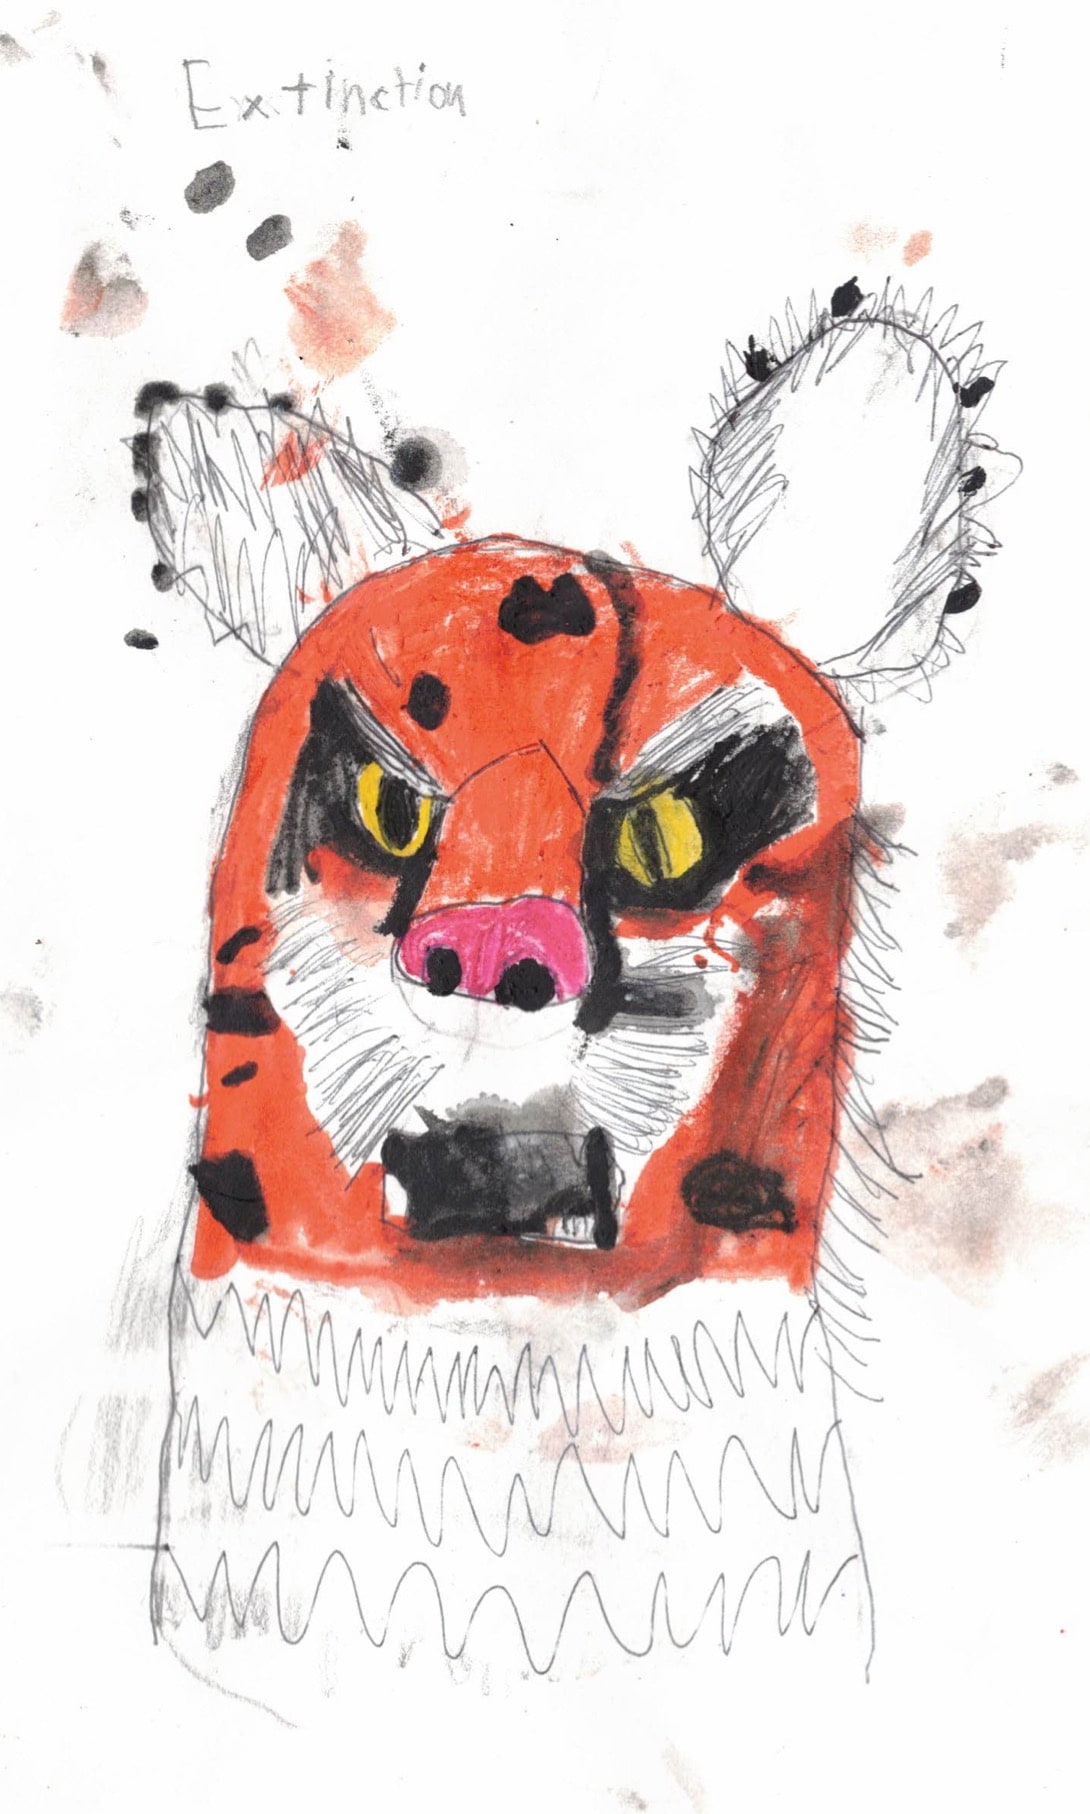
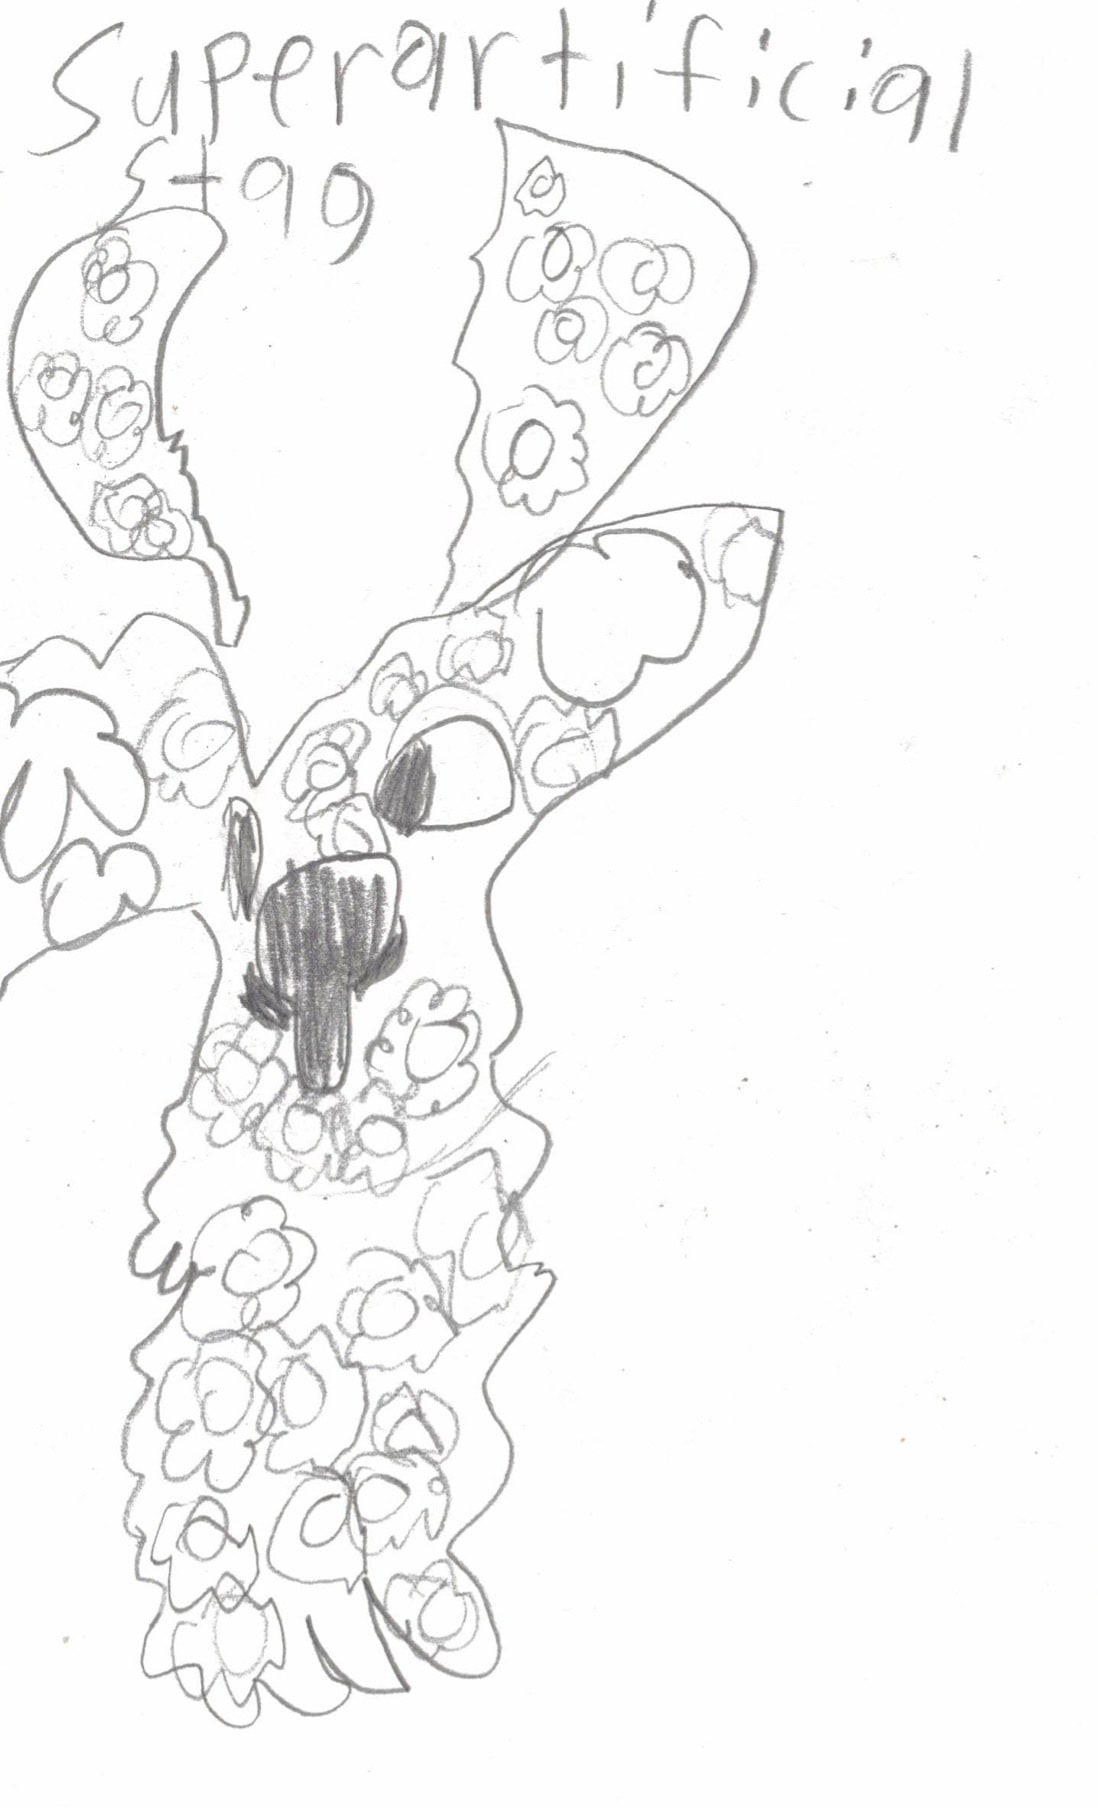
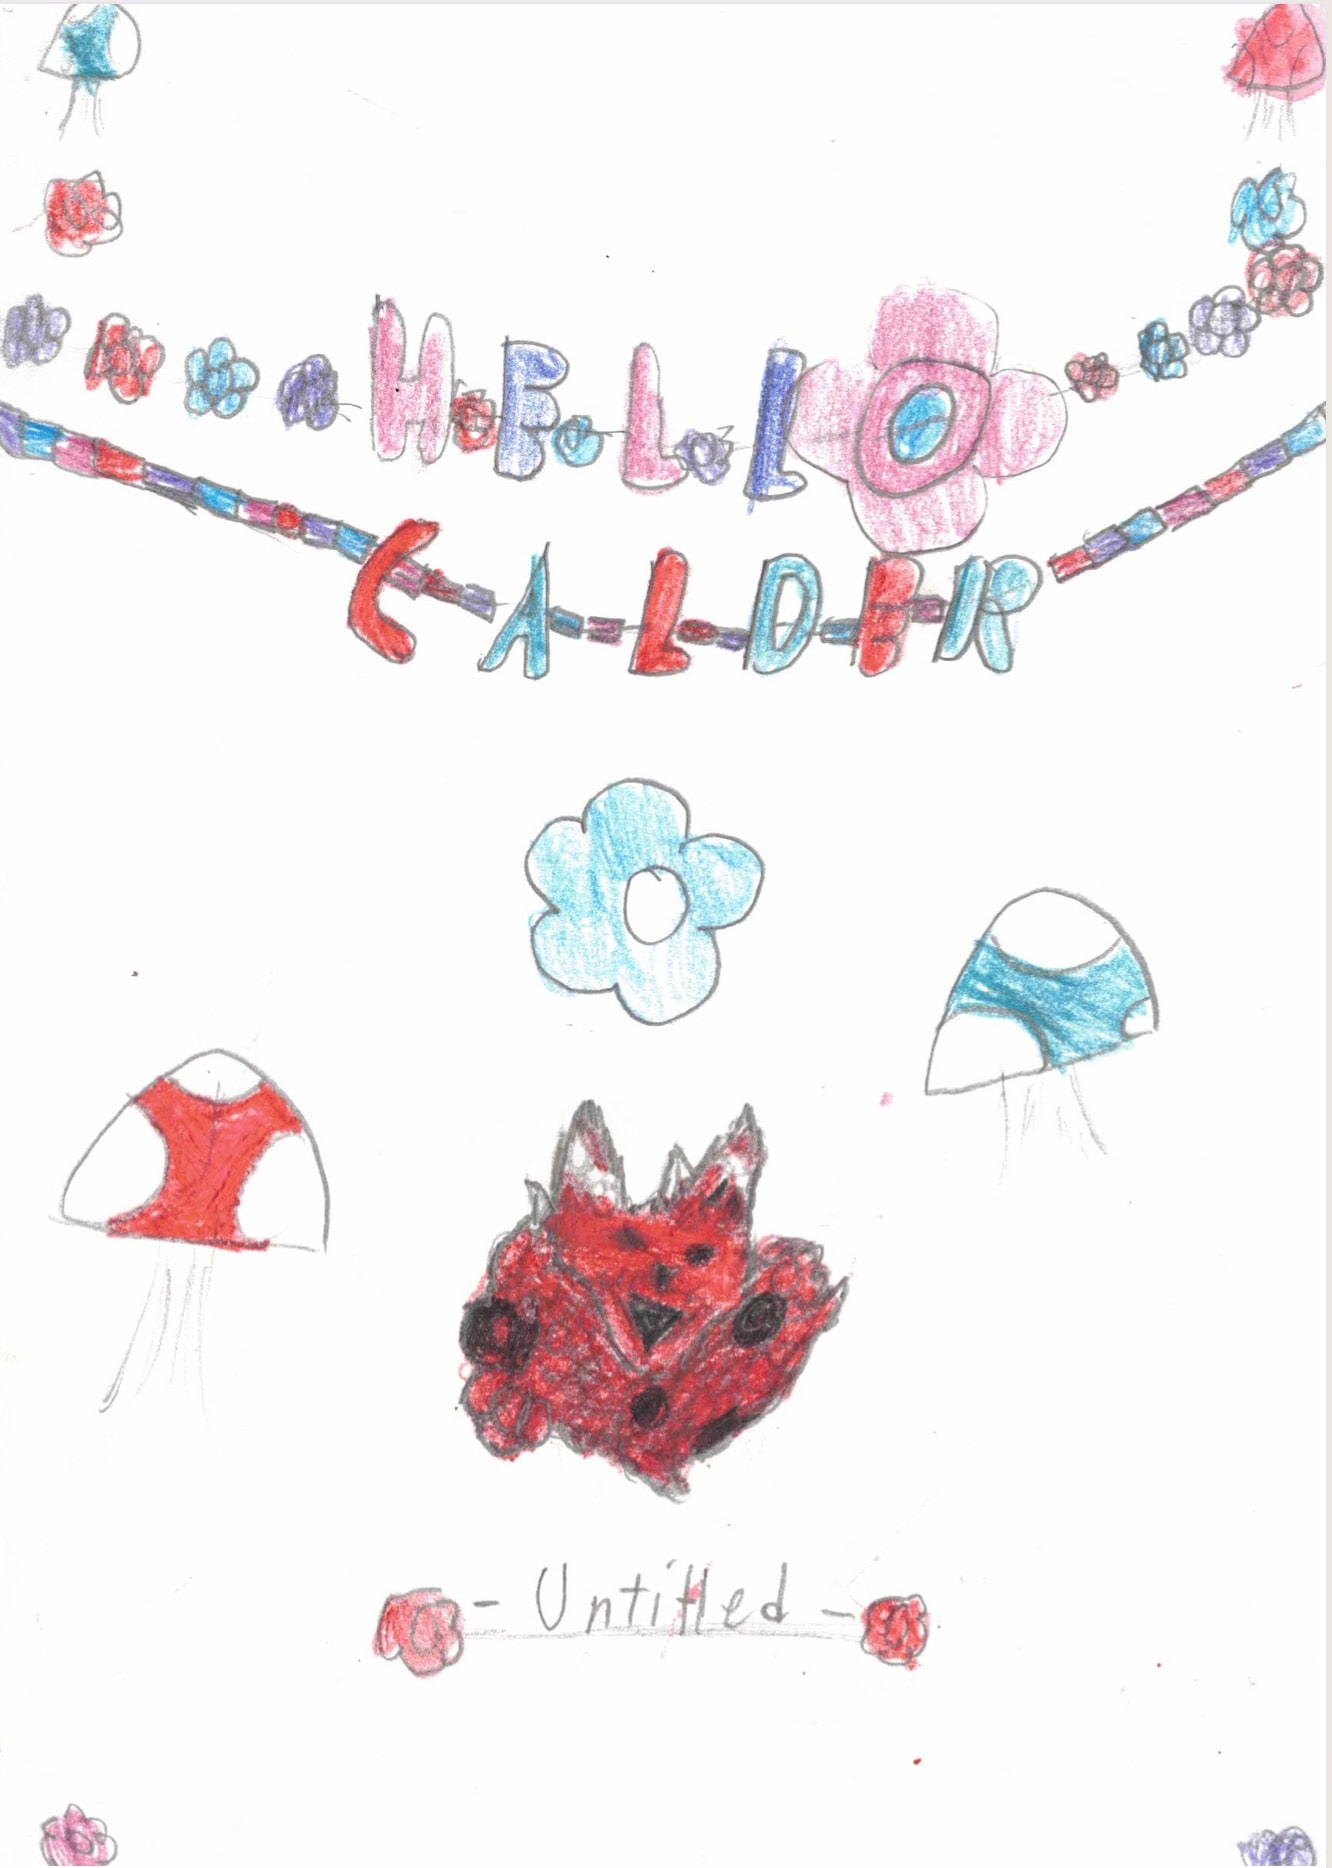
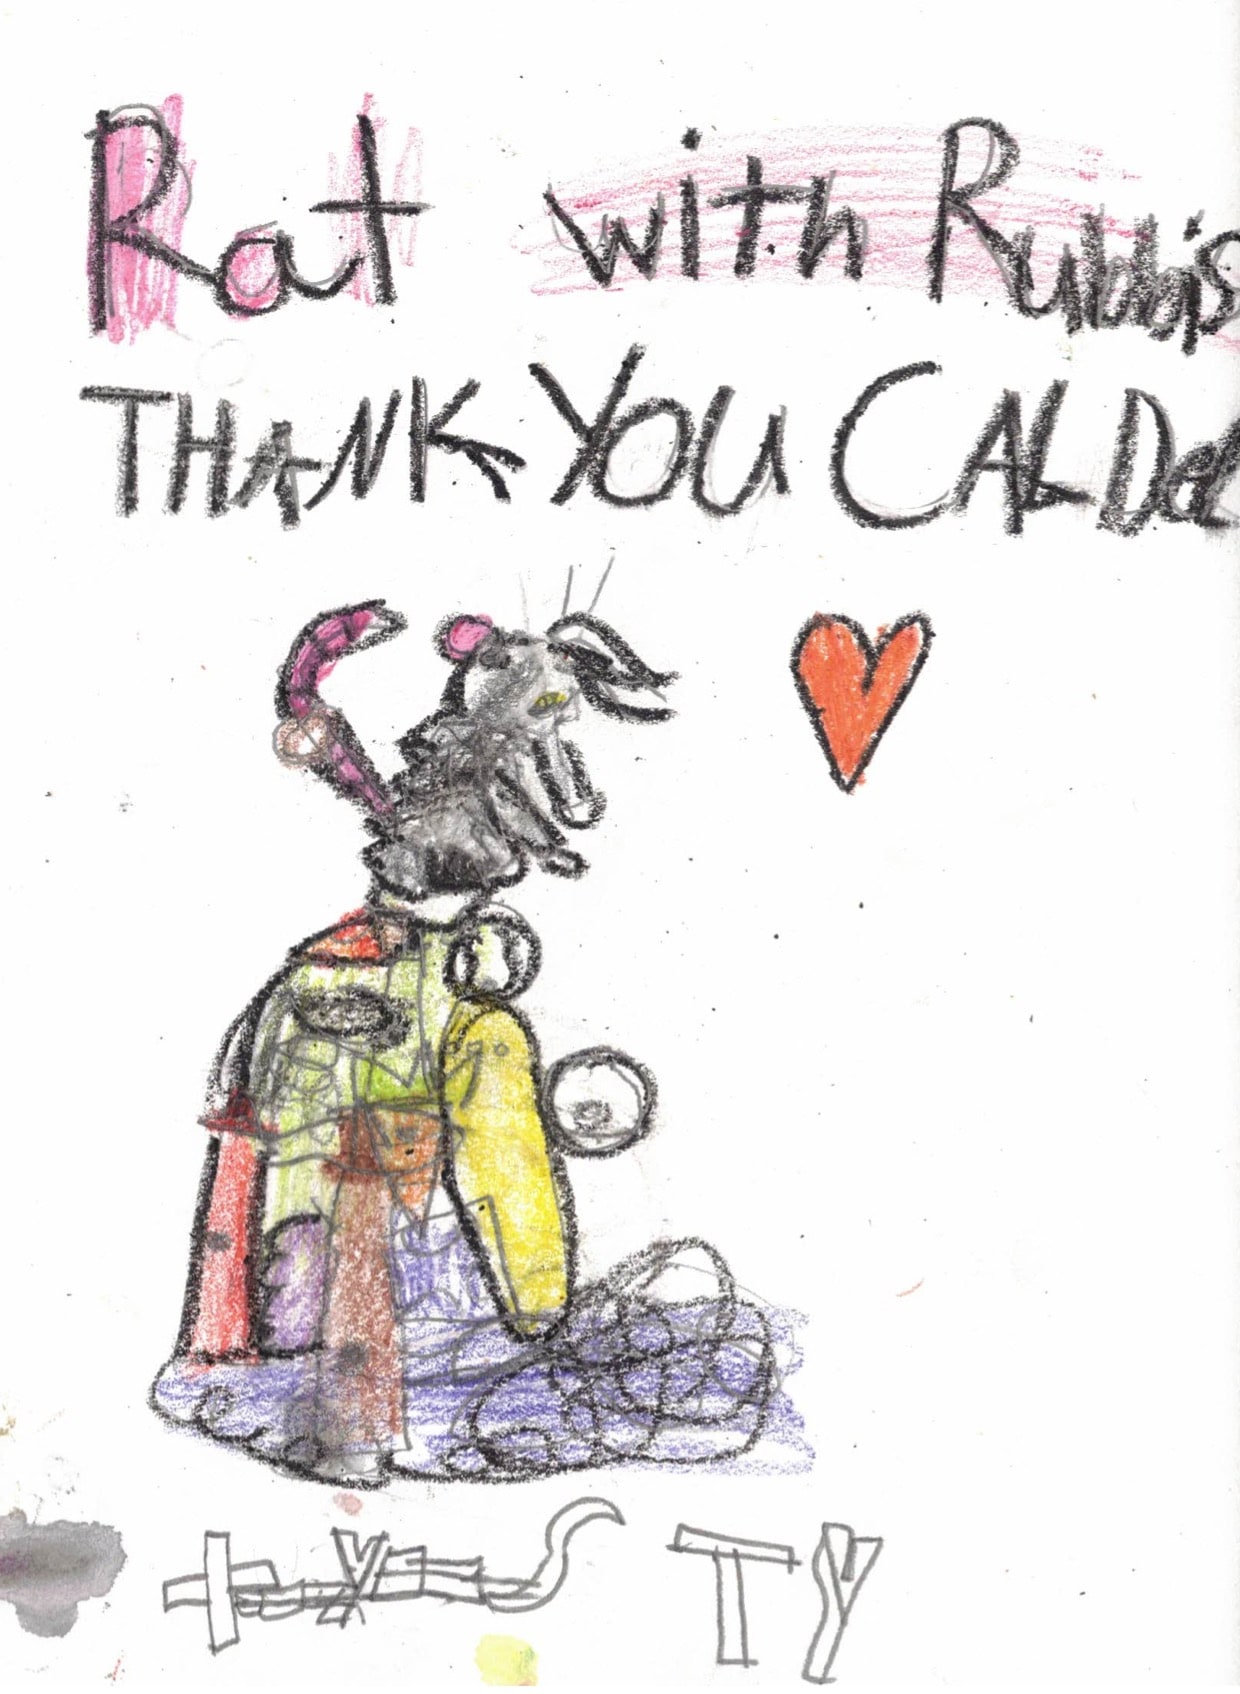
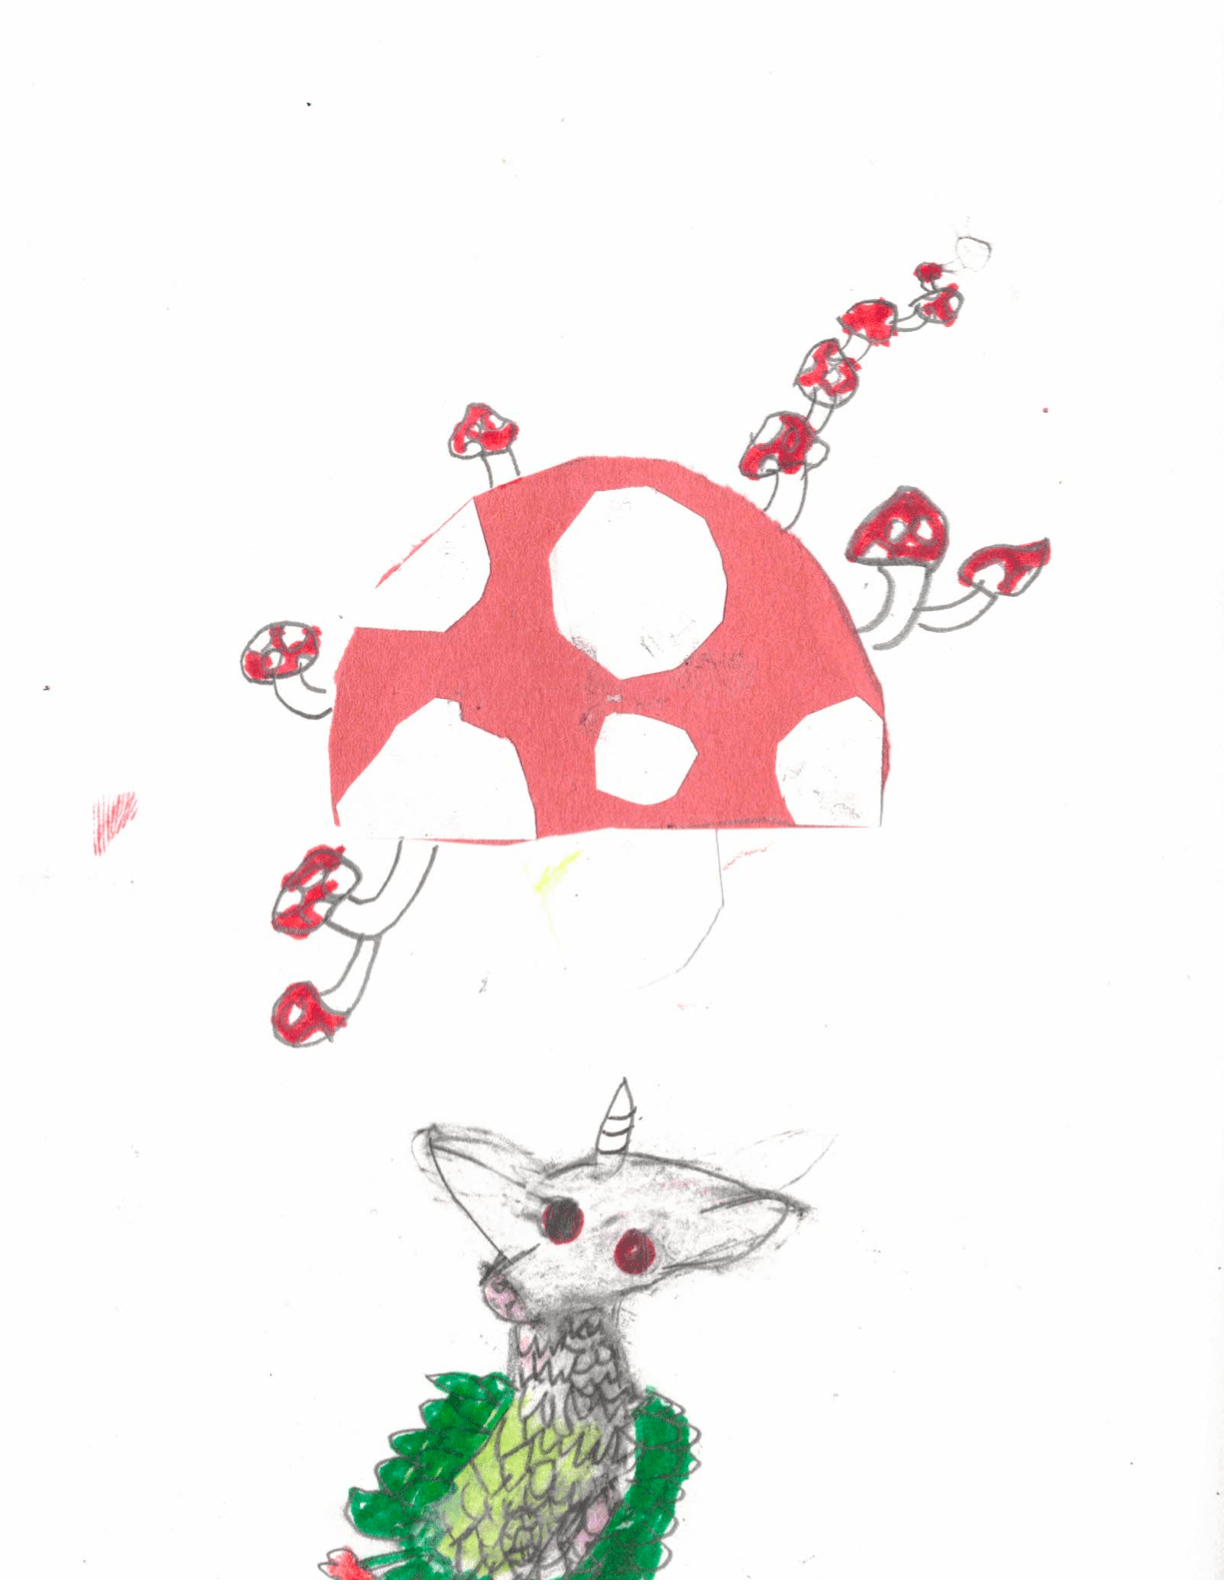
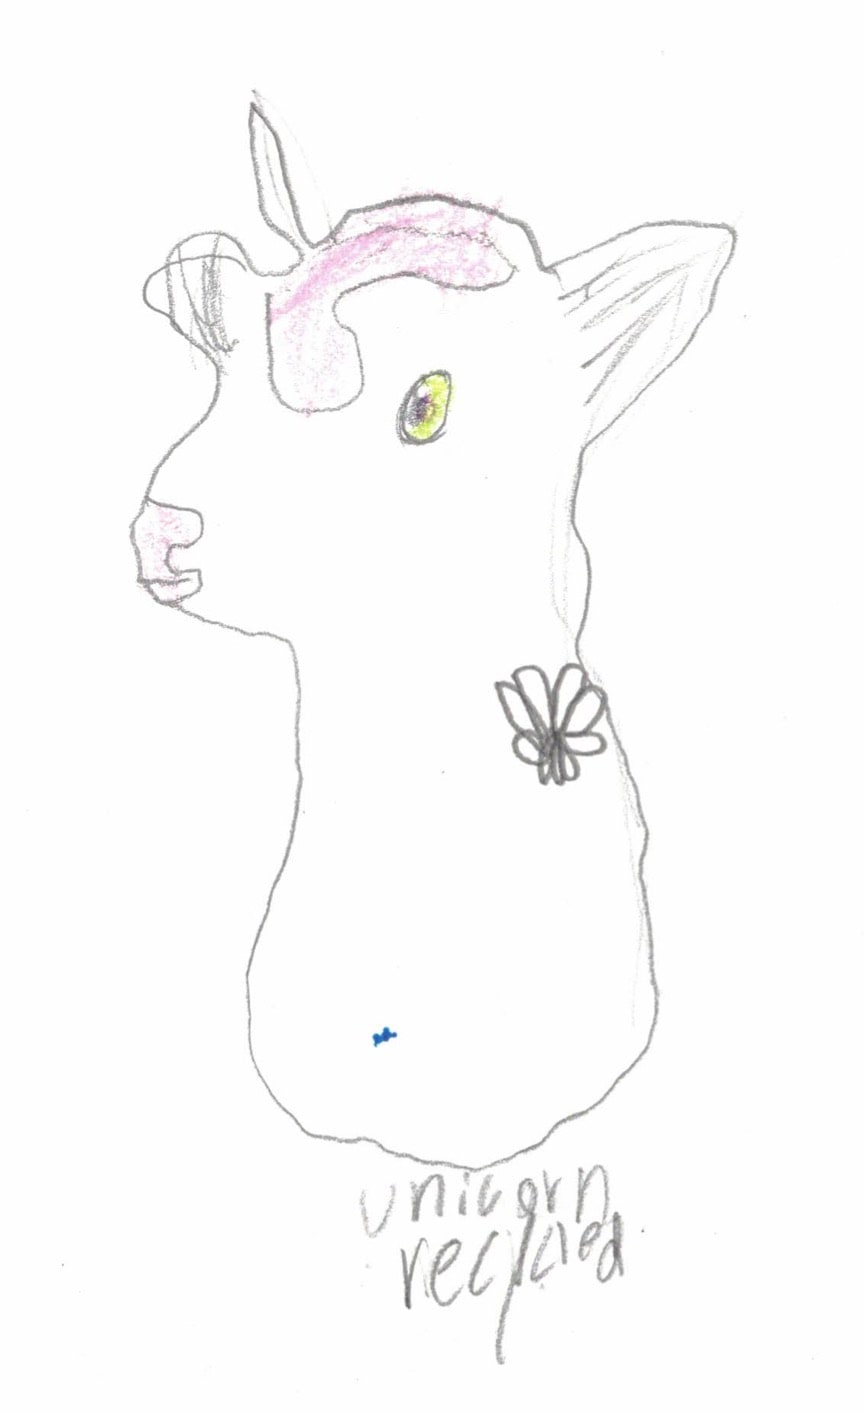
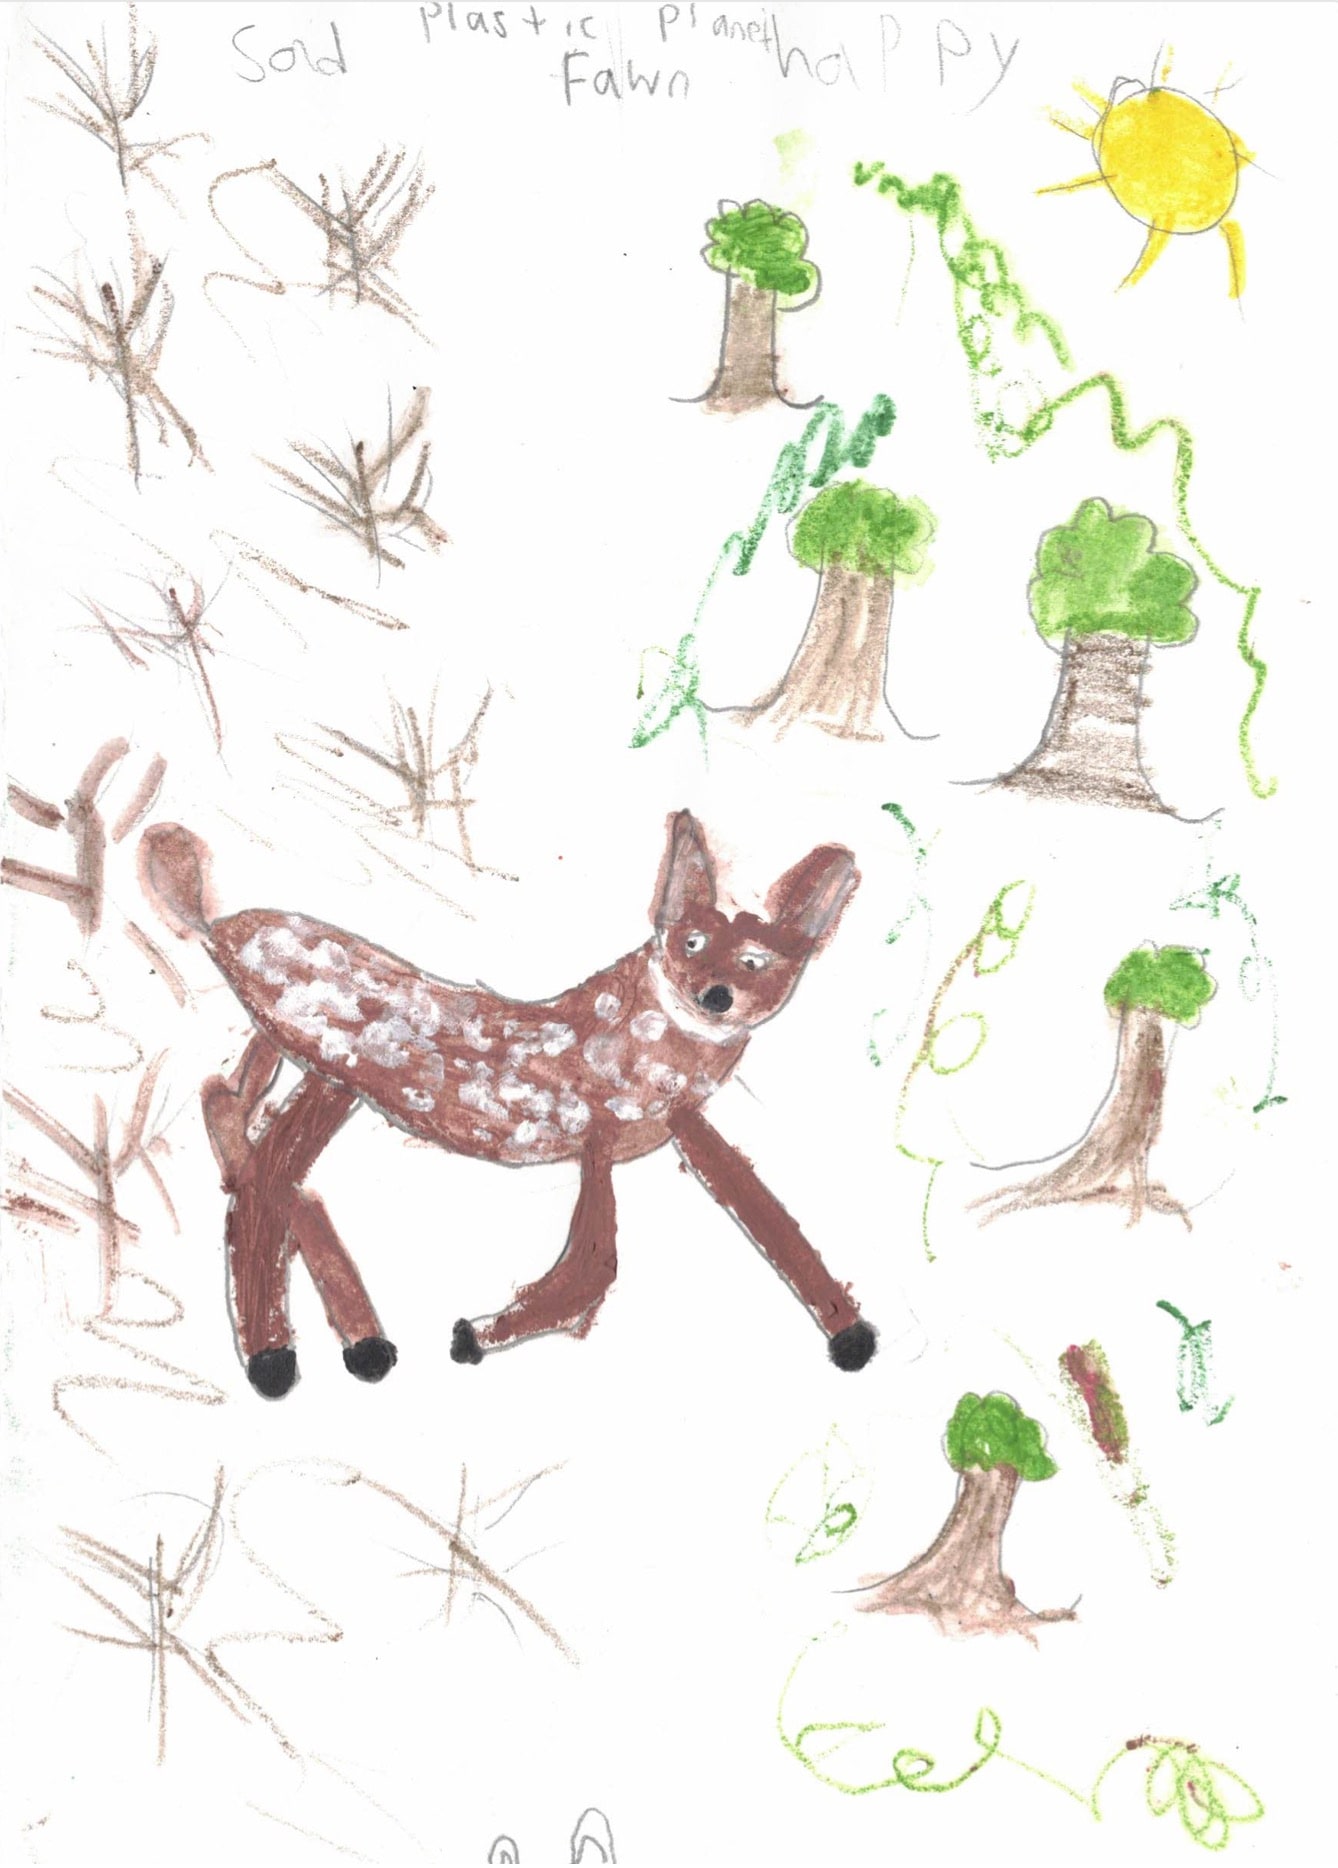
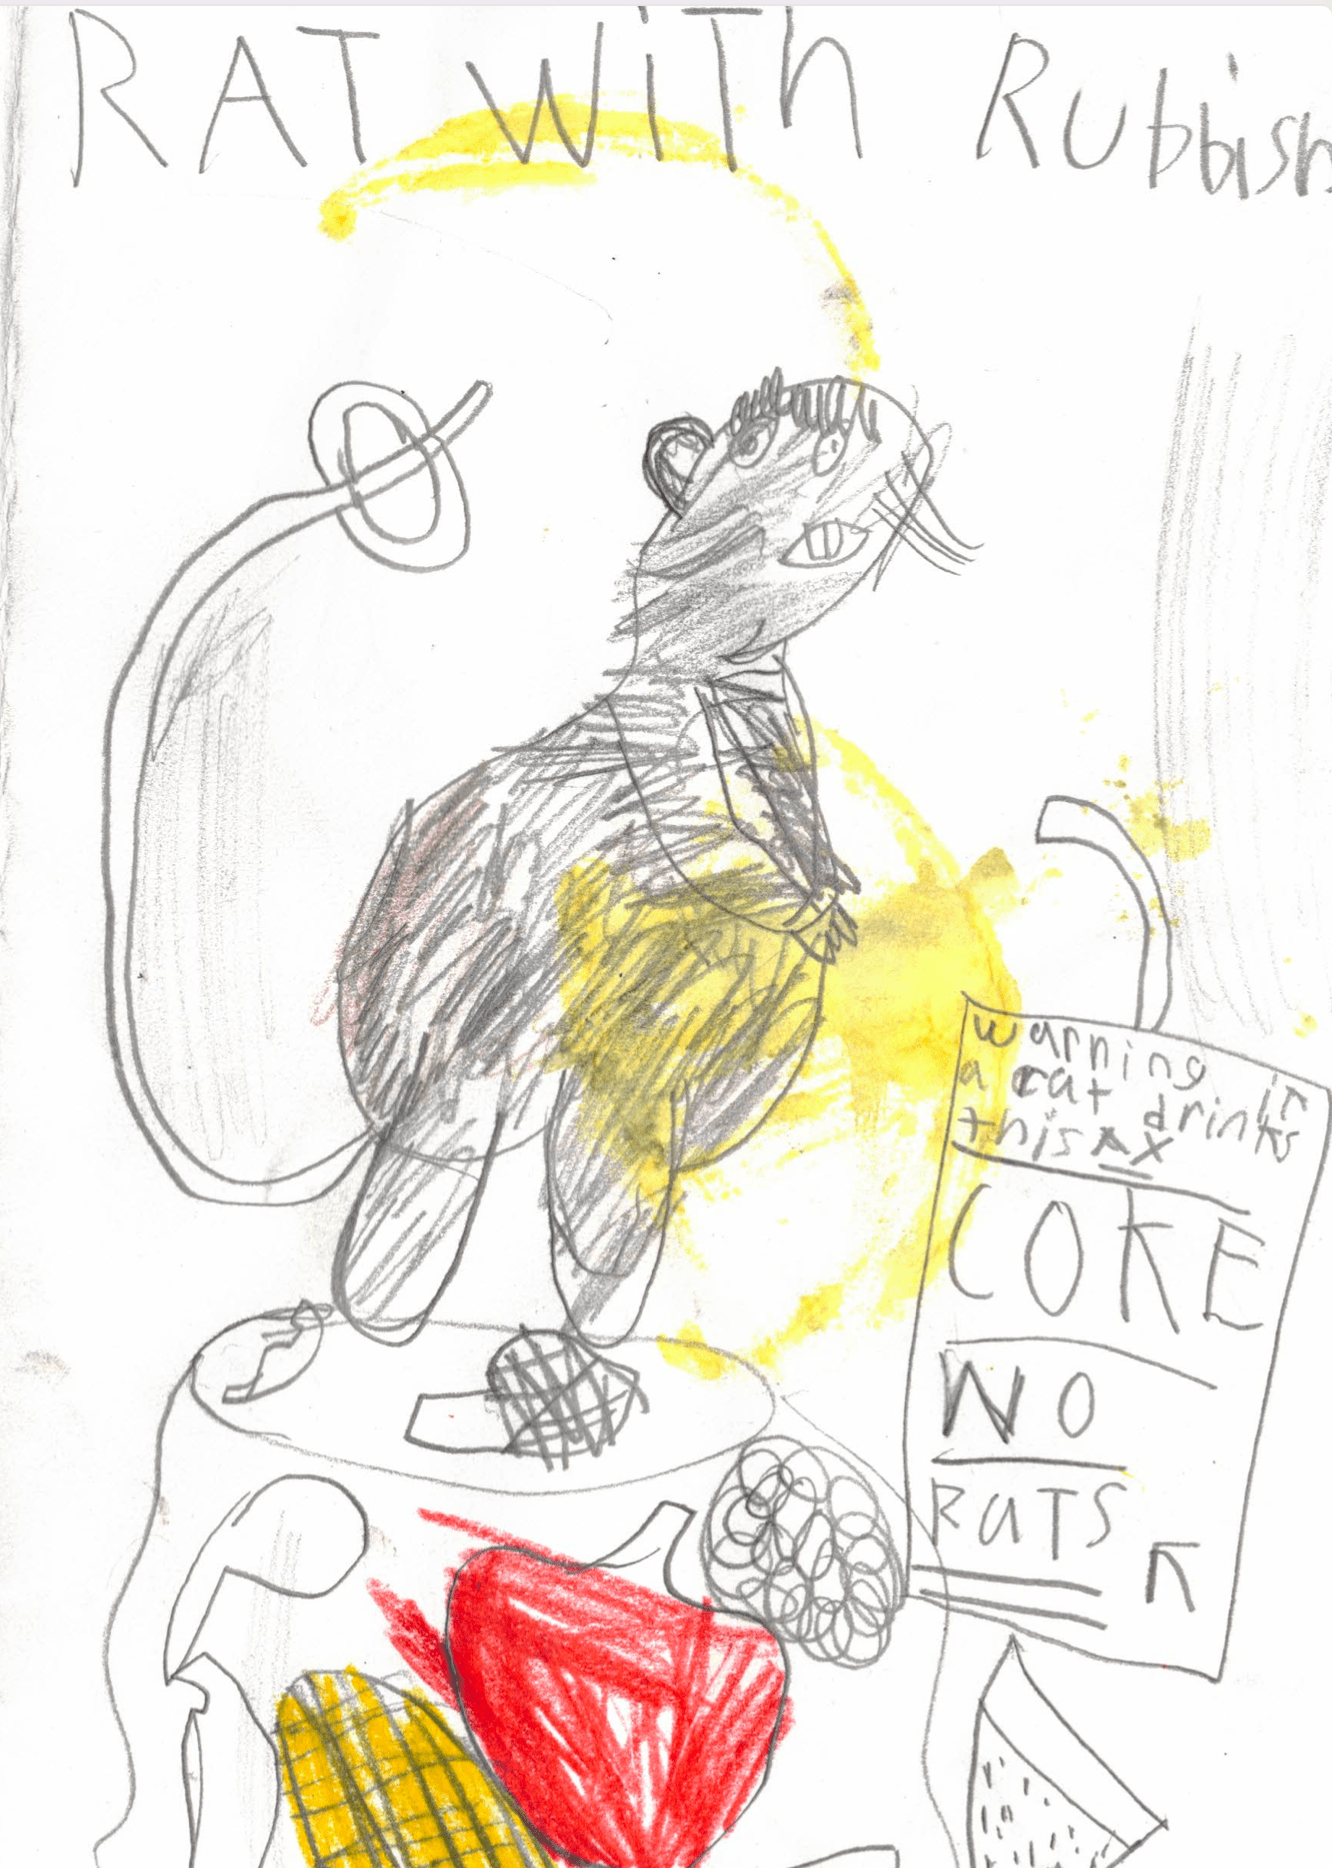
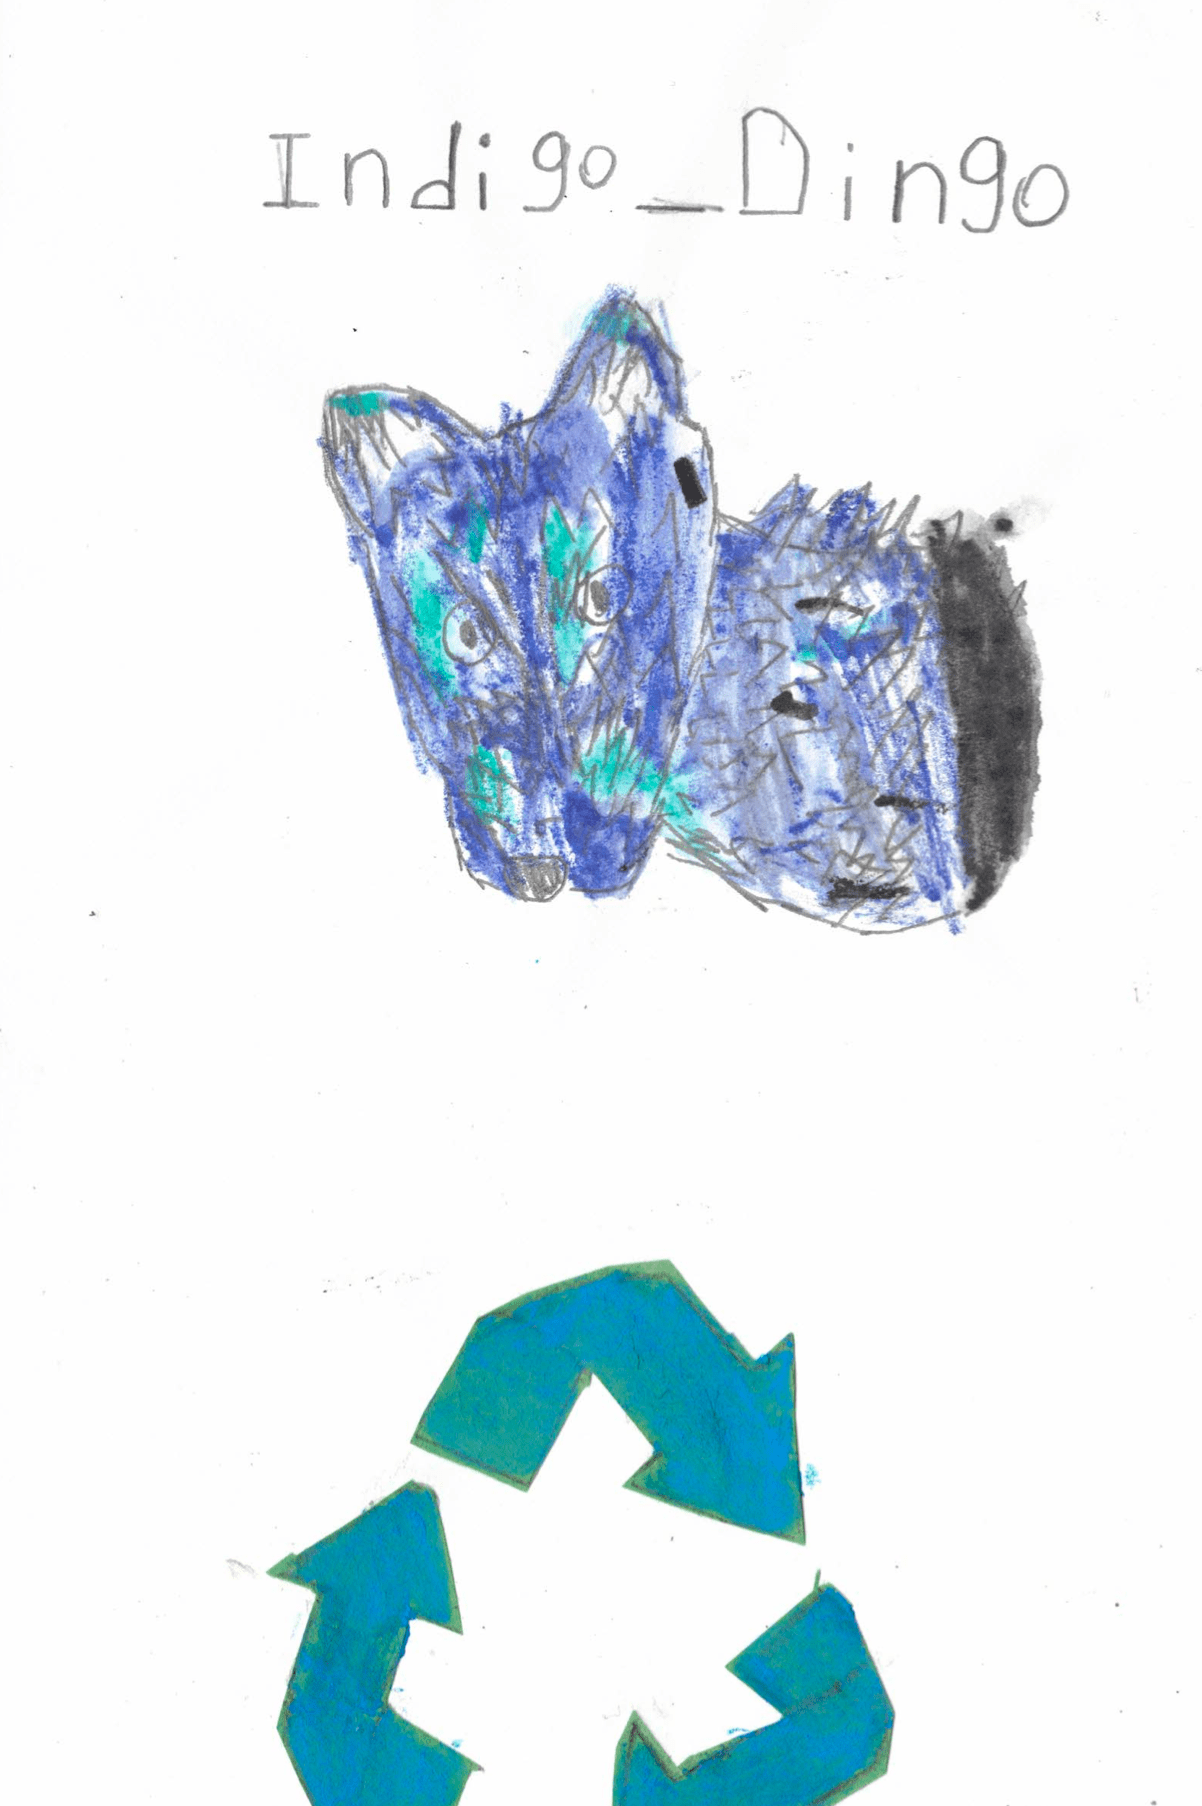
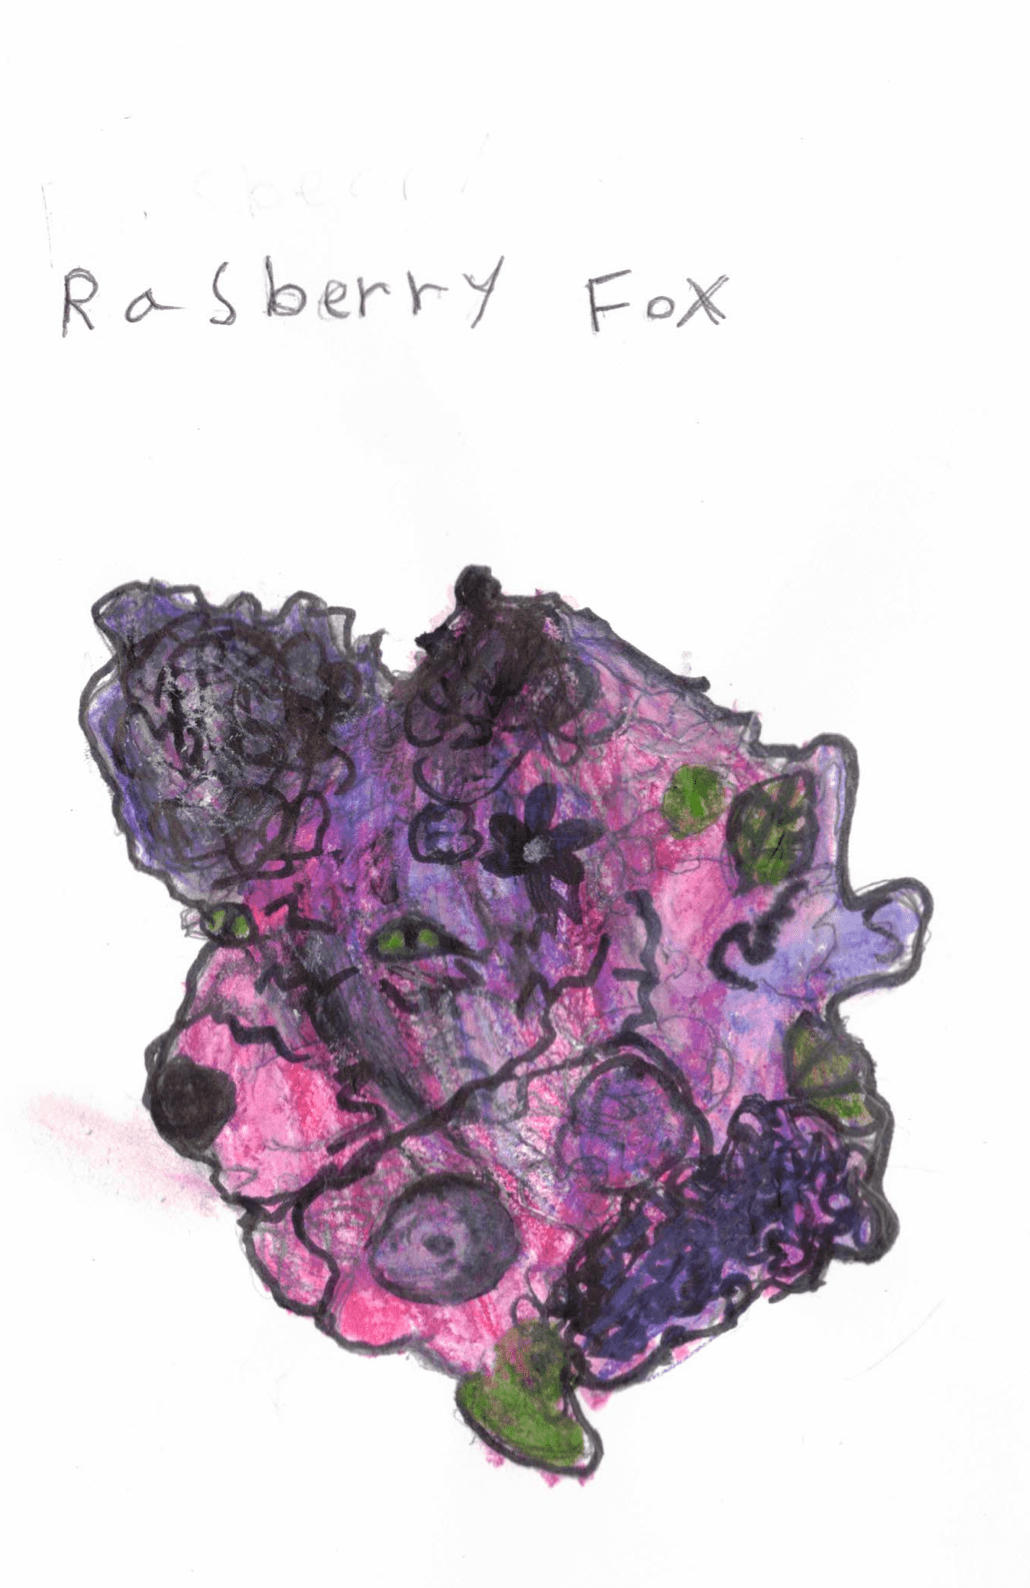
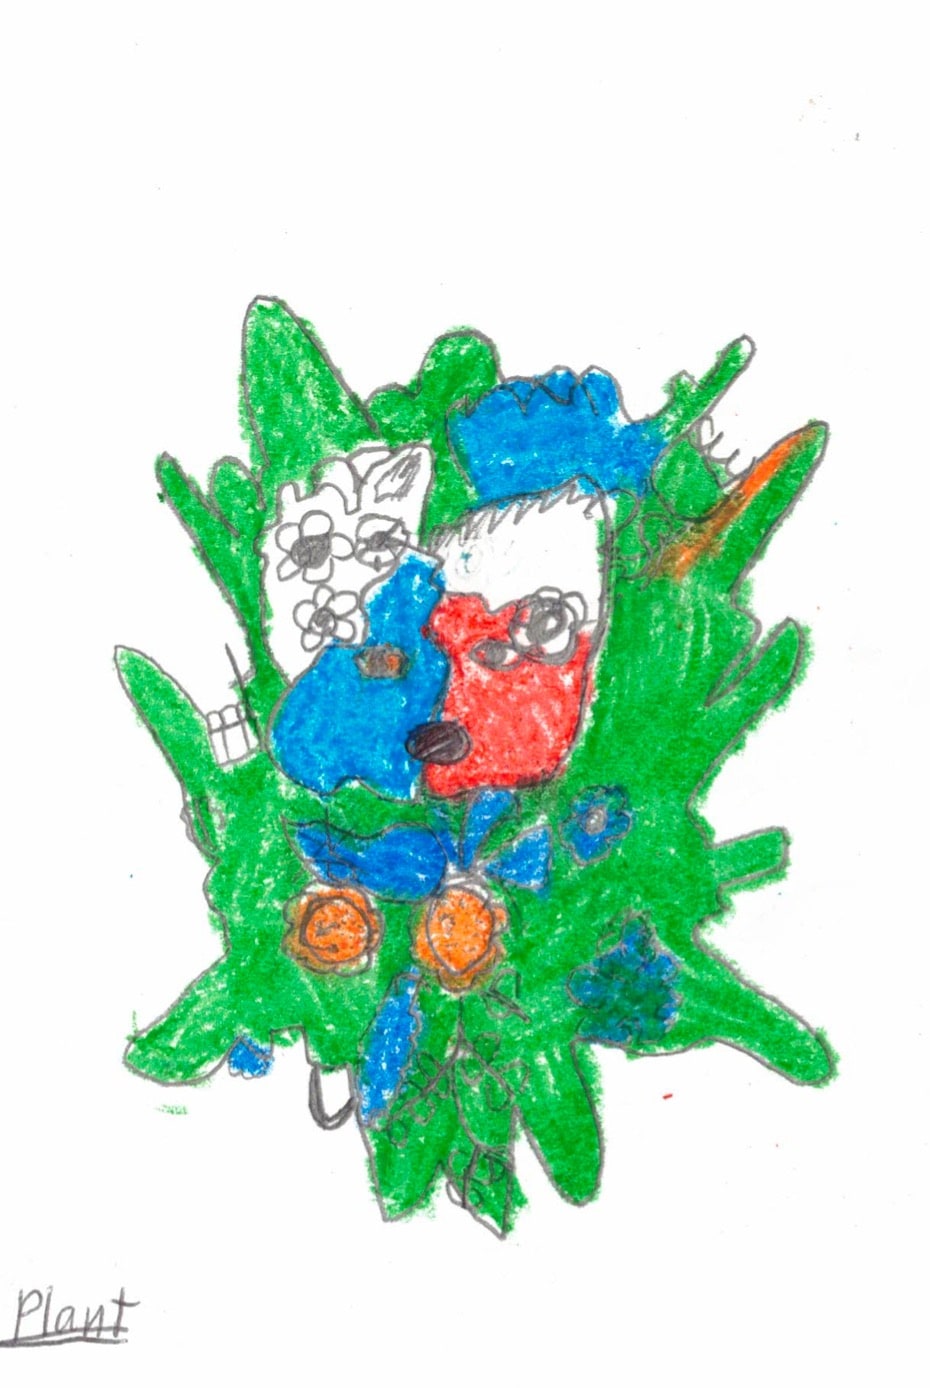
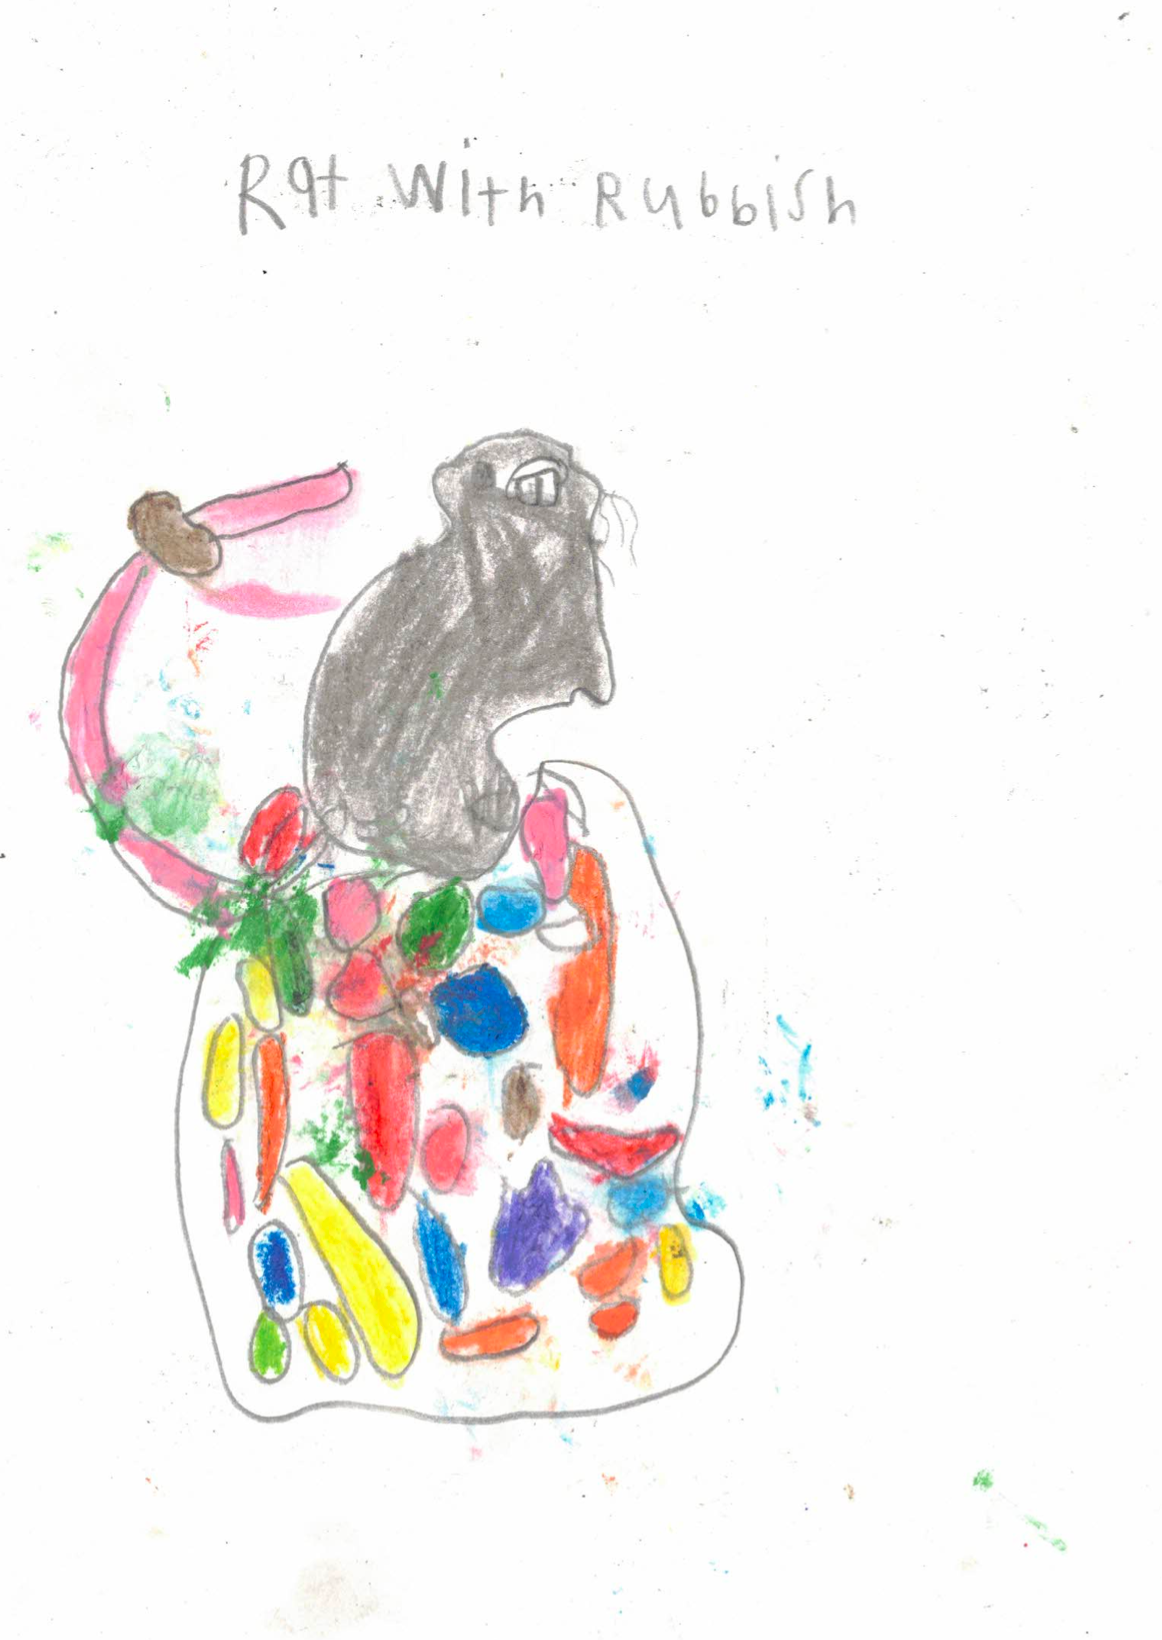
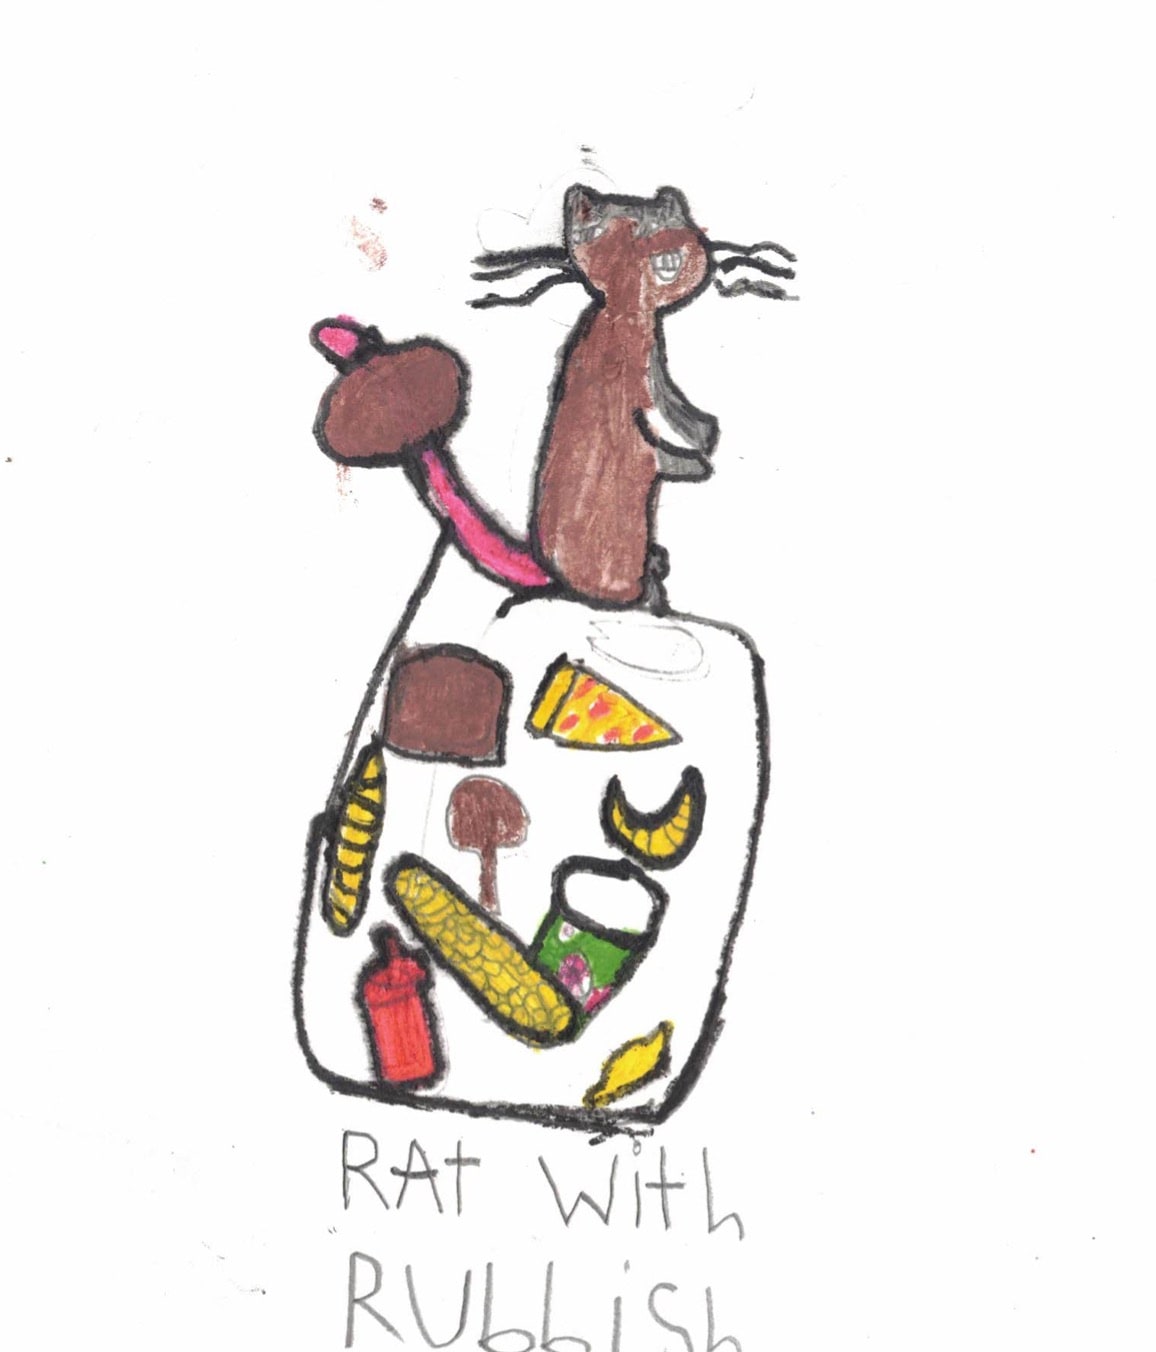
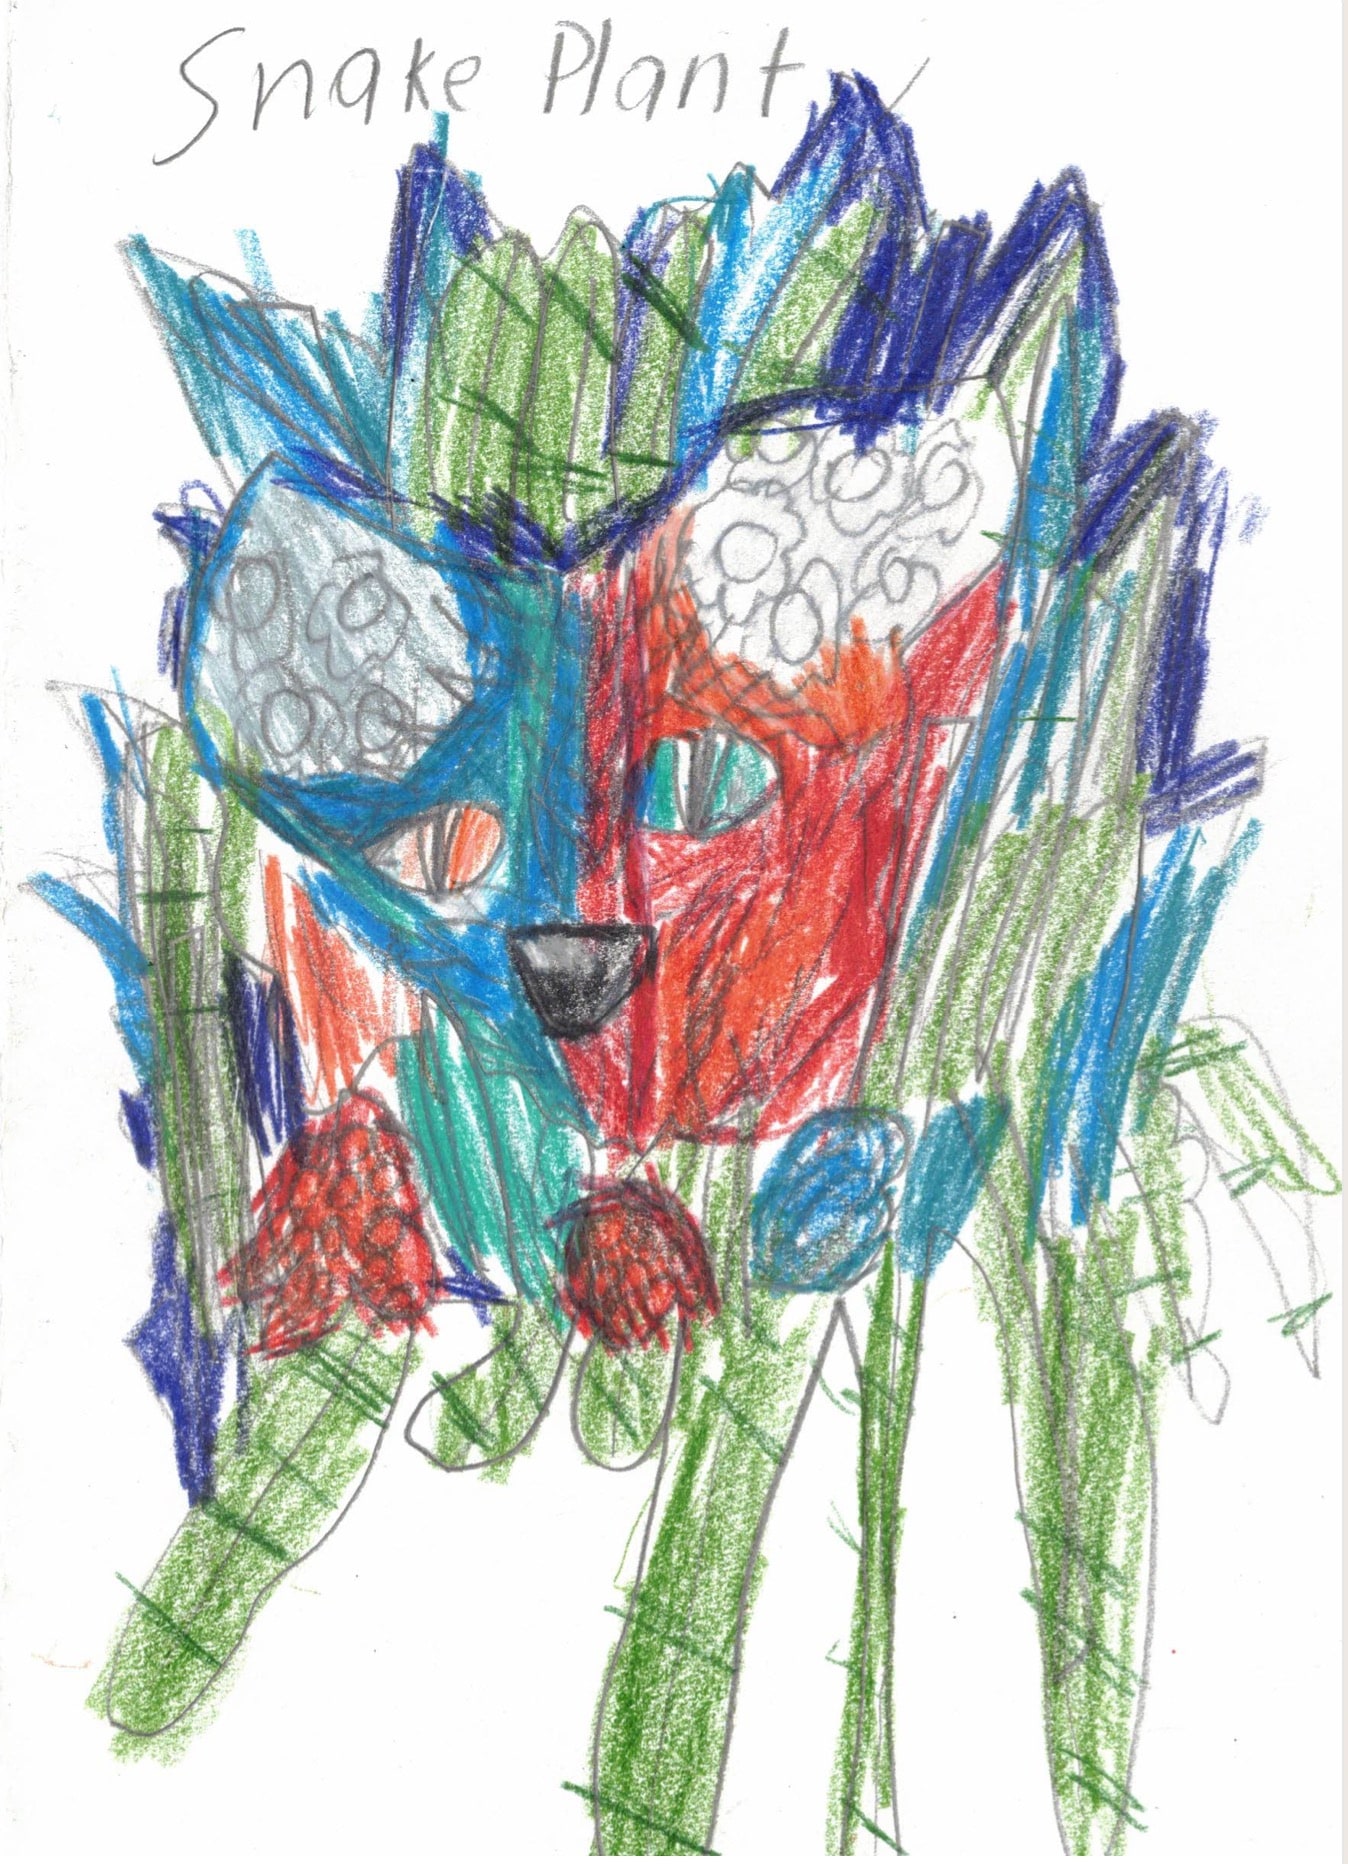
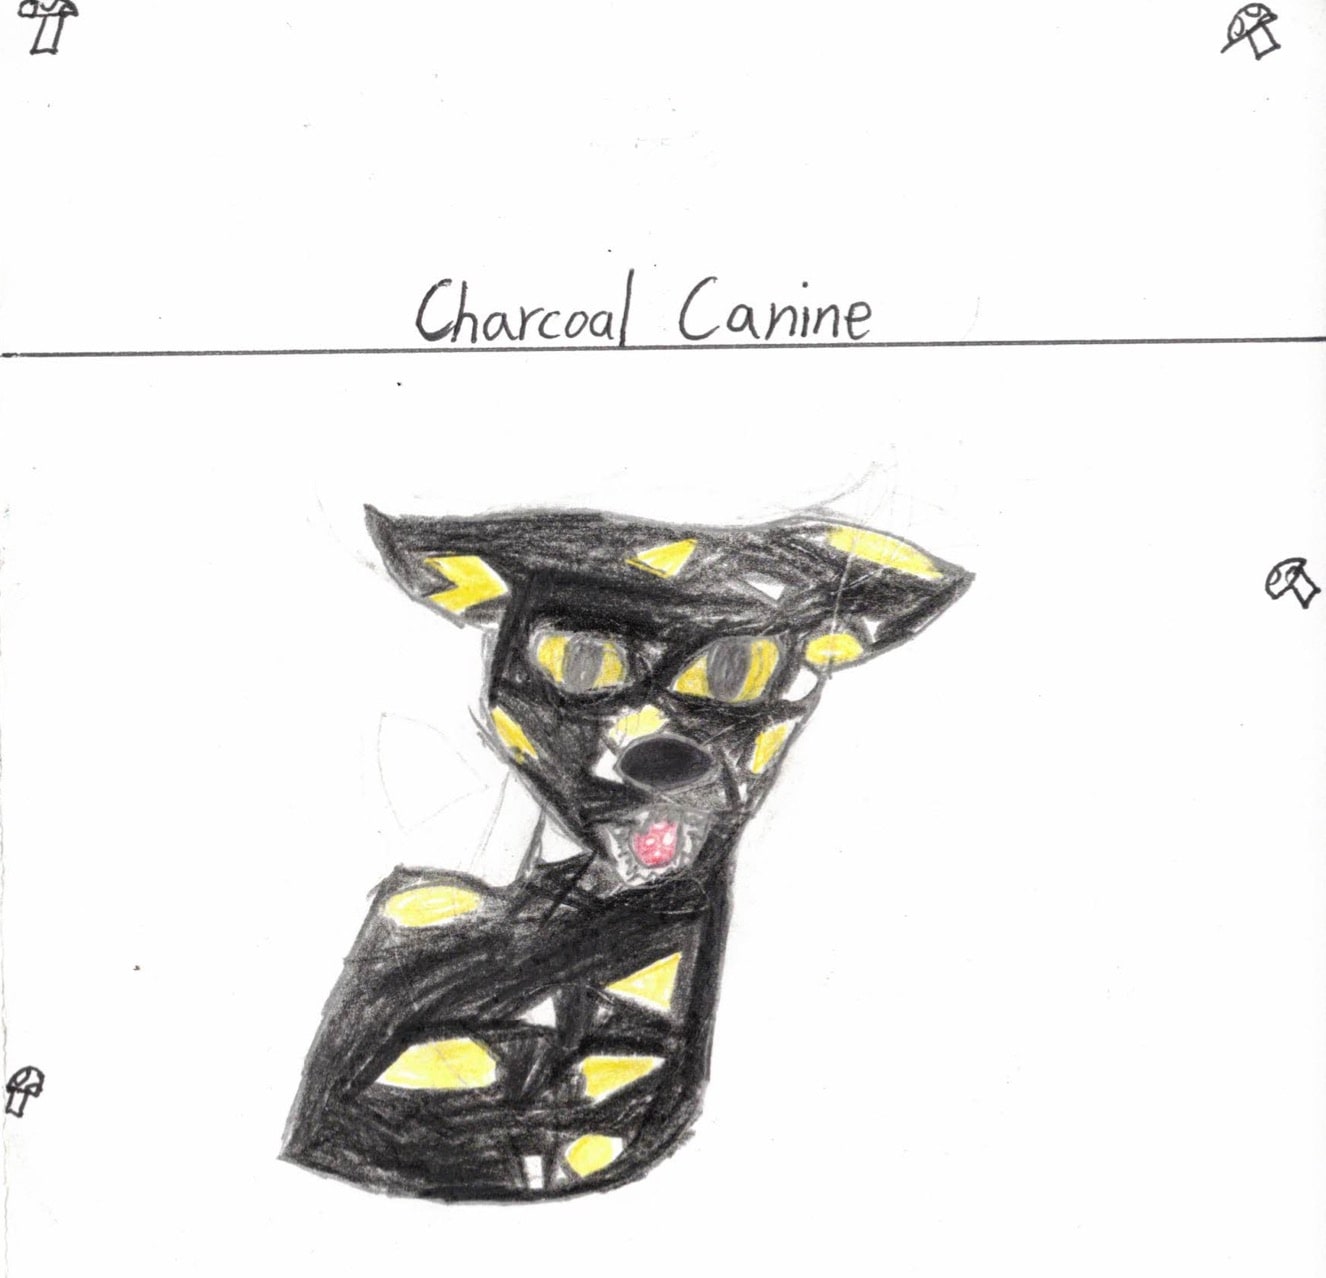
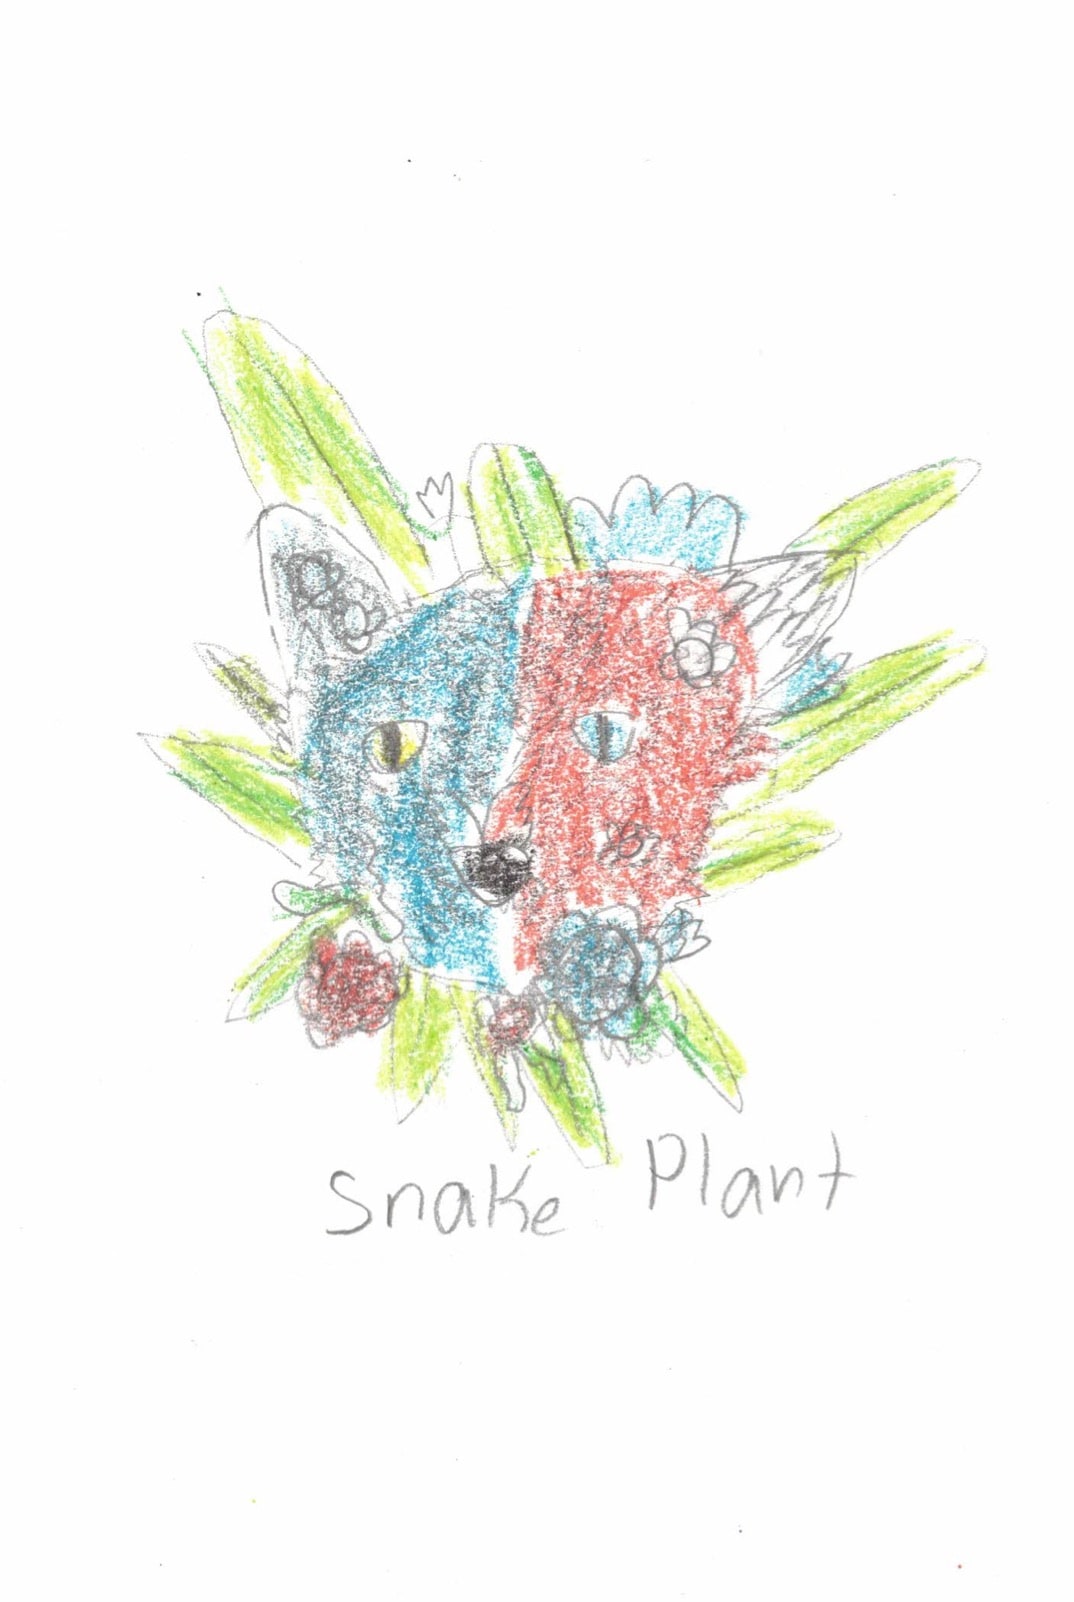
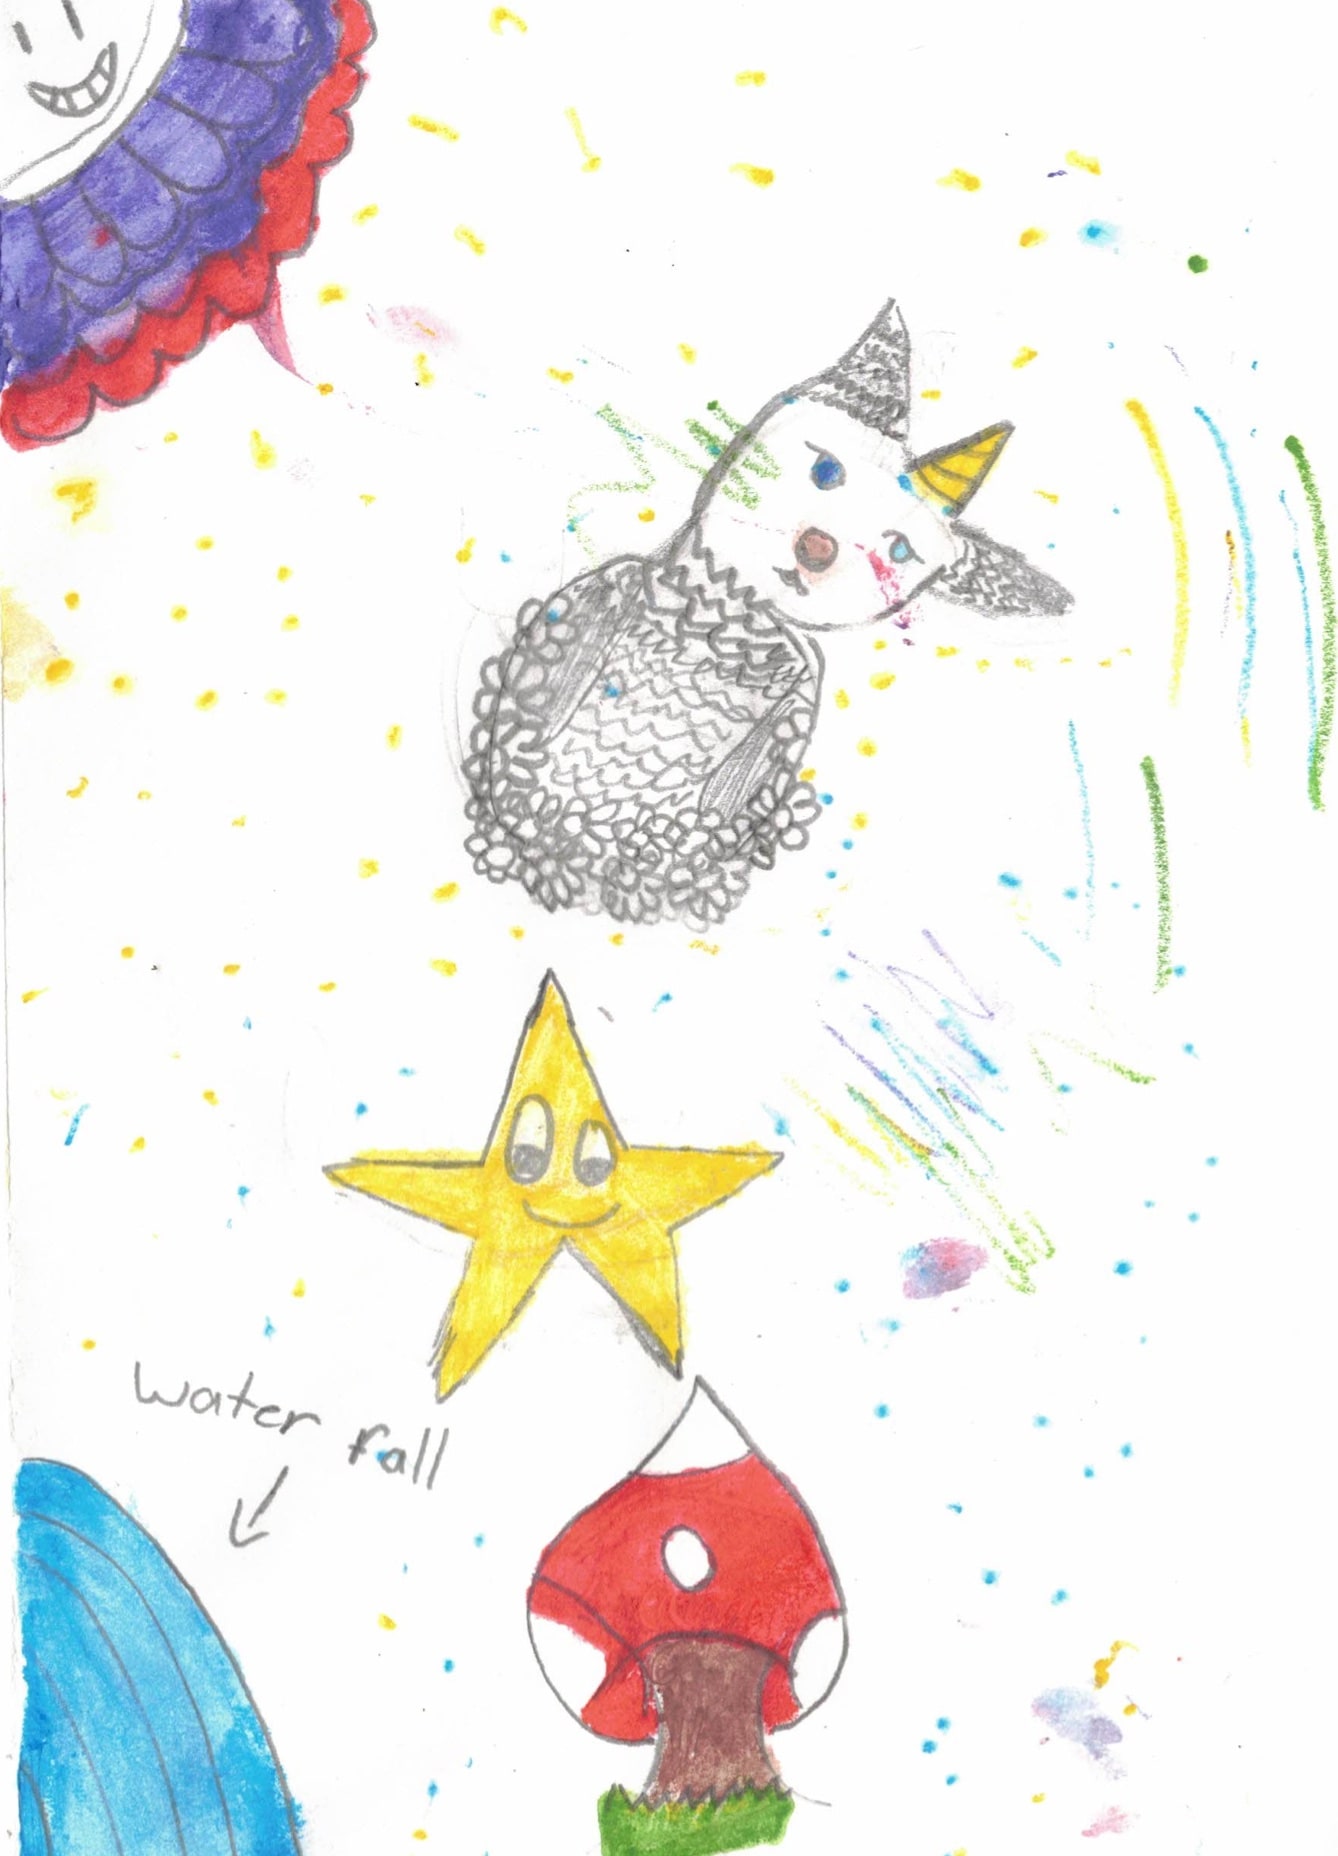
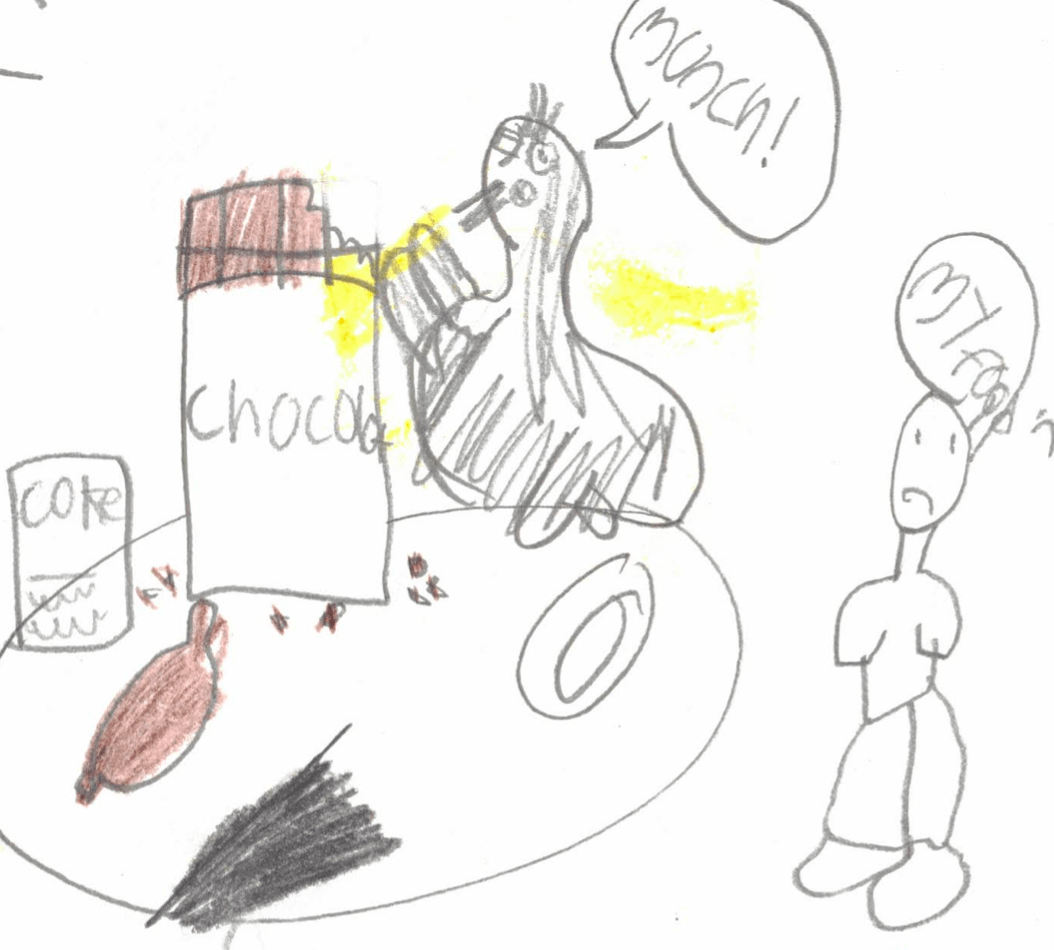
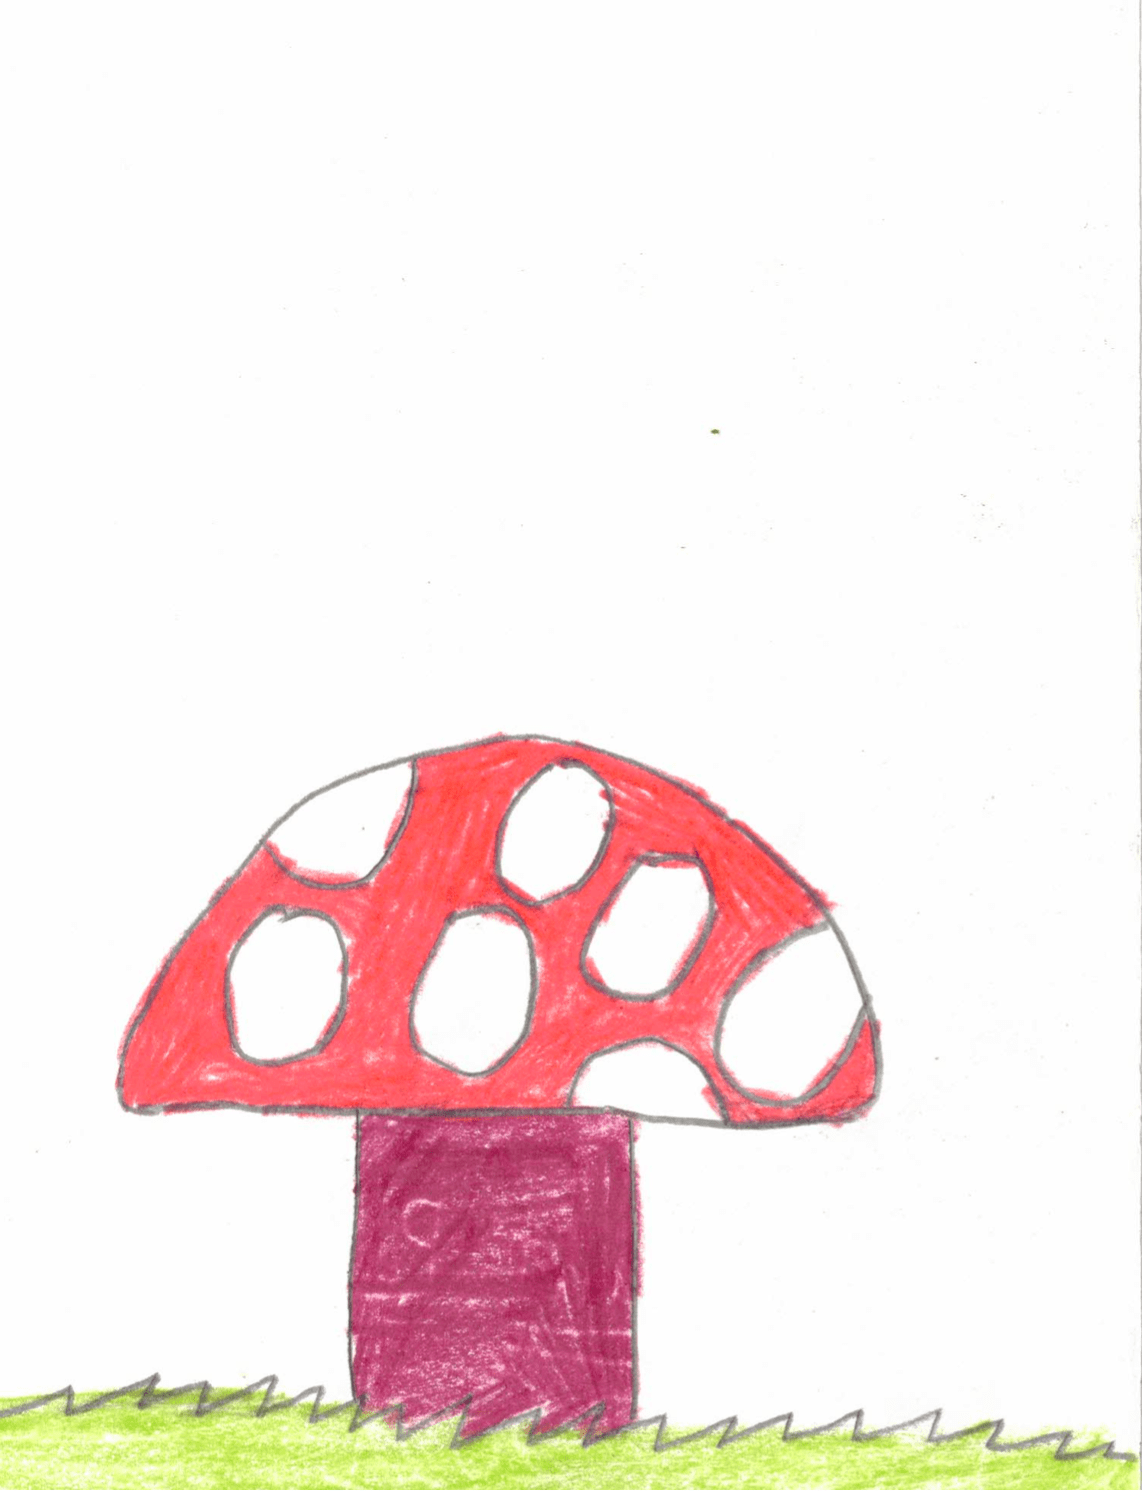
Each student illustrated a creative, heartfelt thank you card to Calder for our Craft in Schools visits– including illustrations which we were green-lighted to web publish. Please enjoy and share this special collection of inspired art! For more of Calder Kamin’s original work, visit her artist website at www.calderkamin.com; or checkout our 3-d virtual tour on Winter 2023-2024’s Spirit of Play Exhibition page.
Student Illustration Gallery


2024 Winter Highlights: Craft in Schools Field Trips & Partners
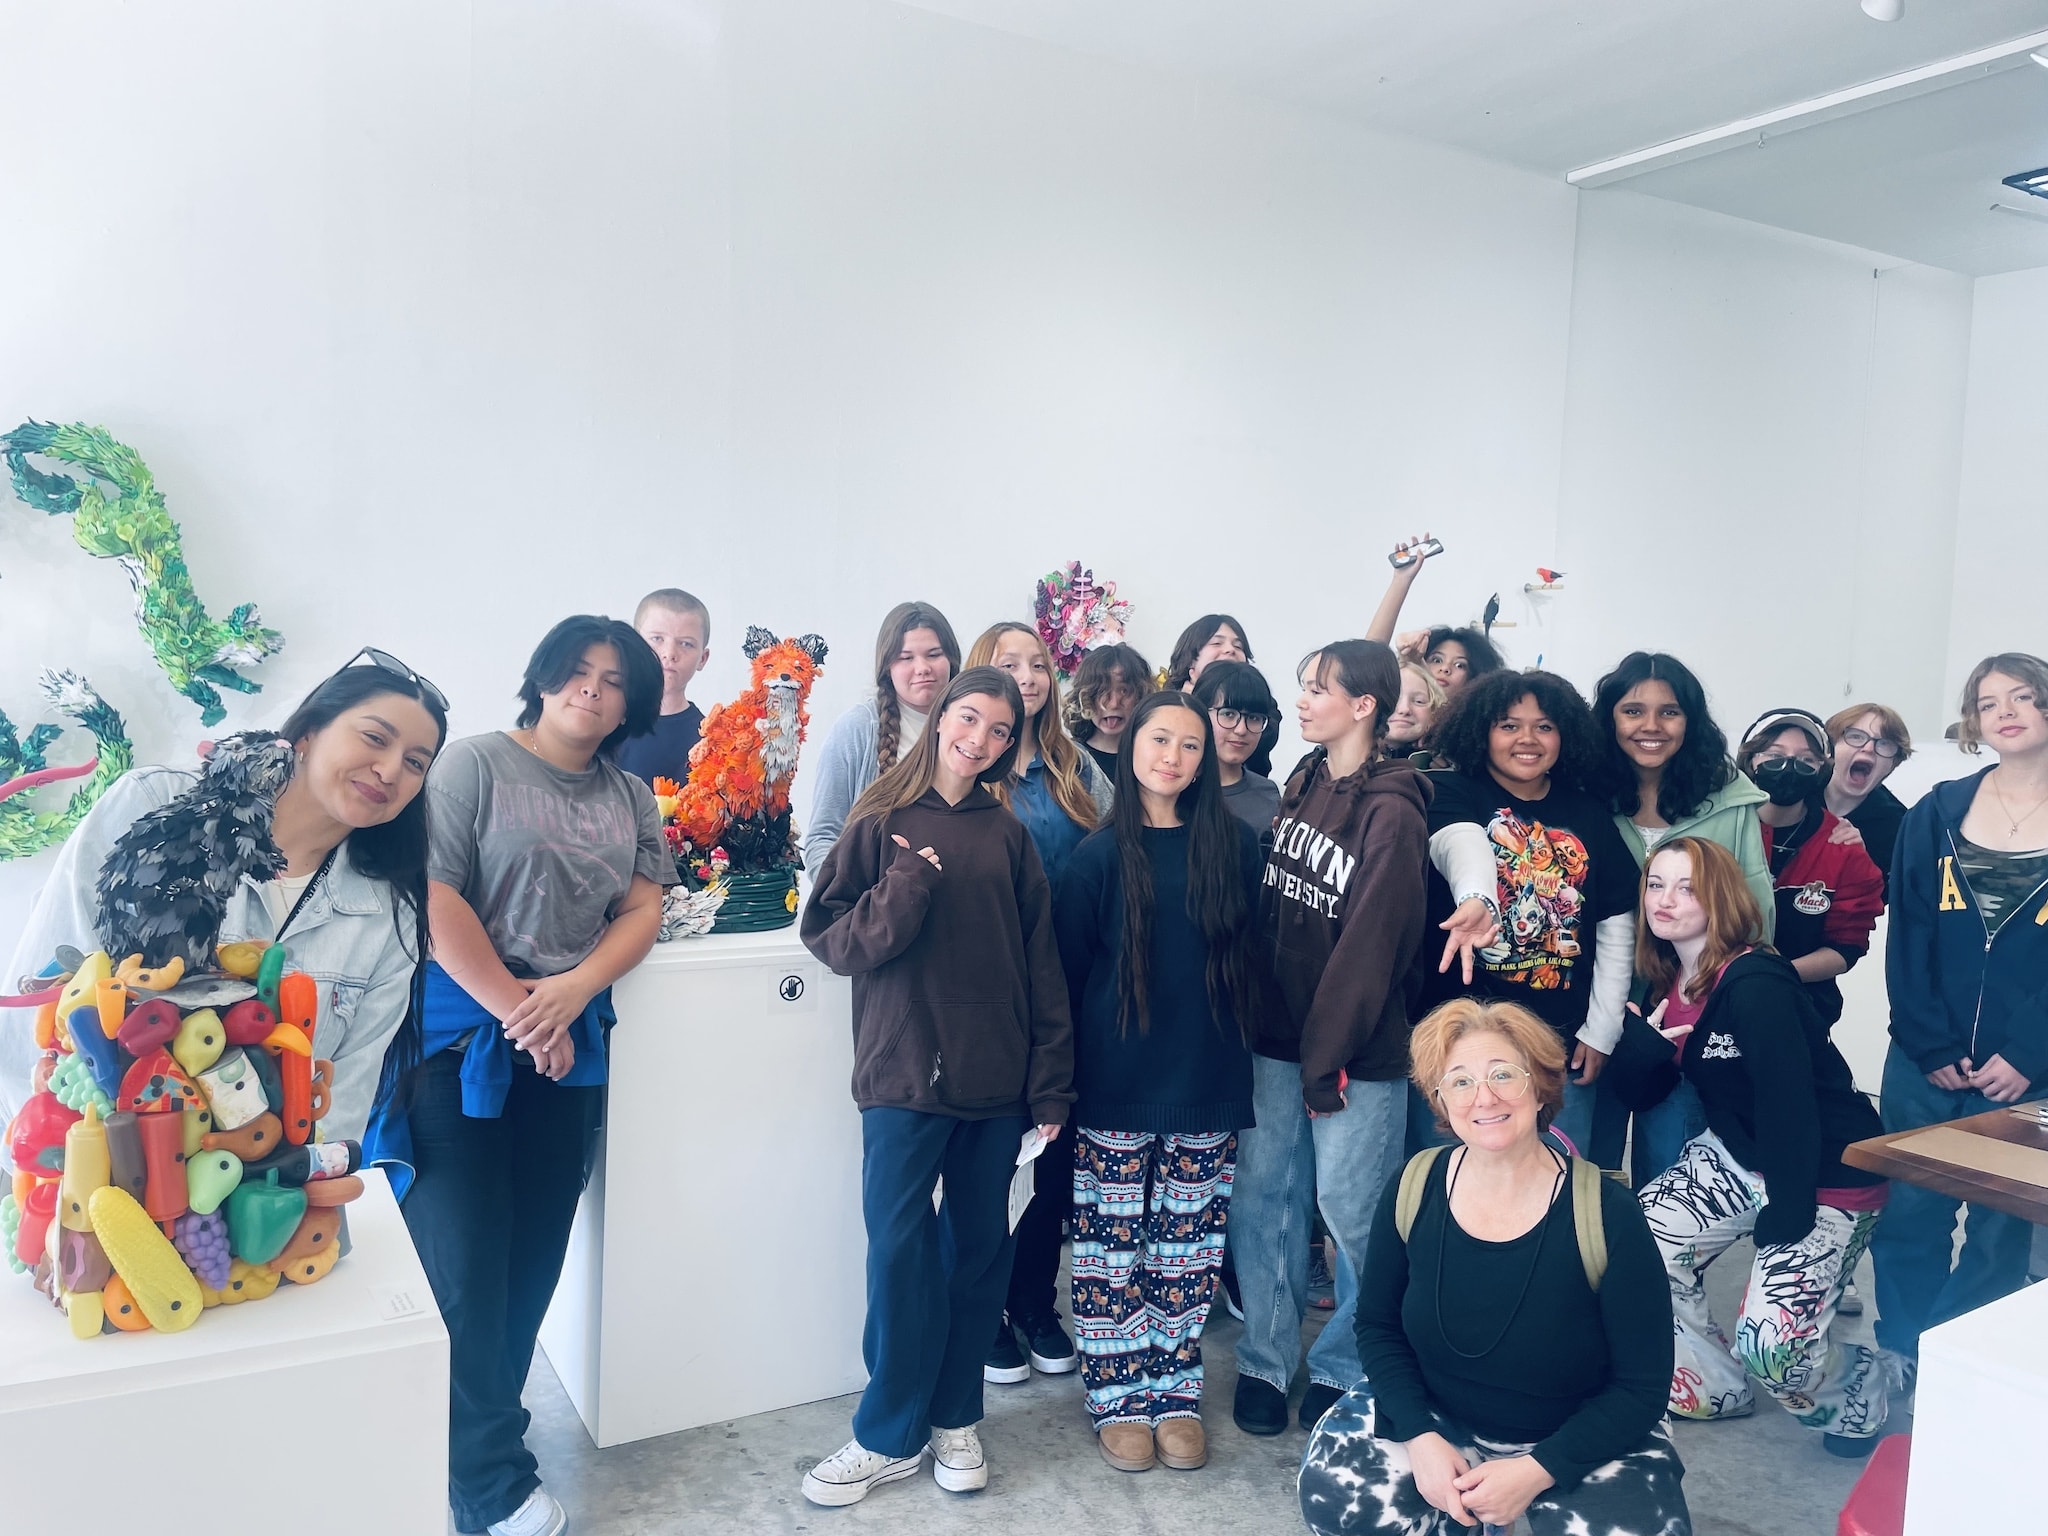
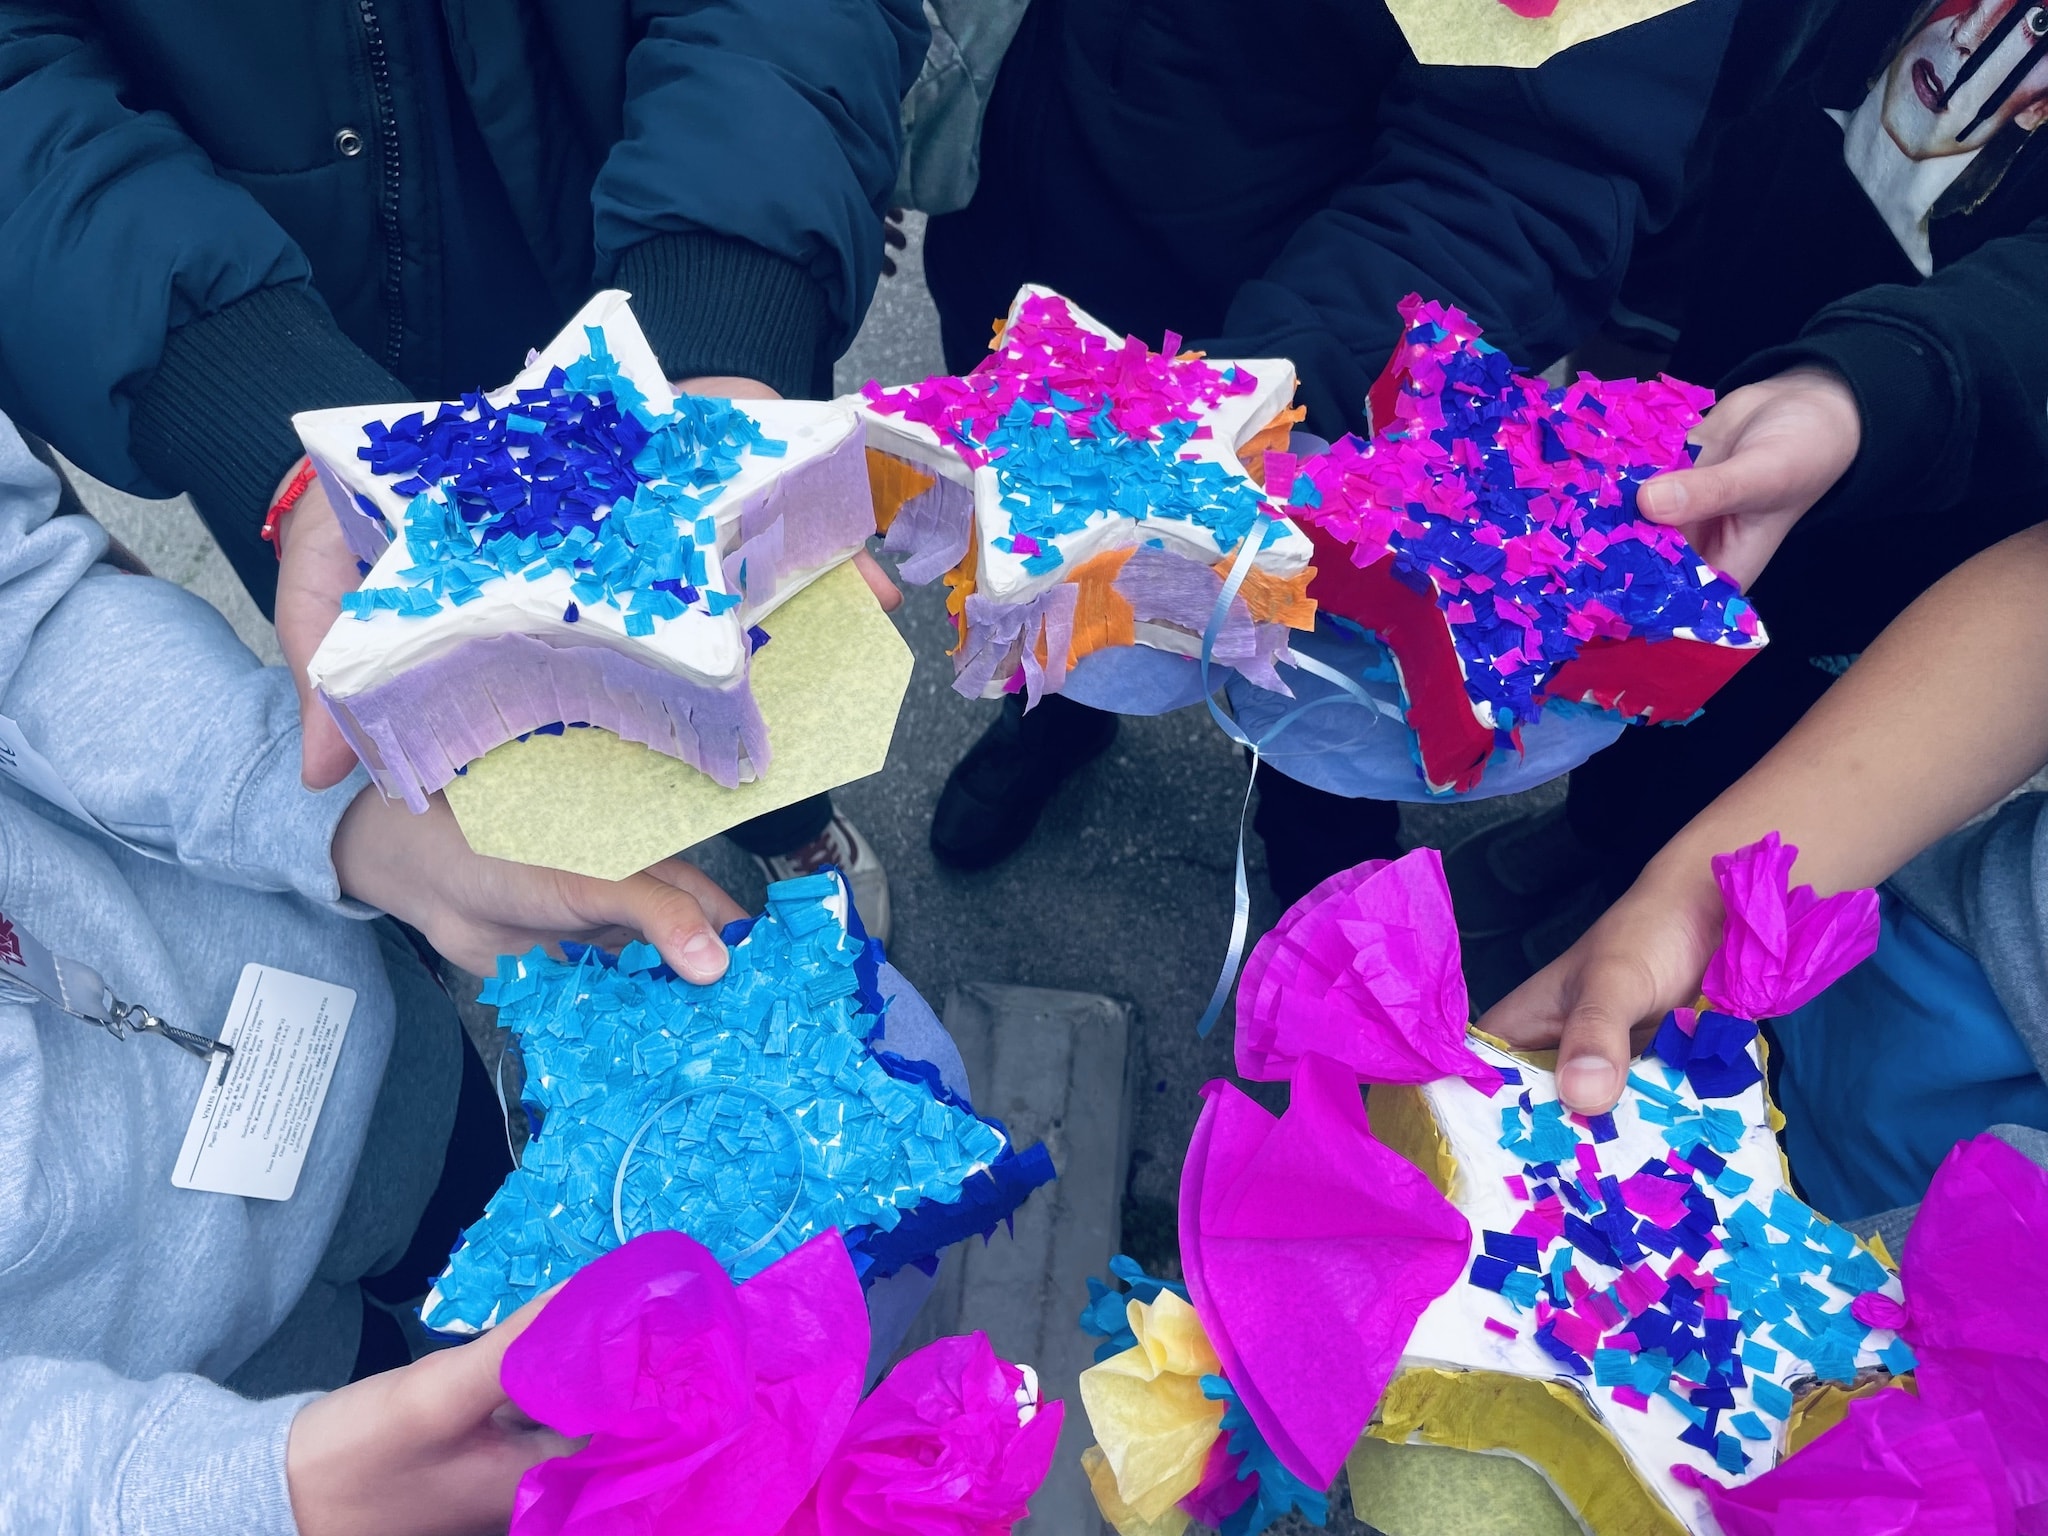
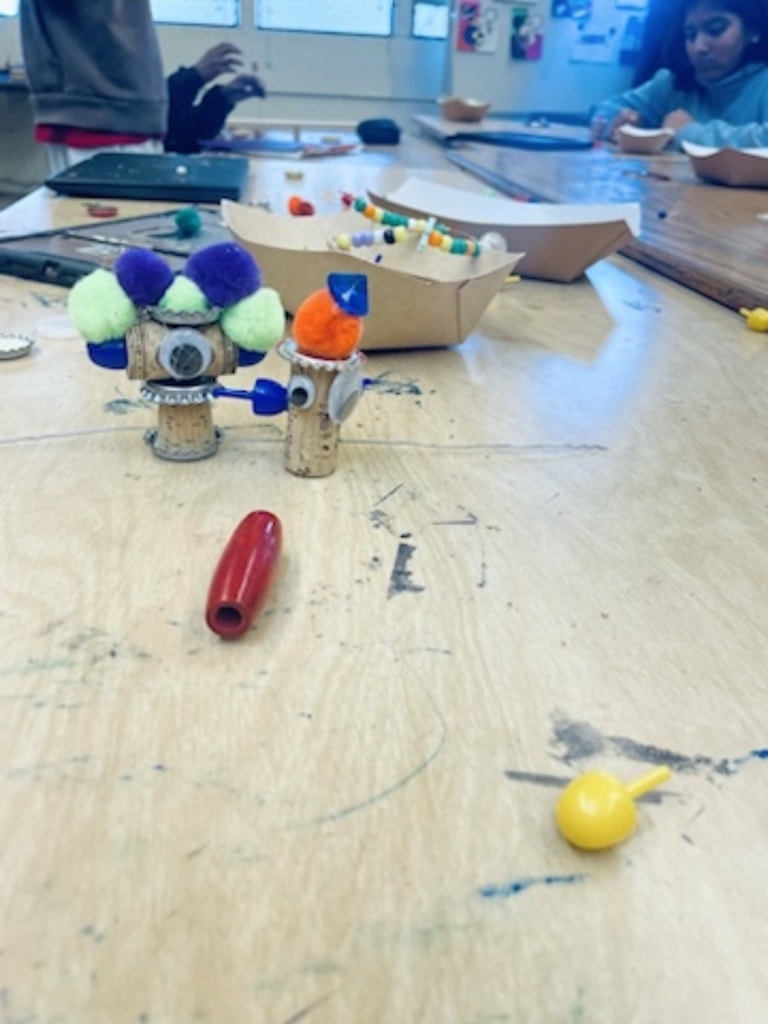
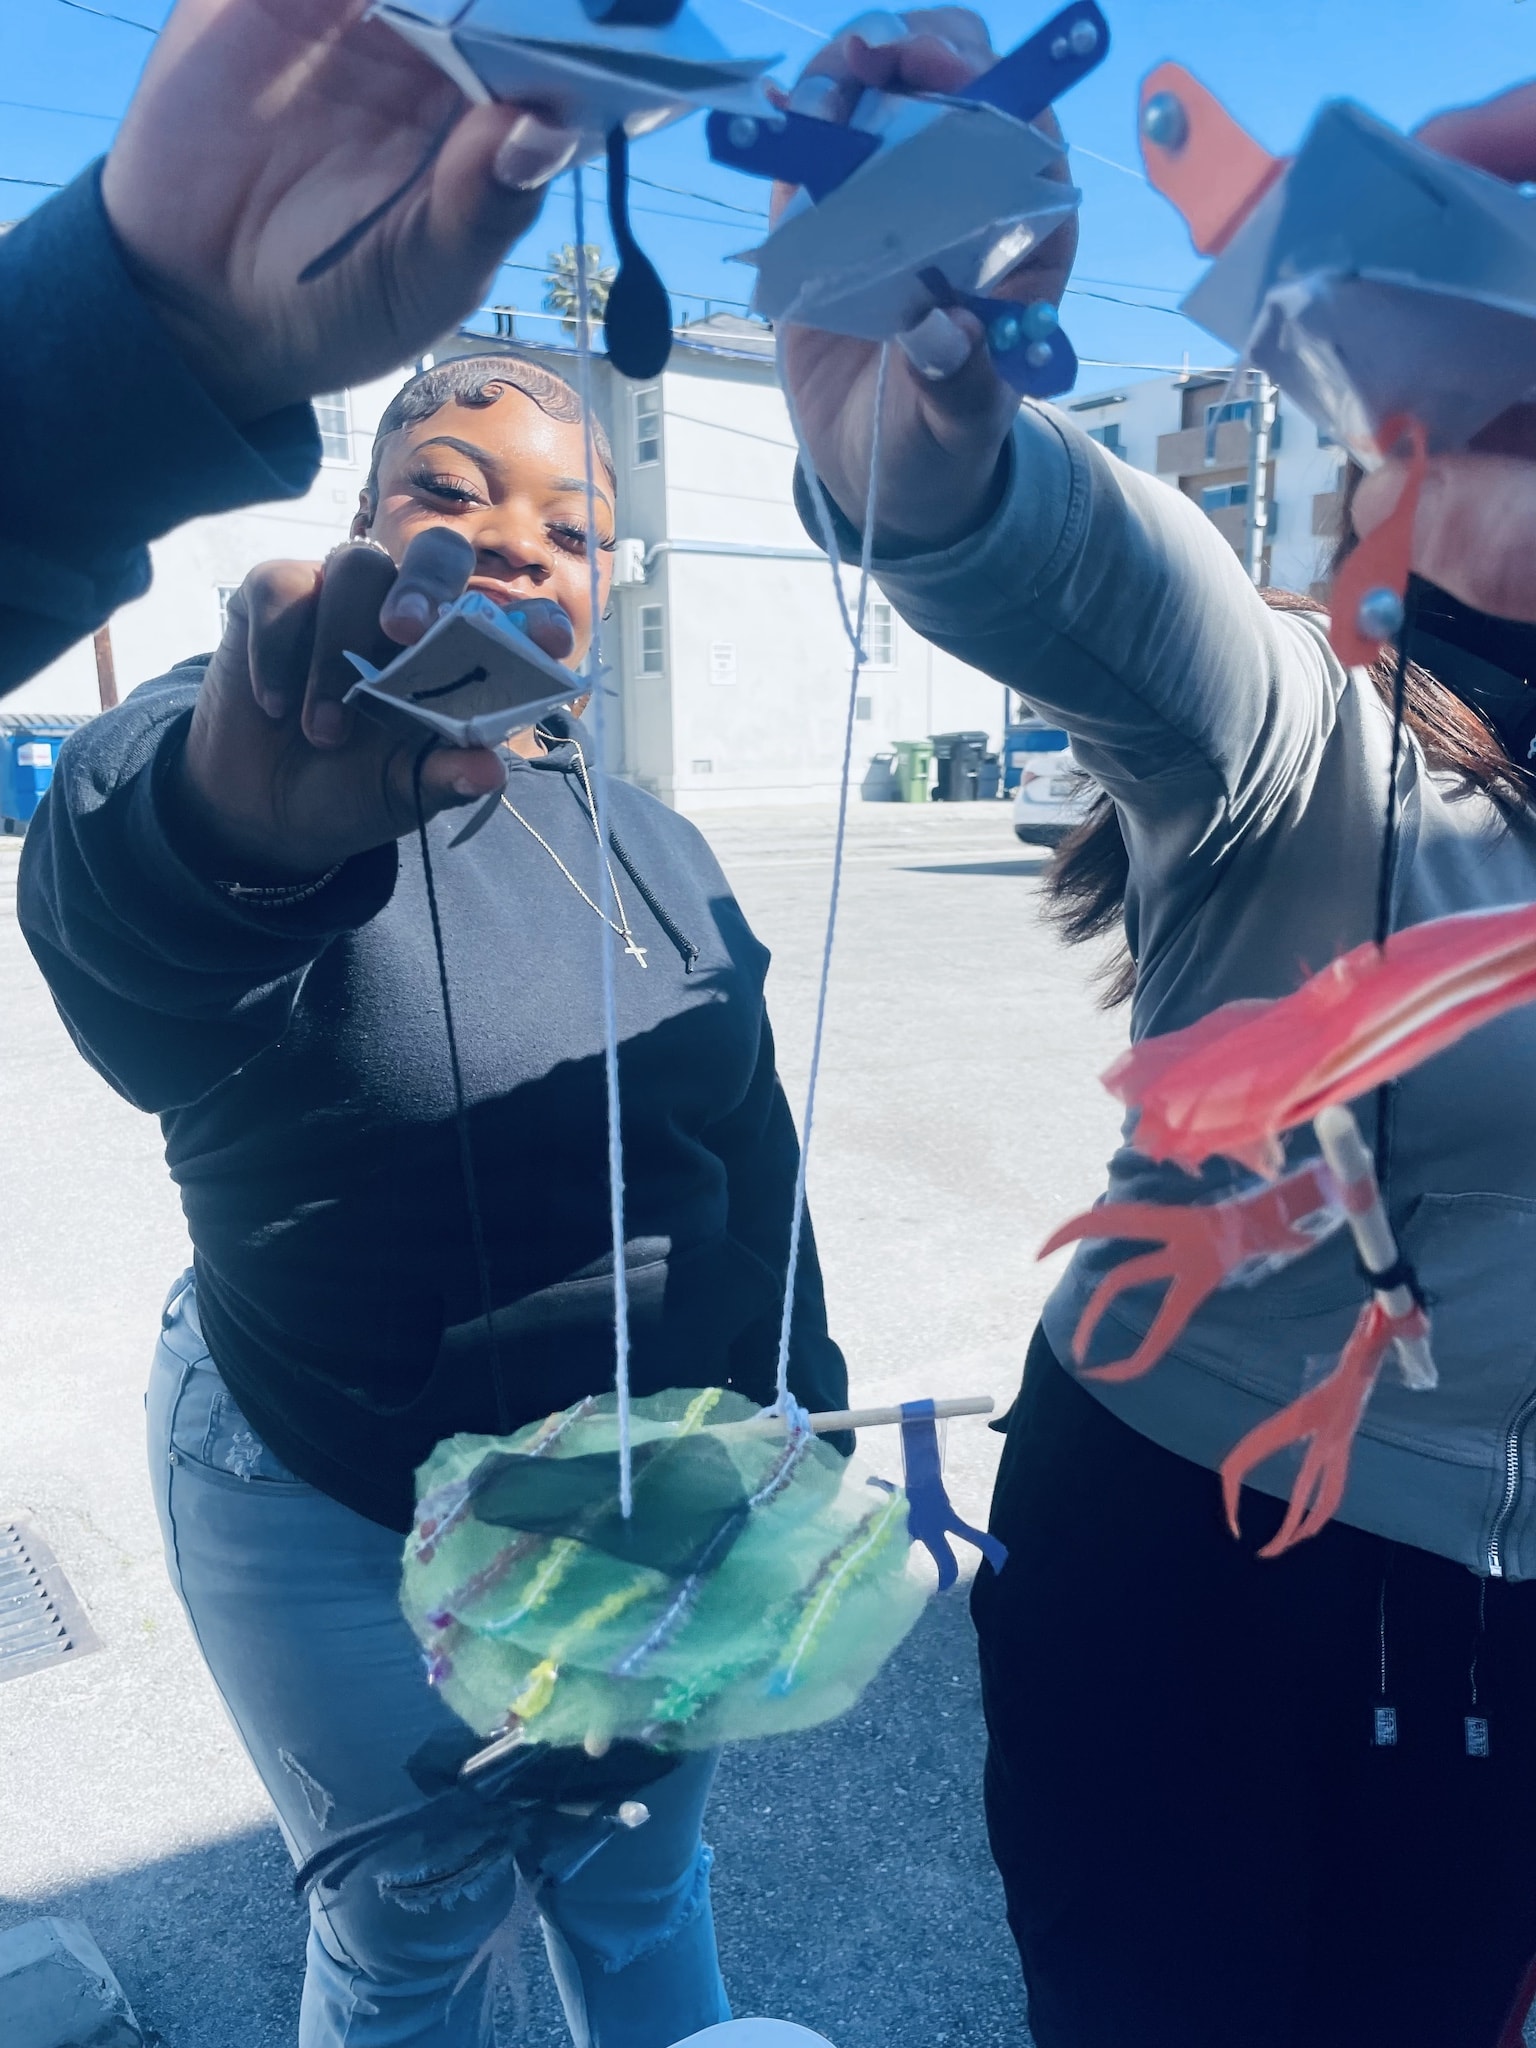
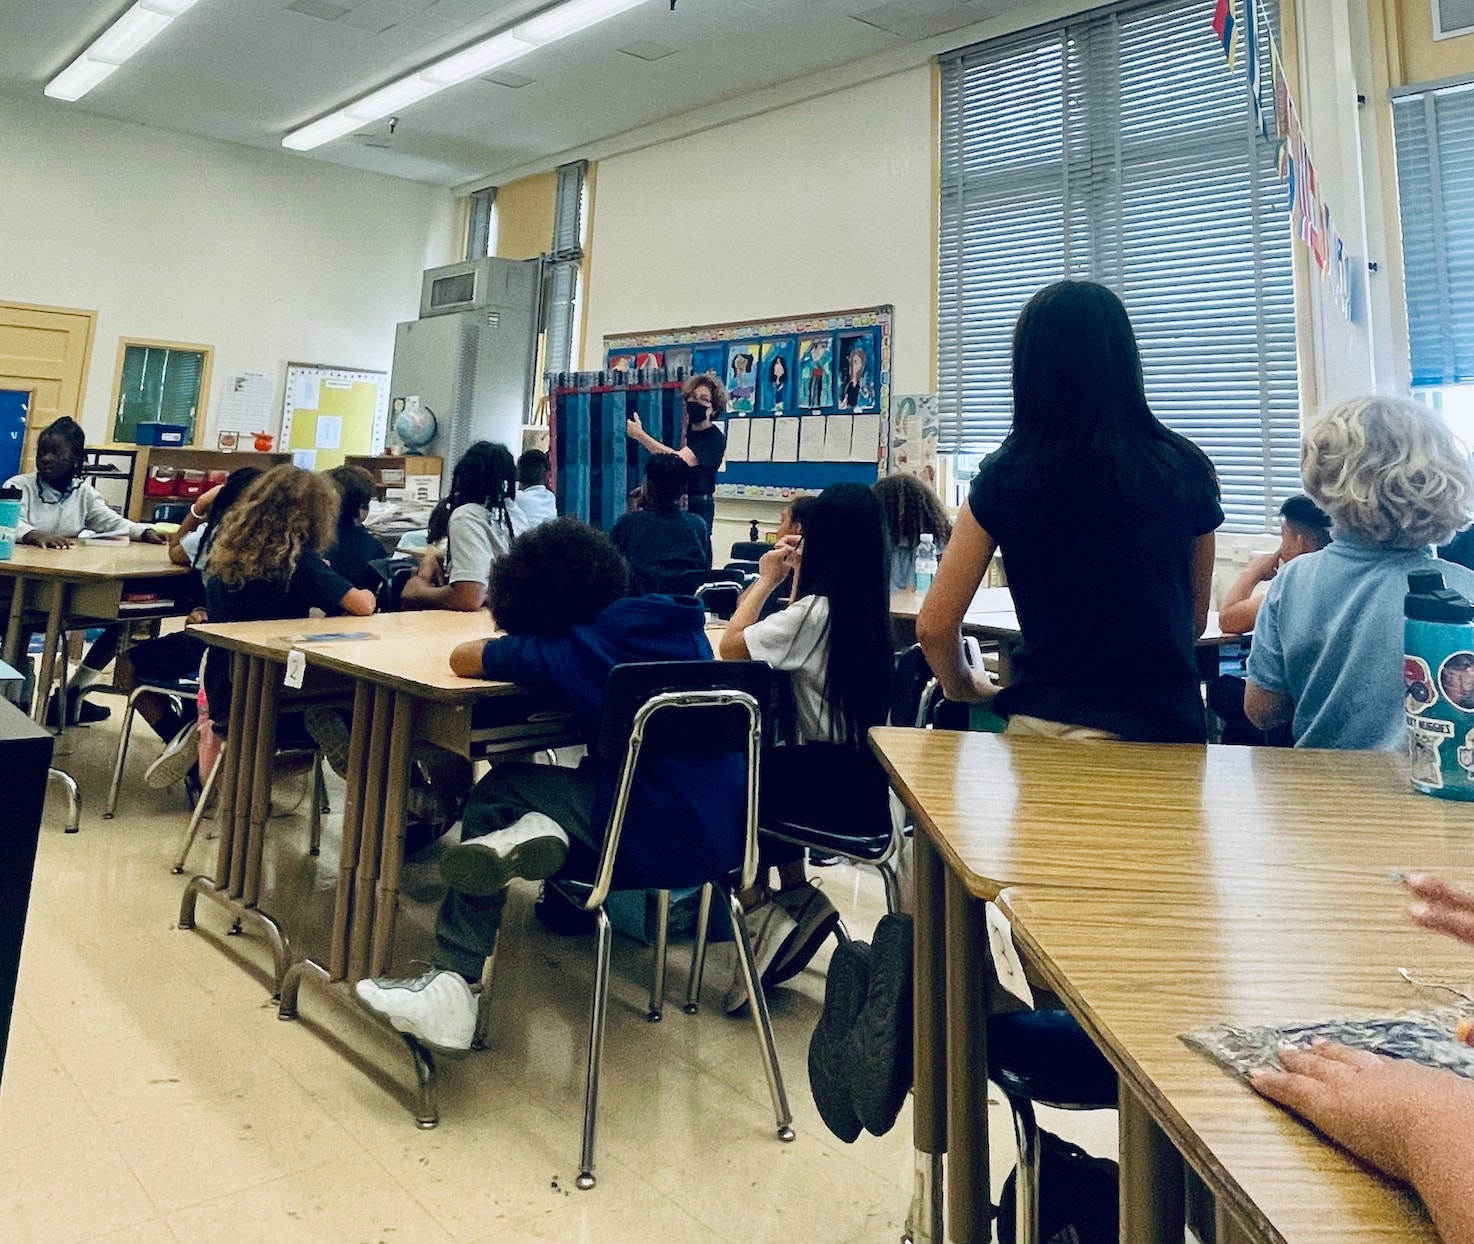
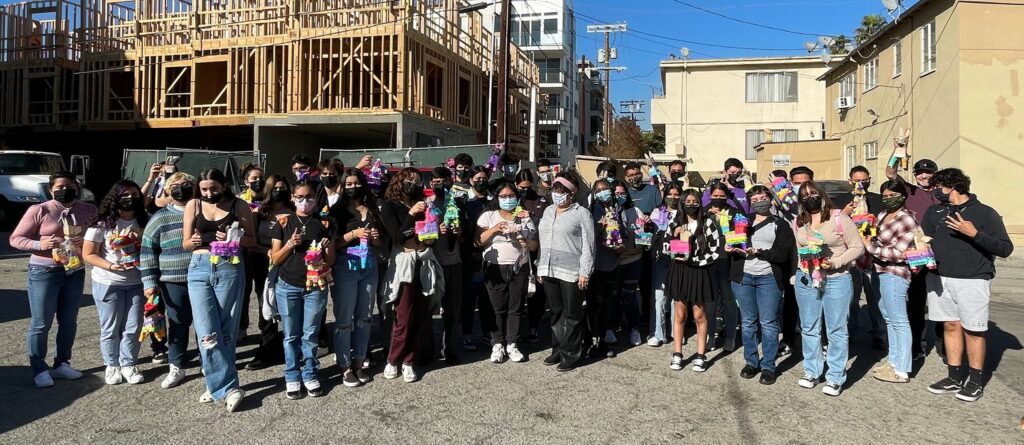
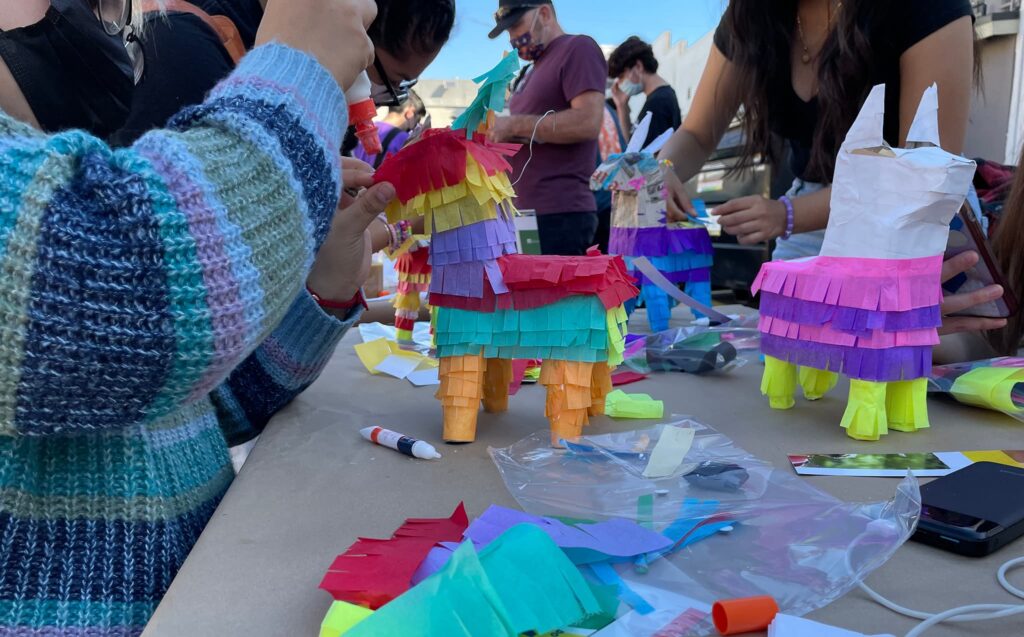
As we round the corner from winter into spring, our Craft in Schools program would like to reflect on our most recent and multimedia season of teaching artist & student programs. Throughout February, over 200 students across five schools learned about and explored the creative potential of puppetry, piñatas, reclaimed, and assemblage art from our Spirit of Play: Craft and Imagination exhibition.
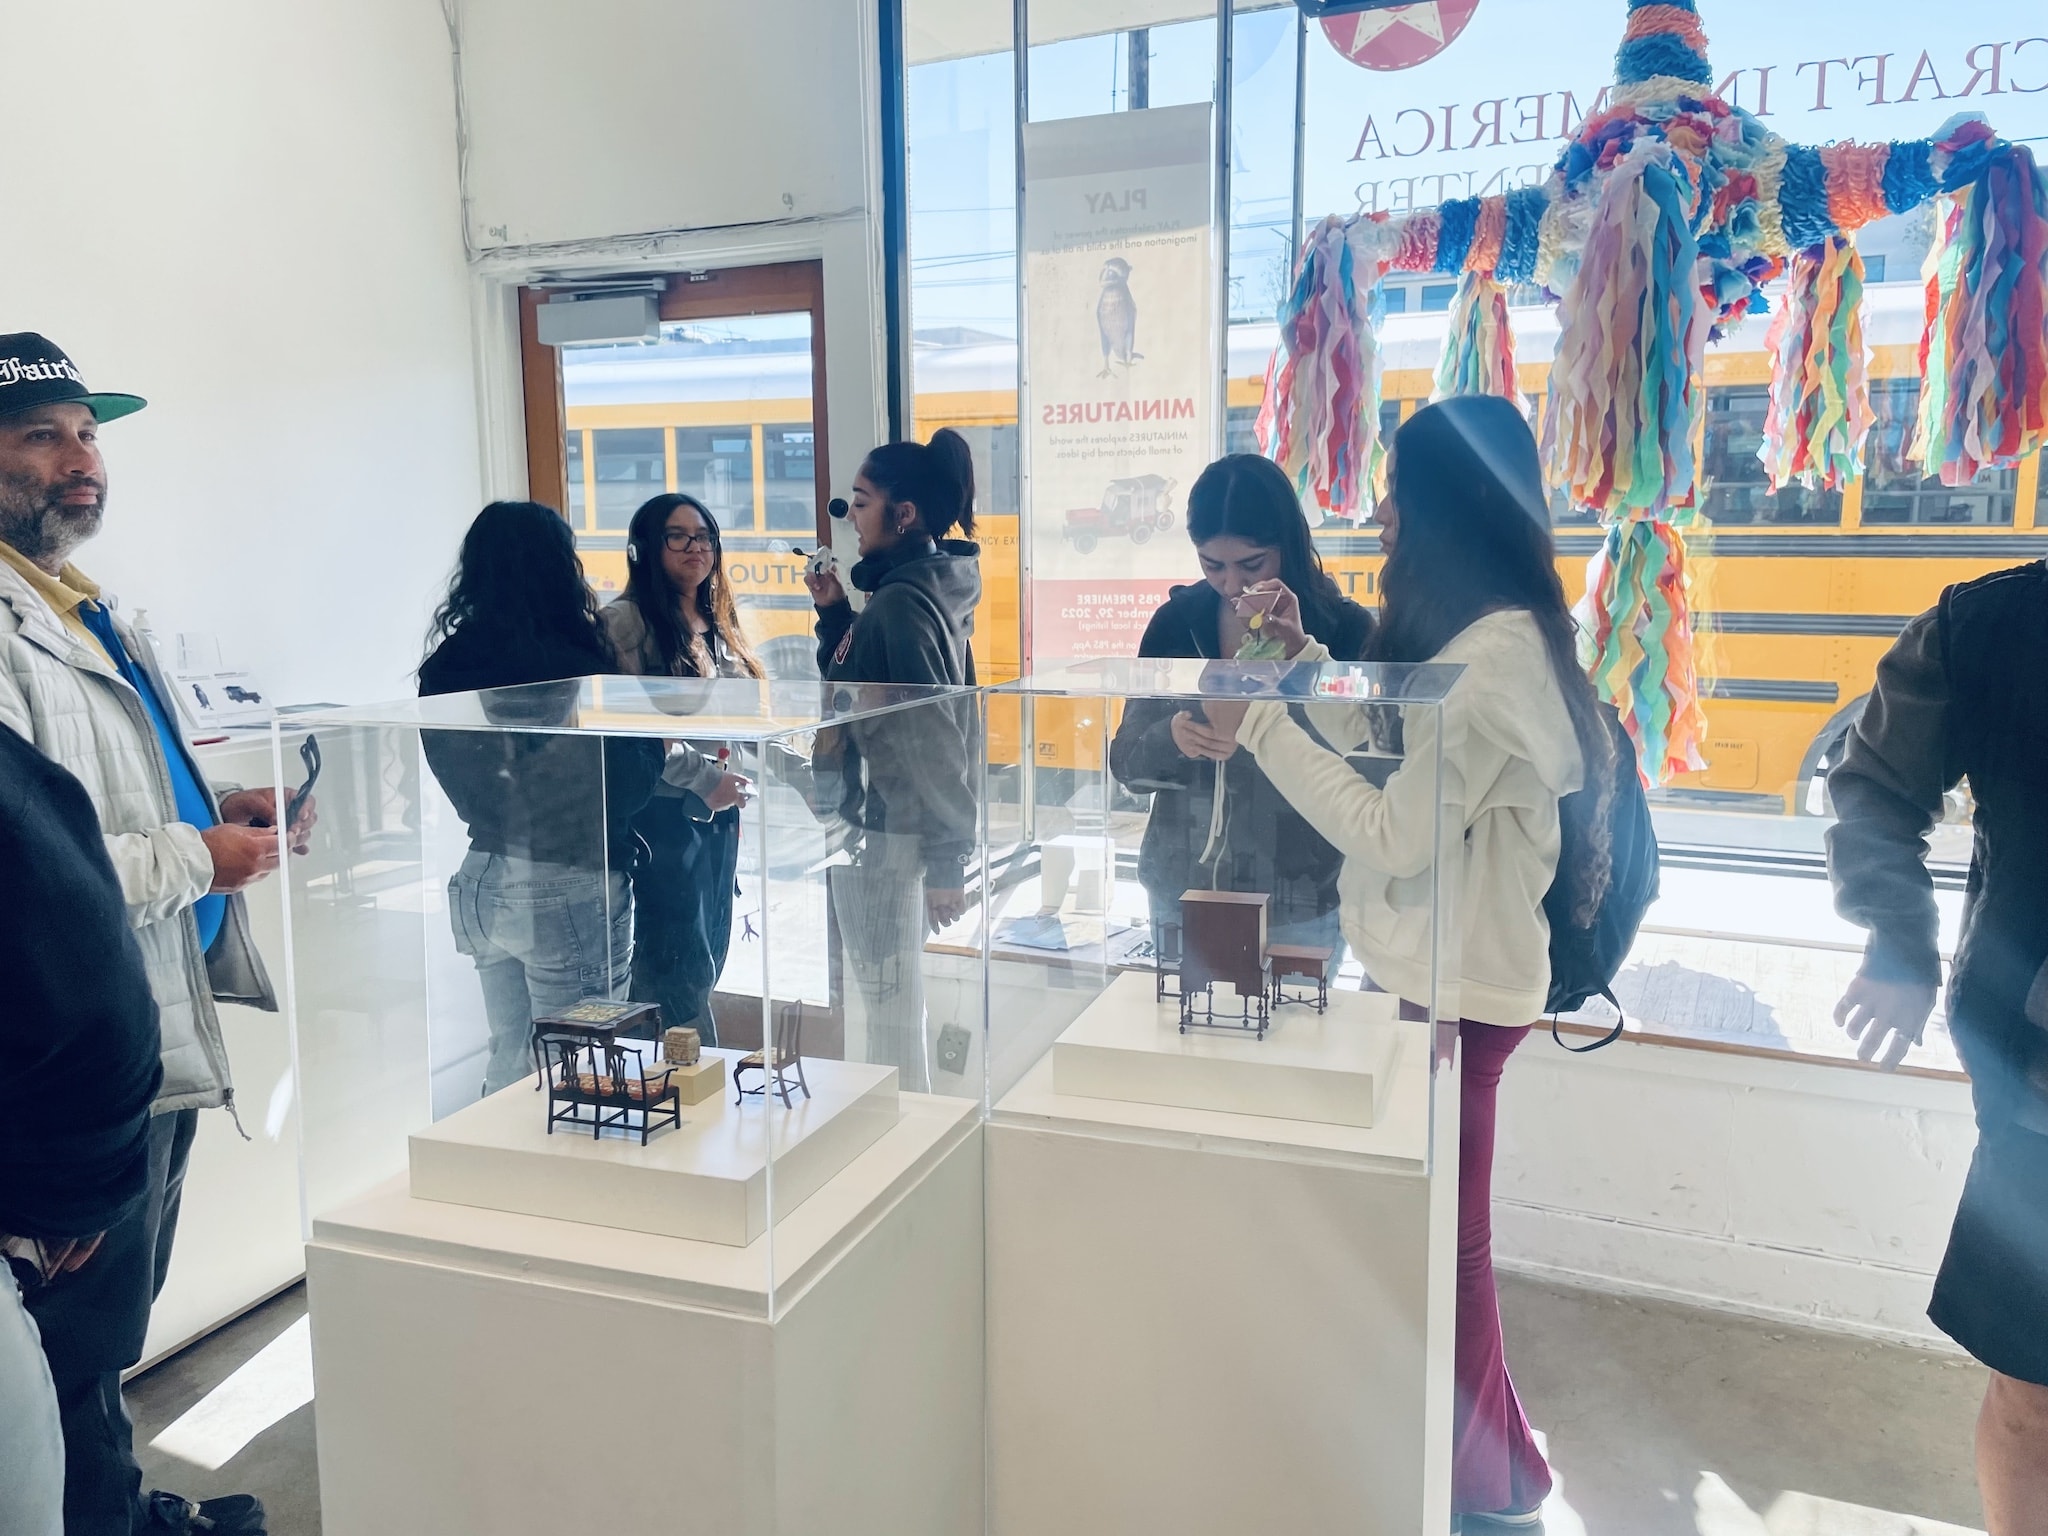
Inspired by our most recent PBS Craft in America featured Play & Miniatures episodes, we connected and engaged these students ages 9-18 with featured teaching artists Lorena Robletto, Calder Kamin, and local artist Eleanor Tullock from the Bob Baker Marionette Theatre.

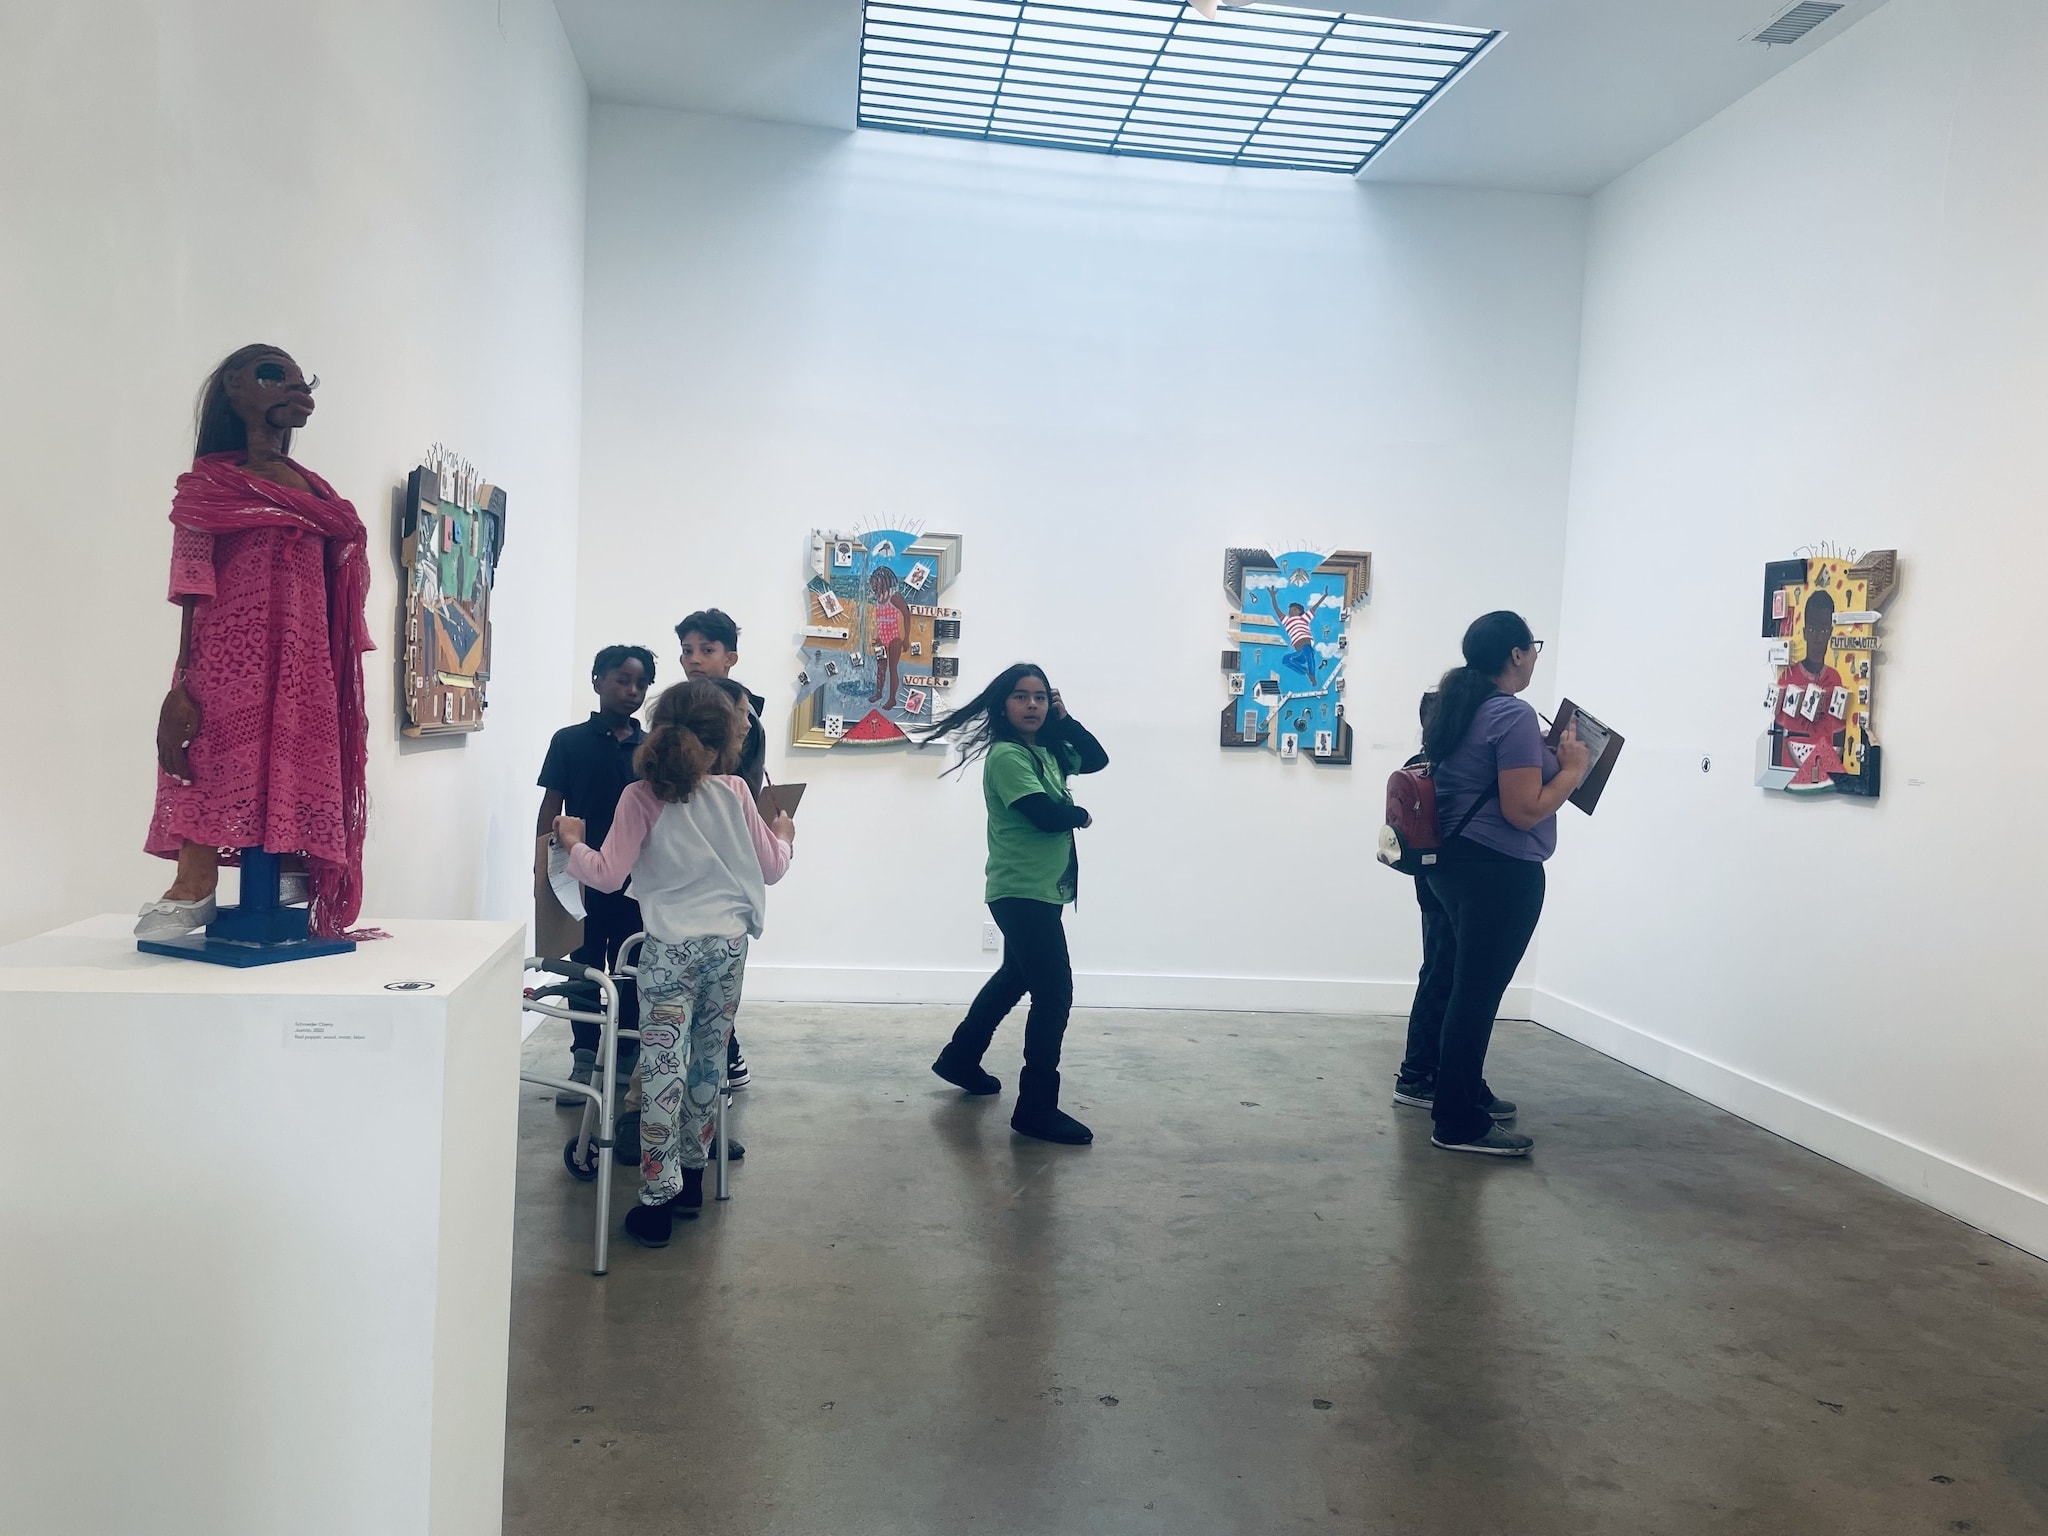
Our gallery visits investigated the environmental impact and hope within reclaimed/reuse art practices, guided by visiting artist Calder Kamin; we had a blast discussing school recycle programs, building out marker-cap jump ropes (pictured below) and exploring how we envision the future based on collective ecological responsibilities. Our curriculum explored poignant historical art related to Black History Month as seen in Schroeder Cherry’s historical puppetry and hopeful Future Voter Series assemblage art. Working with each of these artists was such a treat– full of personal artist-journey insights and messages of creative empowerment.

All of us collaborating educators were impressed and delighted in our students’ depth of inquiry, creative innovation, and visual thinking. Special thanks to the following schools teacher and chaperone collaborators at: Rosewood Elementary, Paul Revere Middle School, Palms Middle School, Fairfax High School, and Van Nuys High School.
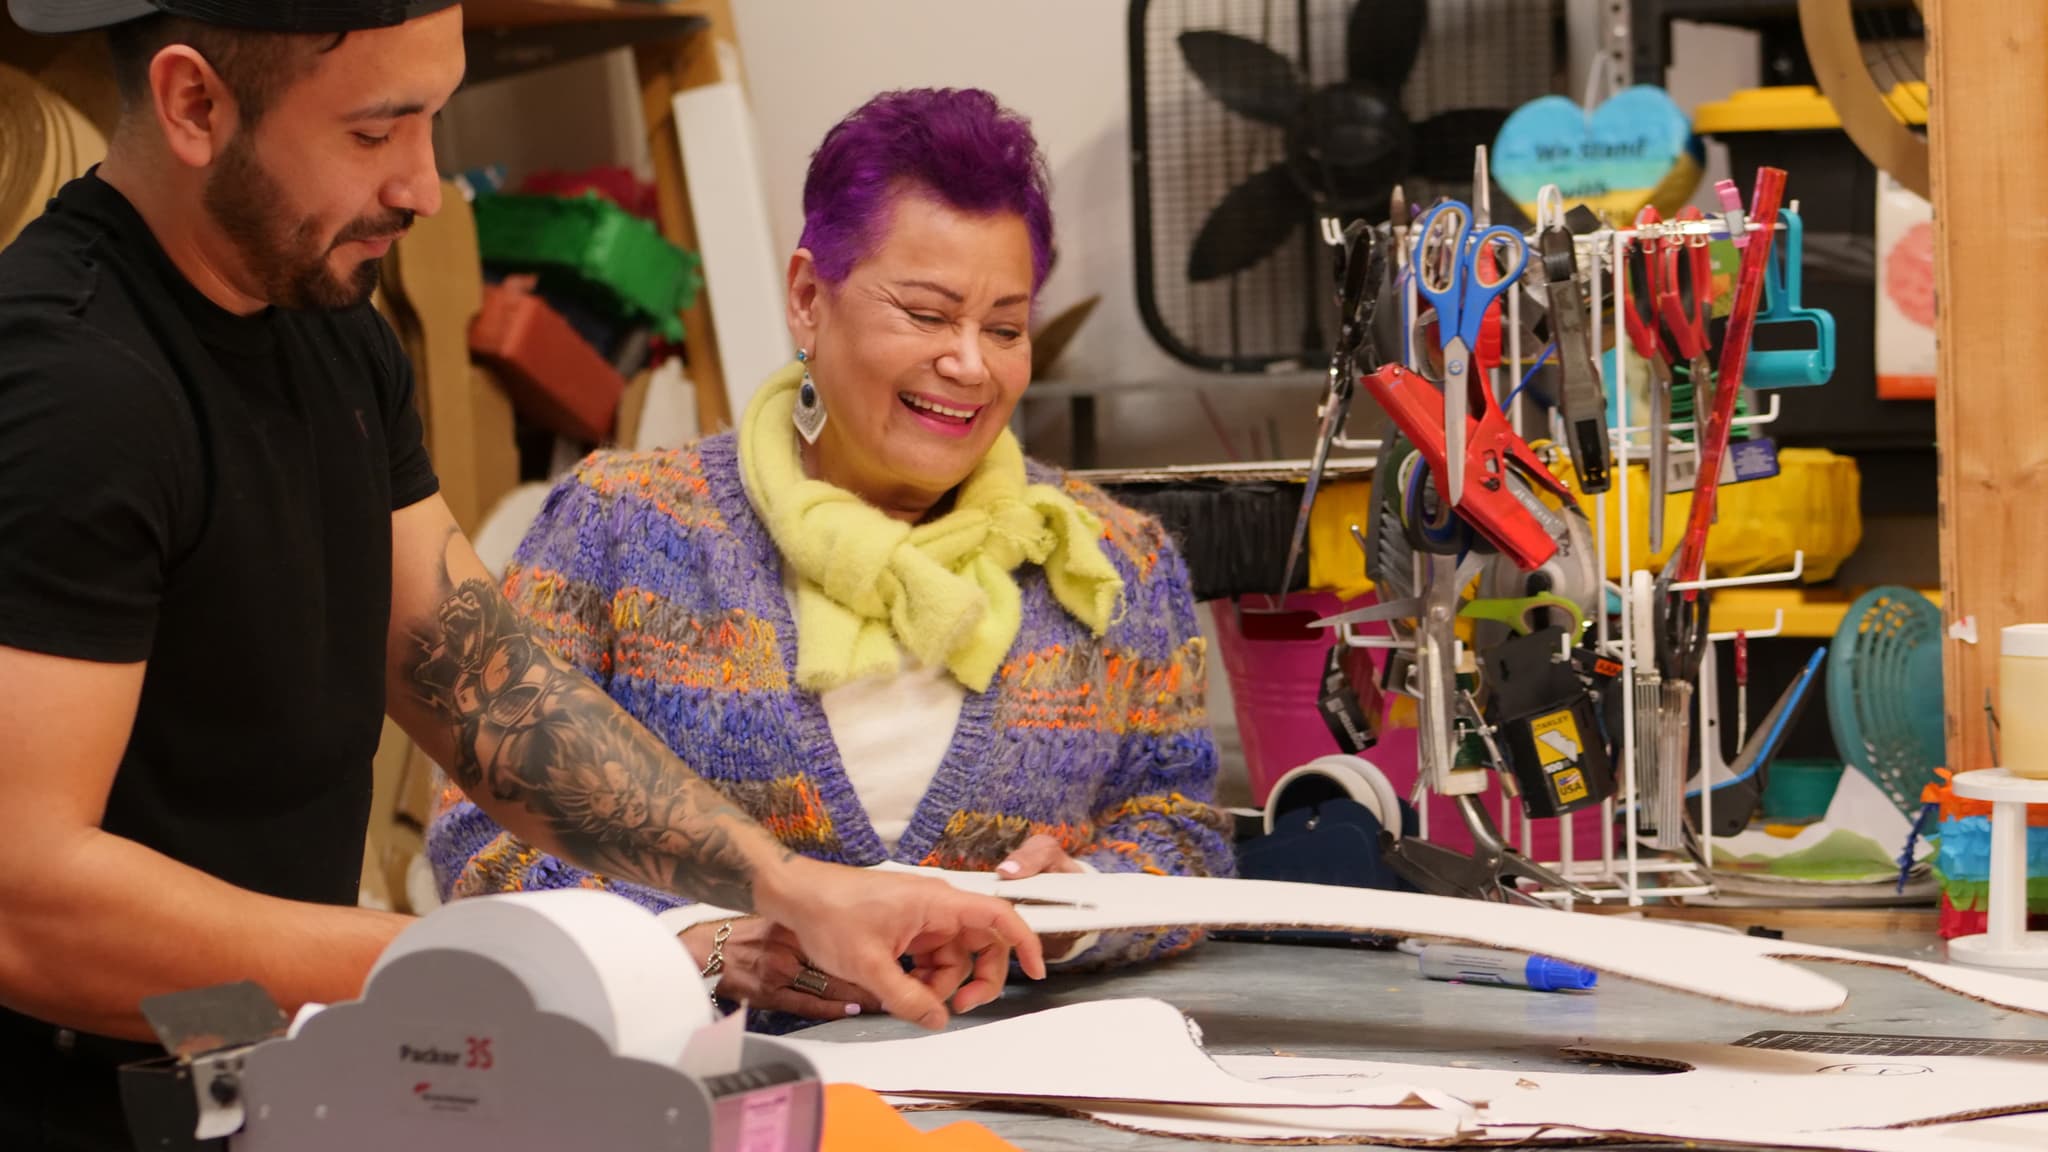
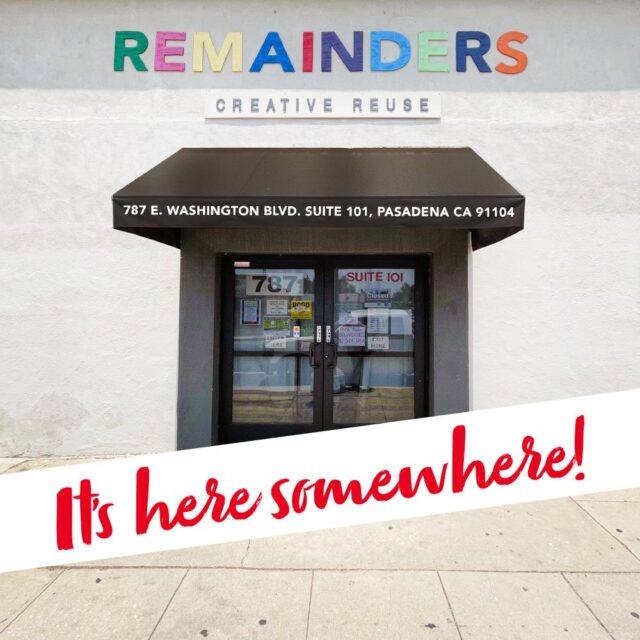
Community Partnerships: Reaching this many students in a whirlwind few weeks wouldn’t have been possible without key community partnerships. Our Craft Center would like to show our biggest thanks to all of our teaching artists and shoutout our wonderful LA-community partnerships with Remainders: Creative Reuse Space & Thriftstore in Pasadena; and Señora Robletto’s Mid-City Amazing Piñatas Creative Studio for donating our assemblage/reclaimed, piñata teaching artists, and piñata workshop materials. Do yourself a favor, explore and connect with these wonderful community shops and studios!
For more information about our Craft in Schools program or teaching artist opportunities, please contact (me) Sam@craftinamerica.org or center@craftinamerica.org
2023 Fall Highlights: Craft in Schools Field Trips
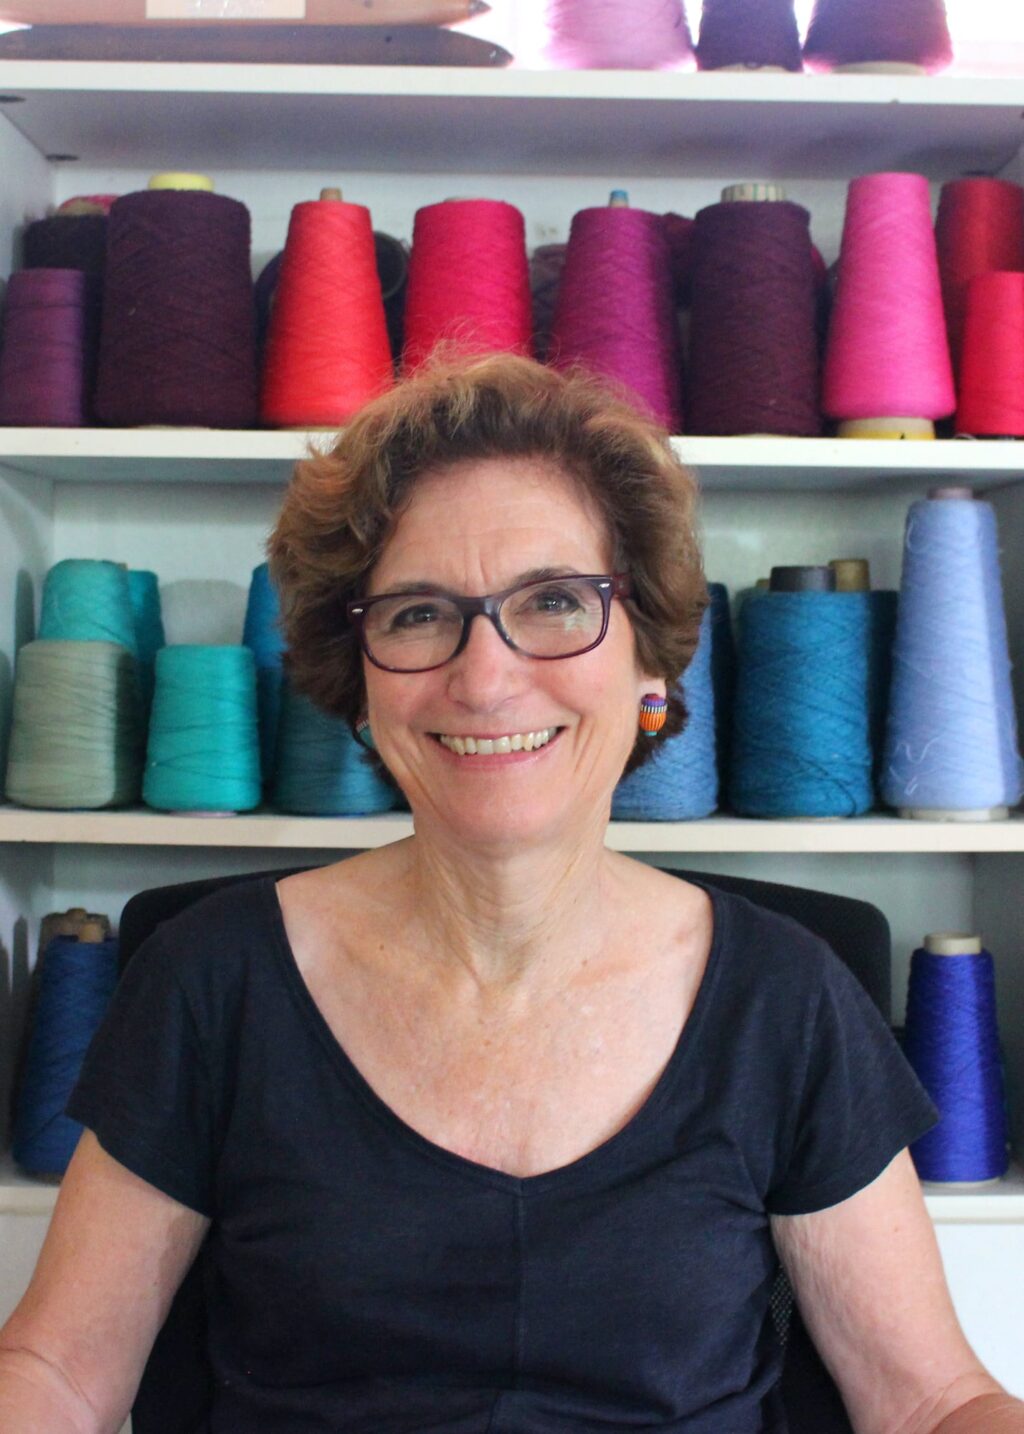
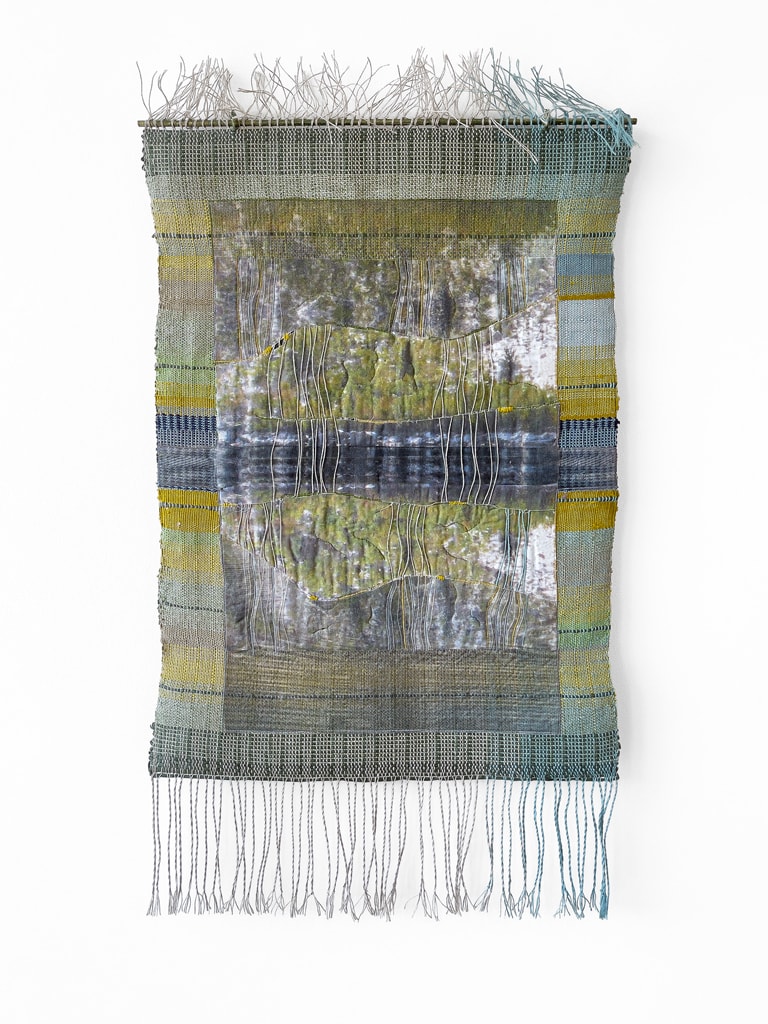
What a whirlwind fall we had at Craft in Schools! We couldn’t have run nearly a dozen fieldtrips and class visits without our main textile/multimedia artist, California Fibers organizers, & fellow educator Cameron Taylor Brown. Brown is a long time educator, Textile Arts Los Angeles board member, and founder of the textile resource center ArtsGarage. We were also joined by Ashley Blalock from our Fall group exhibition, as we connected with Palms Middle School’s student-run Crochet Club. The backdrop for this season of dynamic programming included beautiful tapestries, textile, and multimedia installations from artists of the renown California Fibers Collective as featured in our Influences/Influencers: California Fibers exhibition.
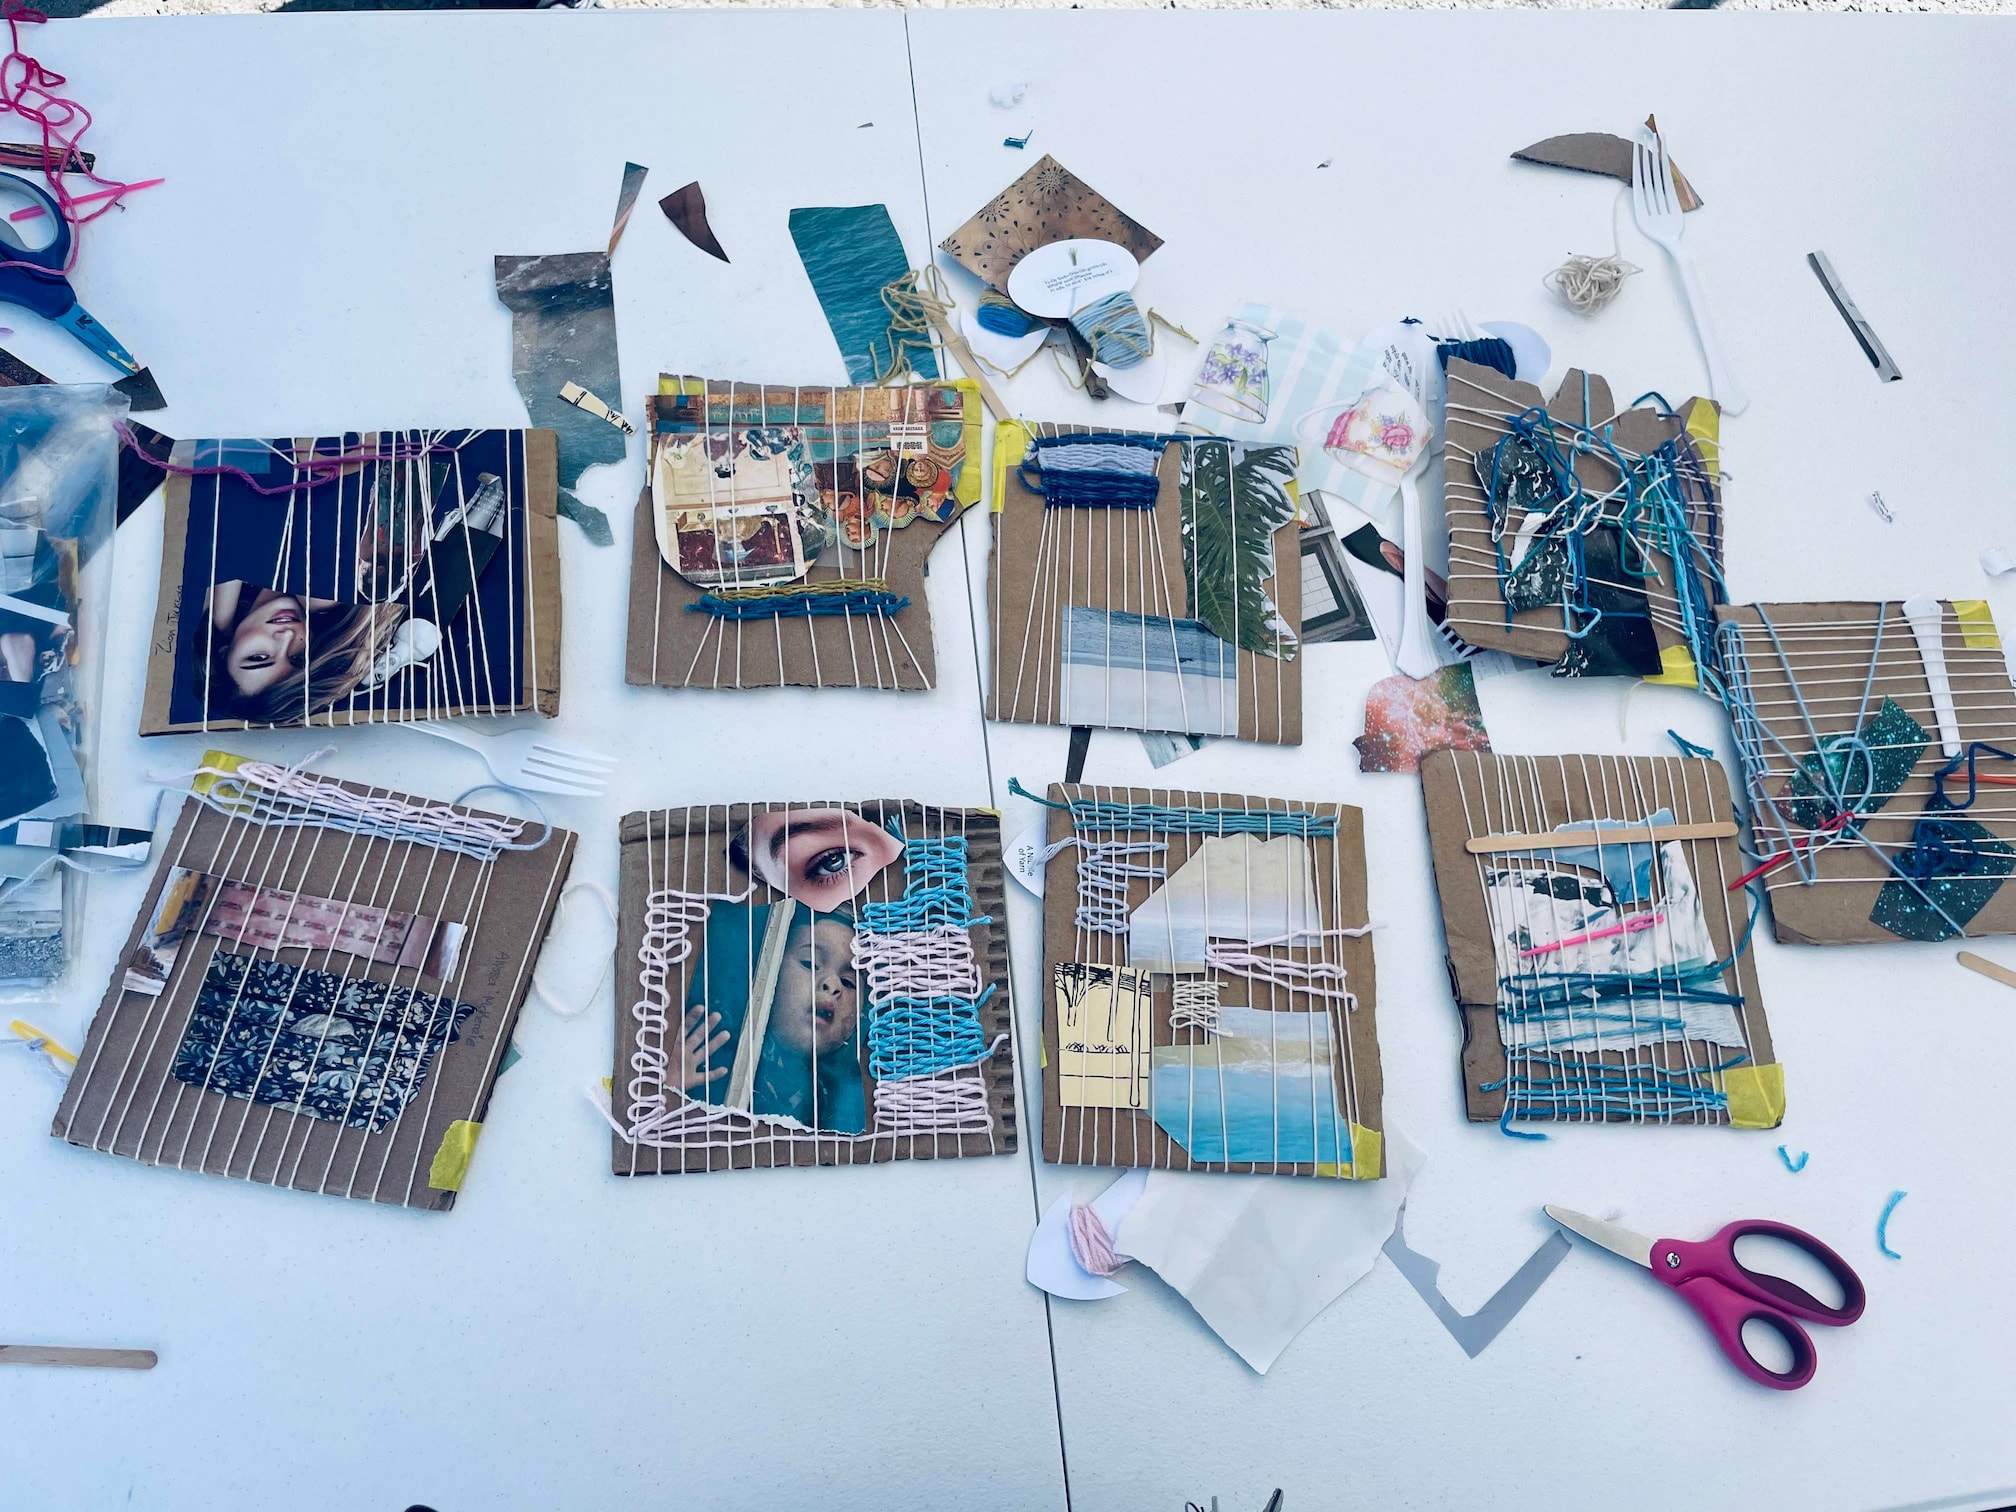
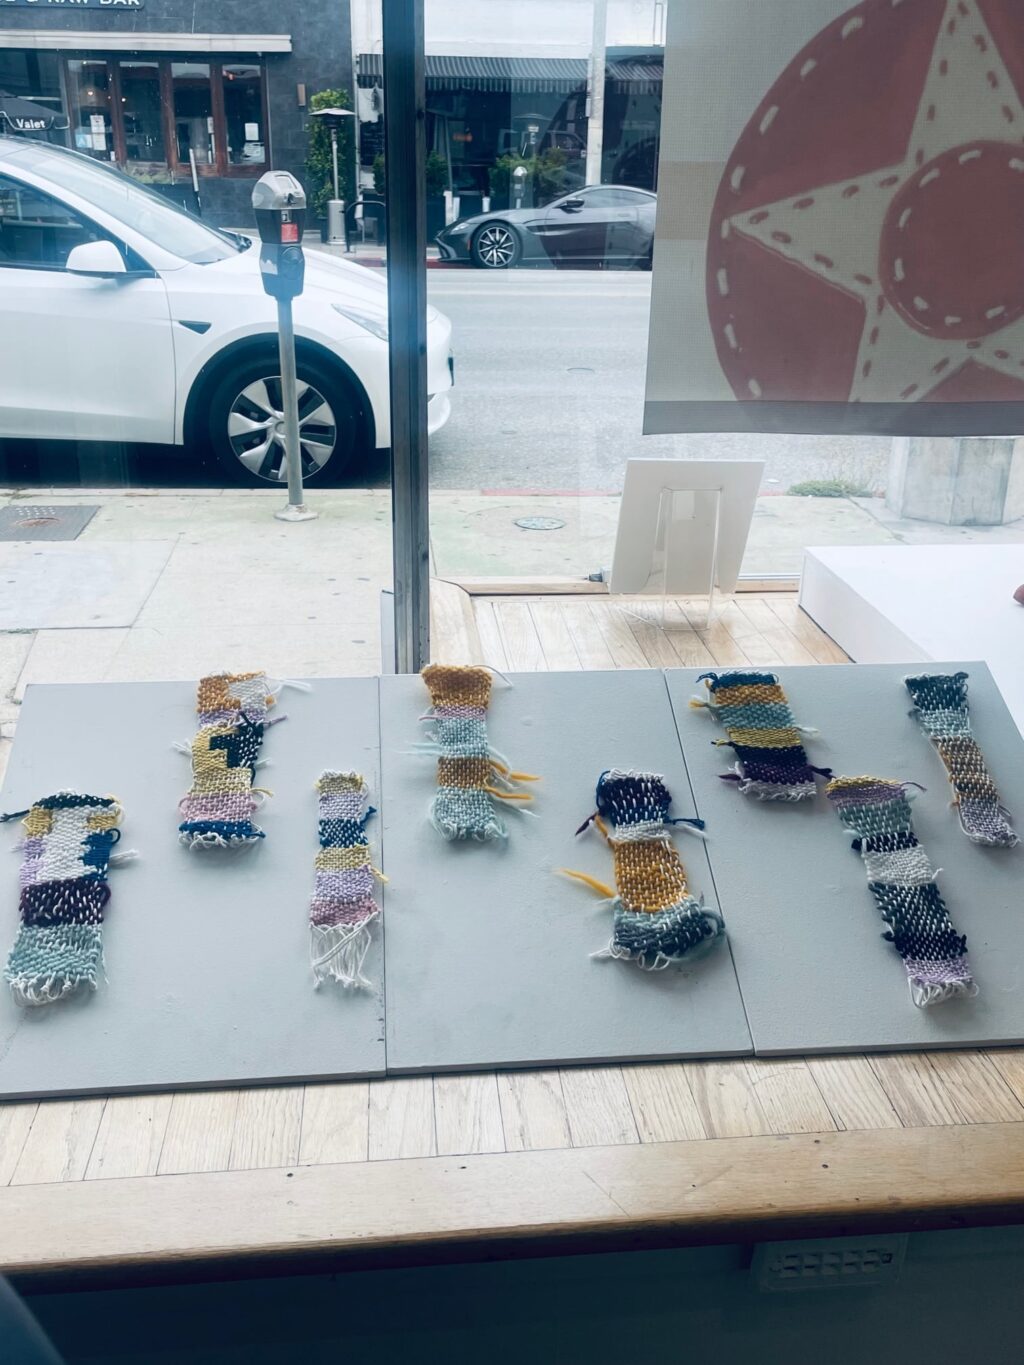
From September to December, Cameron Taylor Brown and I (Sam) engaged, and taught over 200 students across five schools the art of creating one’s own loom, collage-weaving, and embroidery. Many of our lessons explored the global-tradition of weaving textiles, how garments, sustainable practices, and how multimedia art typically relegated to the realm of femininity have shaped many industries and social change movements the world over. Students shared their questions, insights, and related craft art to their own meaning making and cultural sense of belonging through our gallery visits, partner activities, and hands-on projects.
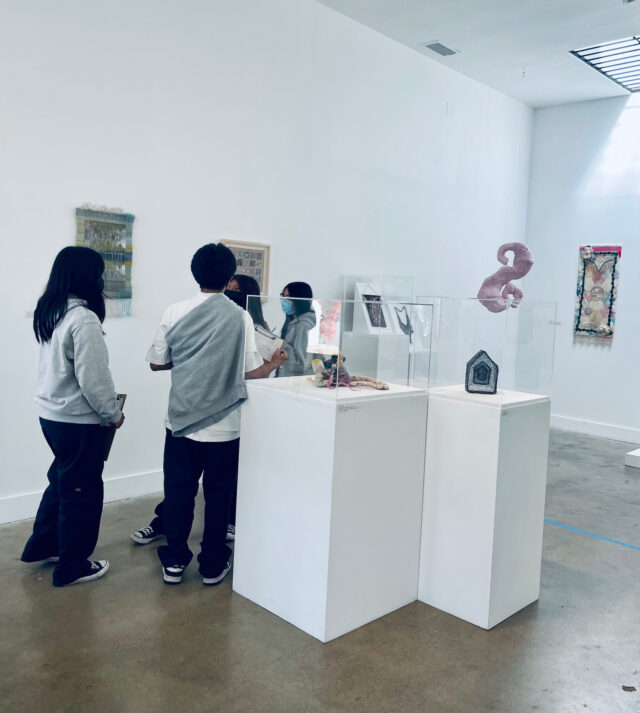
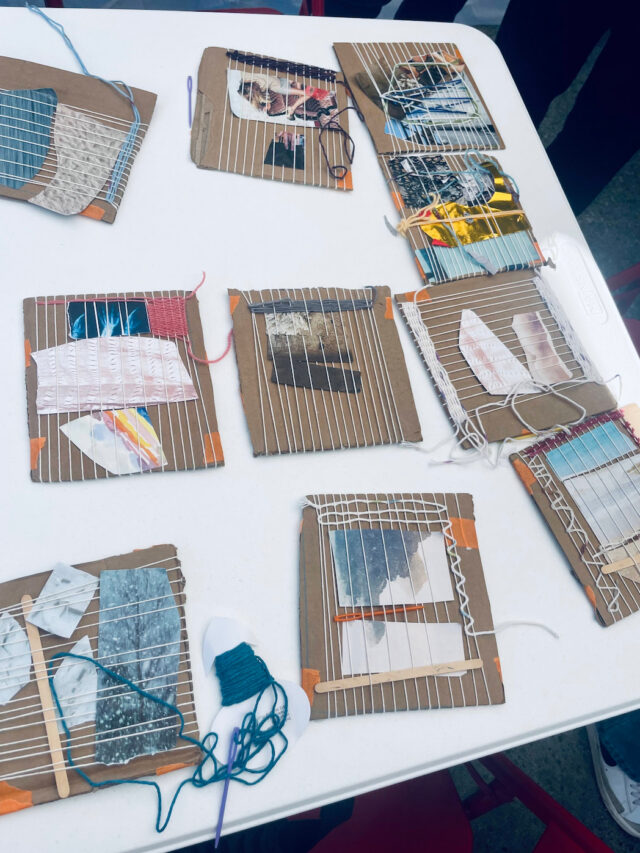
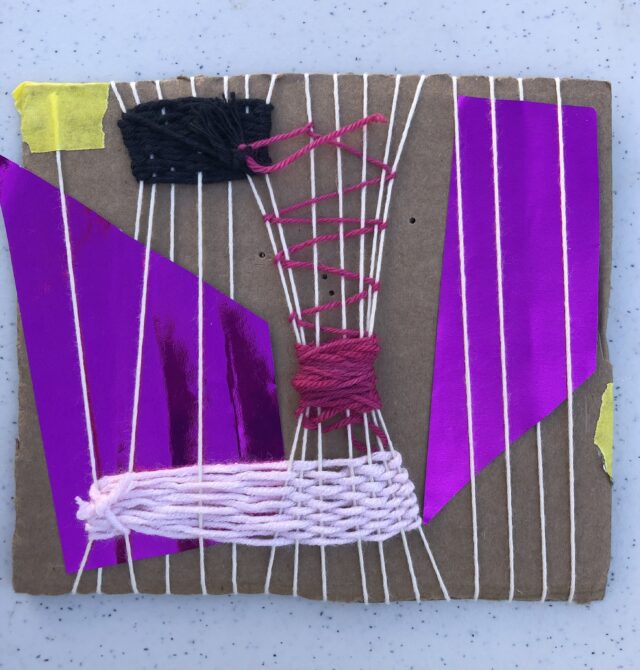

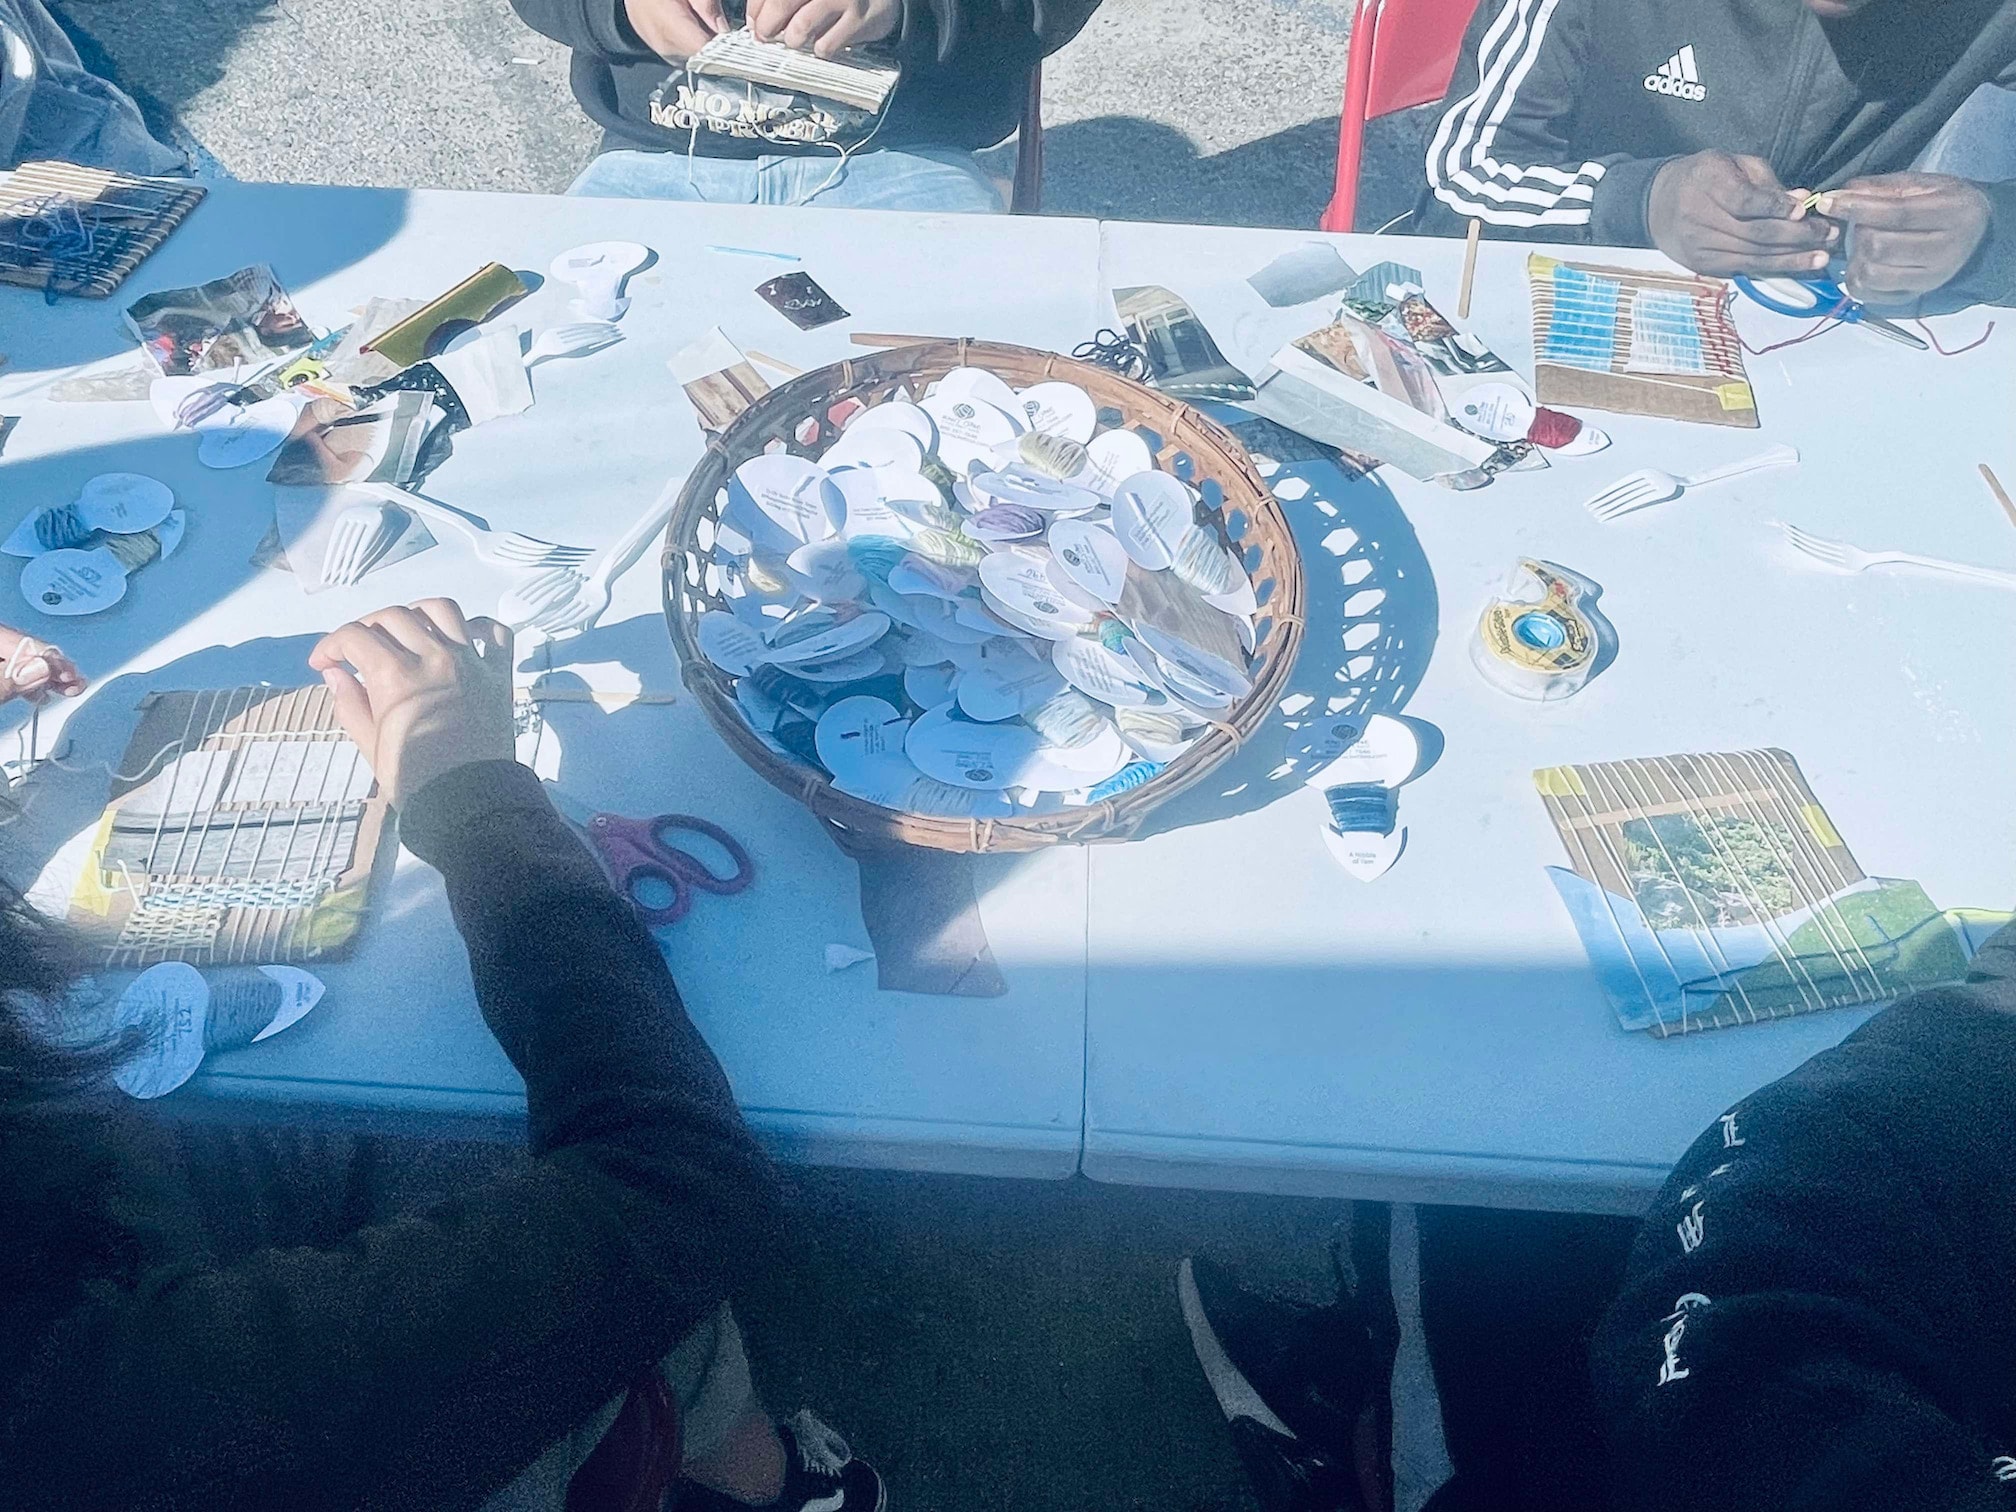
It was wonderful encouraging and witnessing students’ design and methodical weaving skills grow in each session. Many of the middle schoolers even learned first-hand how to “warp” a piece of cardboard firmly enough to create a d.i.y. loom, proving once again that creating art doesn’t have to feel inaccessible or wasteful. Special thanks to the following schools, teachers, and chaperone collaborators at: Rosewood Elementary, Joseph Le Conte Middle School, Palms Middle School, Fairfax High School, and Van Nuys High School.
For more information about our Craft in Schools program or teaching artist opportunities, please contact (me) Sam@craftinamerica.org or center@craftinamerica.org
Craft Library Update: Special Collections + Back to School with Craft in America
Despite these last couple weeks of lingering heat, things are feeling very autumnal and back-to-school at the Craft Center. Our Craft in Schools team led by (me) Sam Sermeño and LAUSD school partnerships have kicked into full force as we host teaching-artist workshops, art tours, and field trips.
Lately, during field trips curious students have been asking me about our significant craft-art library, so we figure now is a good time to share some library announcements.
Special Collections
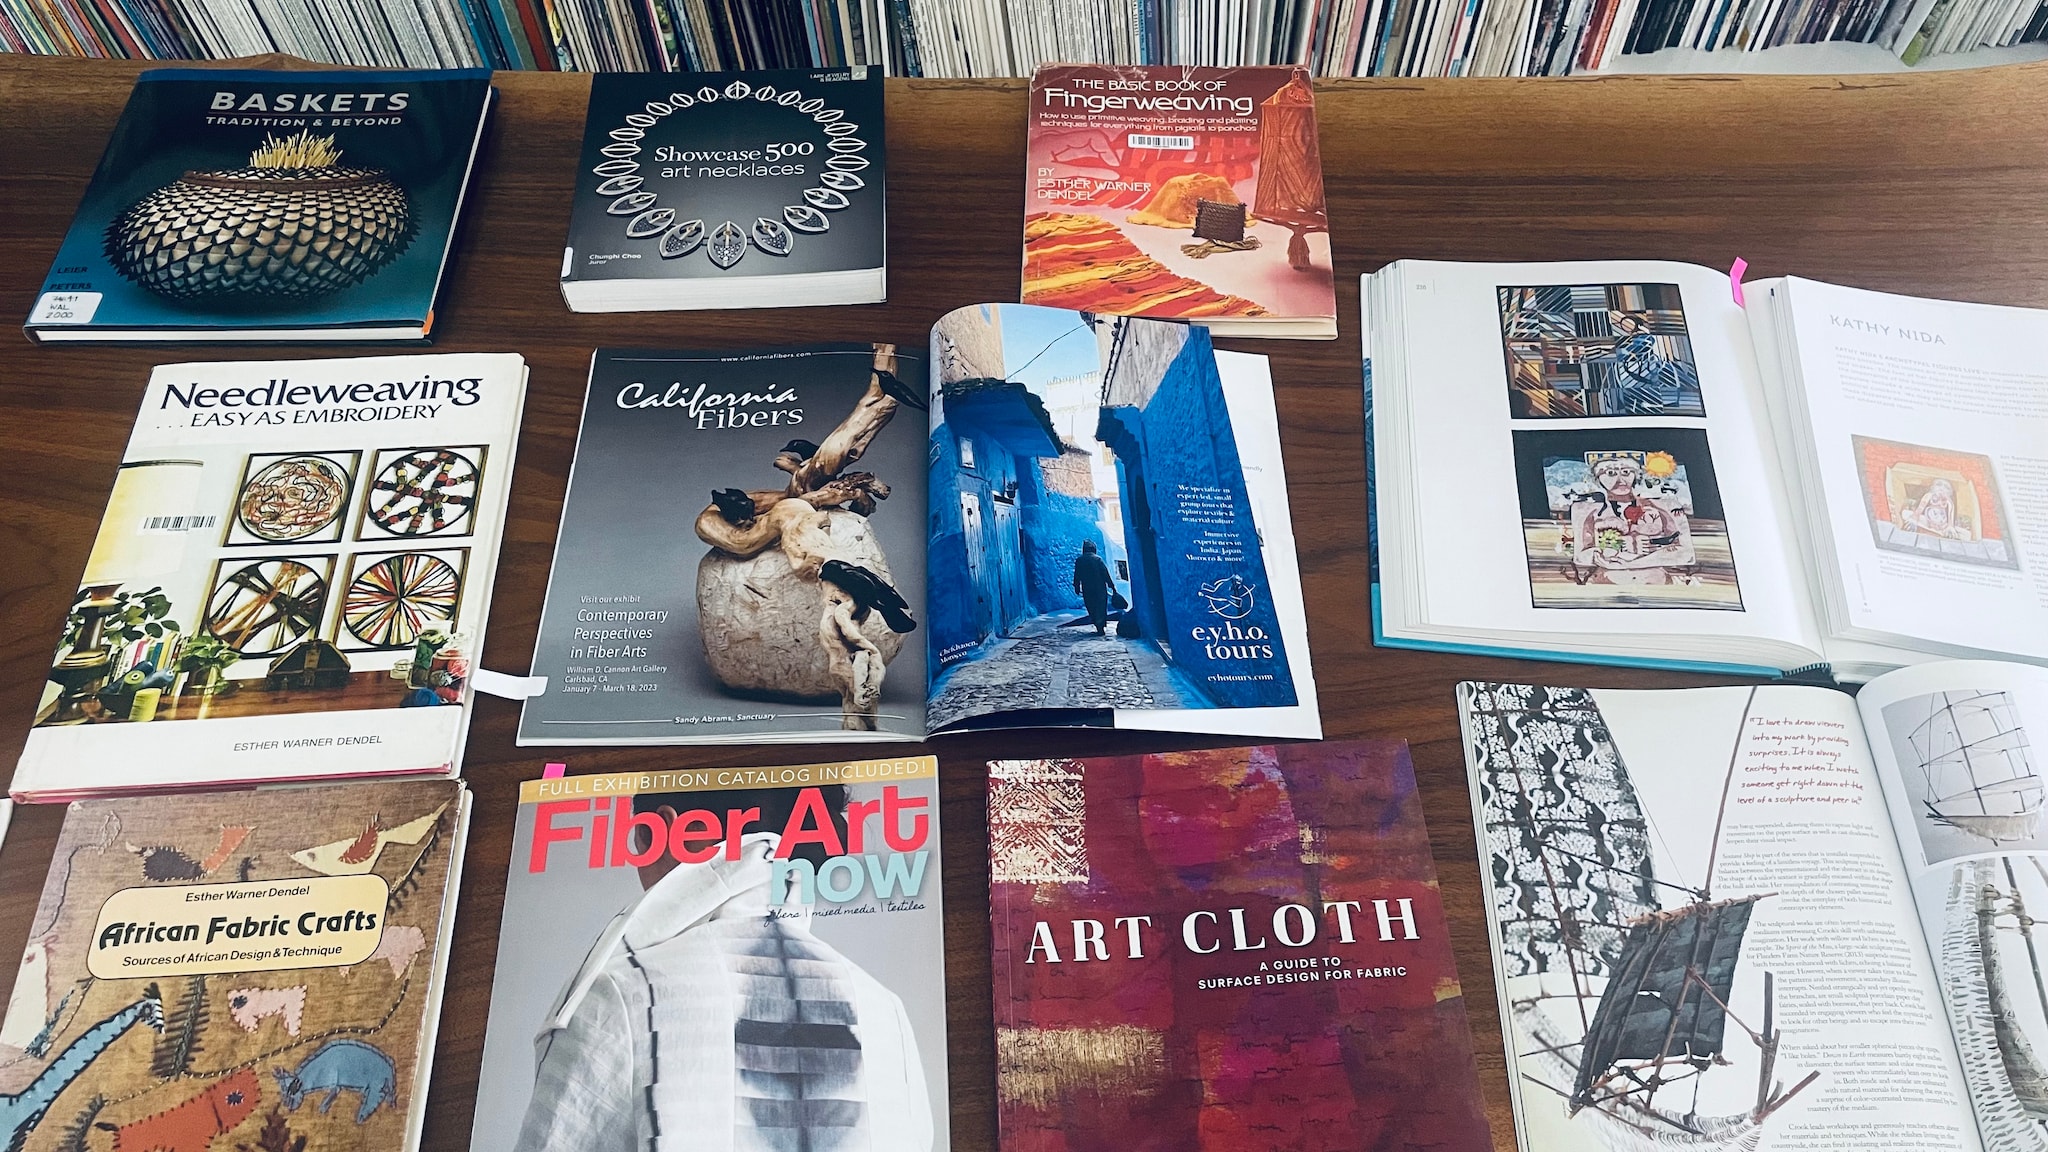
All are welcome to visit and browse our newly added Special Collections materials. Over the summer, thanks to generous art and literary patrons, we’ve integrated and catalogued four cubic feet of notable library donations. These recently added materials include books now blended into our general Dewey-Decimal organized shelves; along with a variety of niche art catalogs and unique artist paper ephemera found in our “Special Collections” labeled magazine boxes.
As always, we invite all craft enthusiasts and the wider public to enjoy our current art exhibitions and to browse our in-house library. We’re happy to collaborate with artists, curators, and fellow art nerds in general craft research and information resourcing as well. Currently, our gallery/library space (previewed below) features an interactive/browsable display of magazines, books, and manuals around fiber arts connected to the work of our Fall 2023 Influences-Influencers: California Fibers Exhibition.
The library is open to the public: Tuesday – Saturday, from noon to 6pm.
The Craft in America Center Library includes over 3000 books, exhibition catalogs, and more than 2000 periodicals dedicated to the art of craft and related topics.
For further library or Craft in Schools inquiry, please visit our Library page or contact Education Programs and Library lead sam@craftinamerica.org
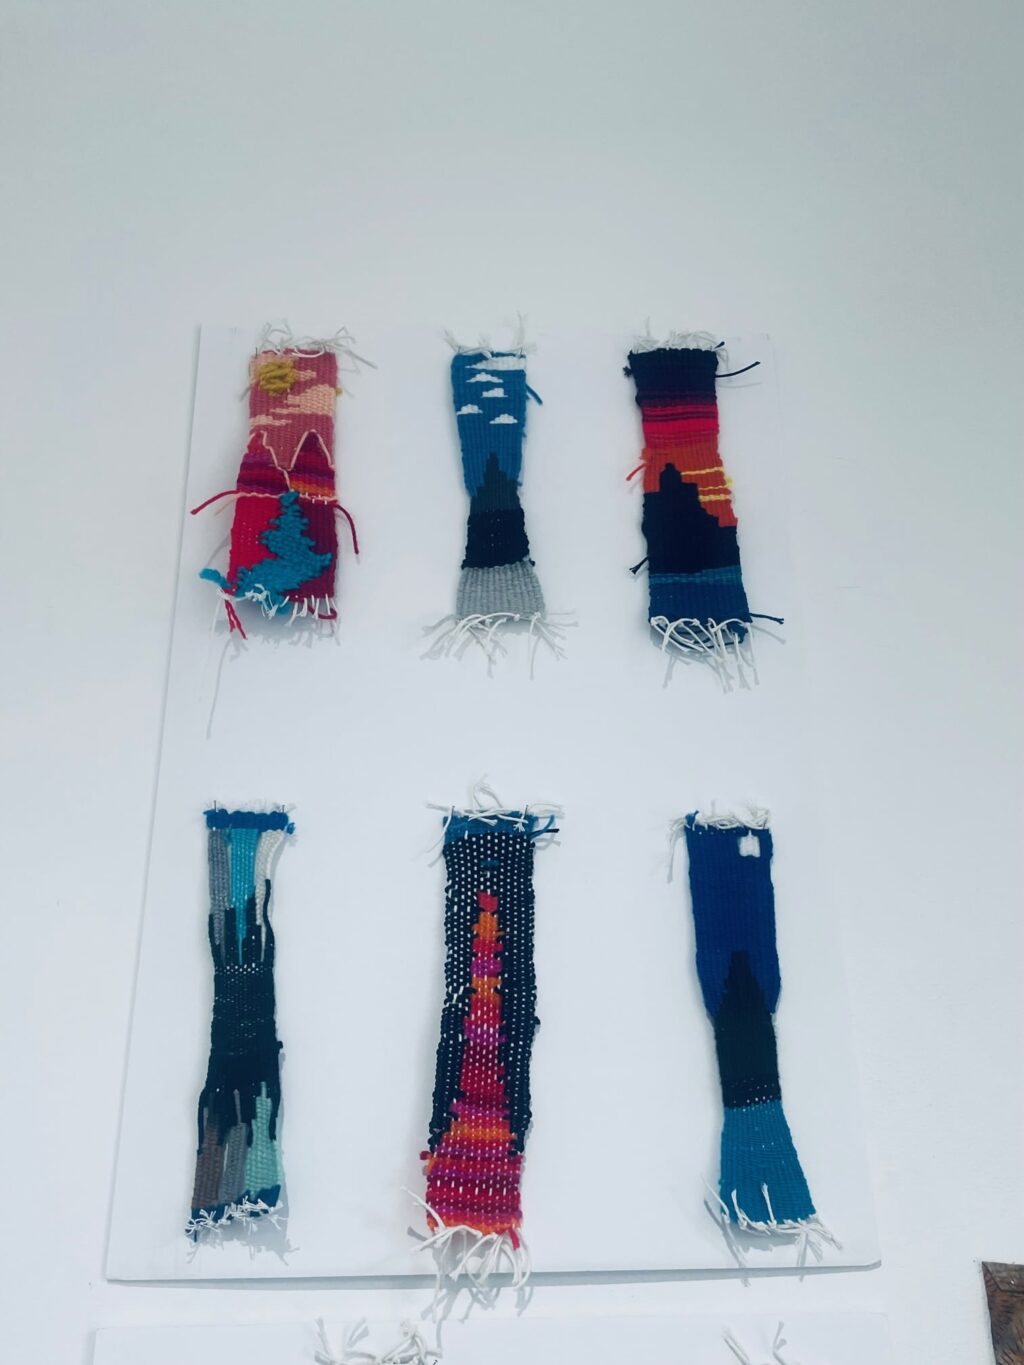
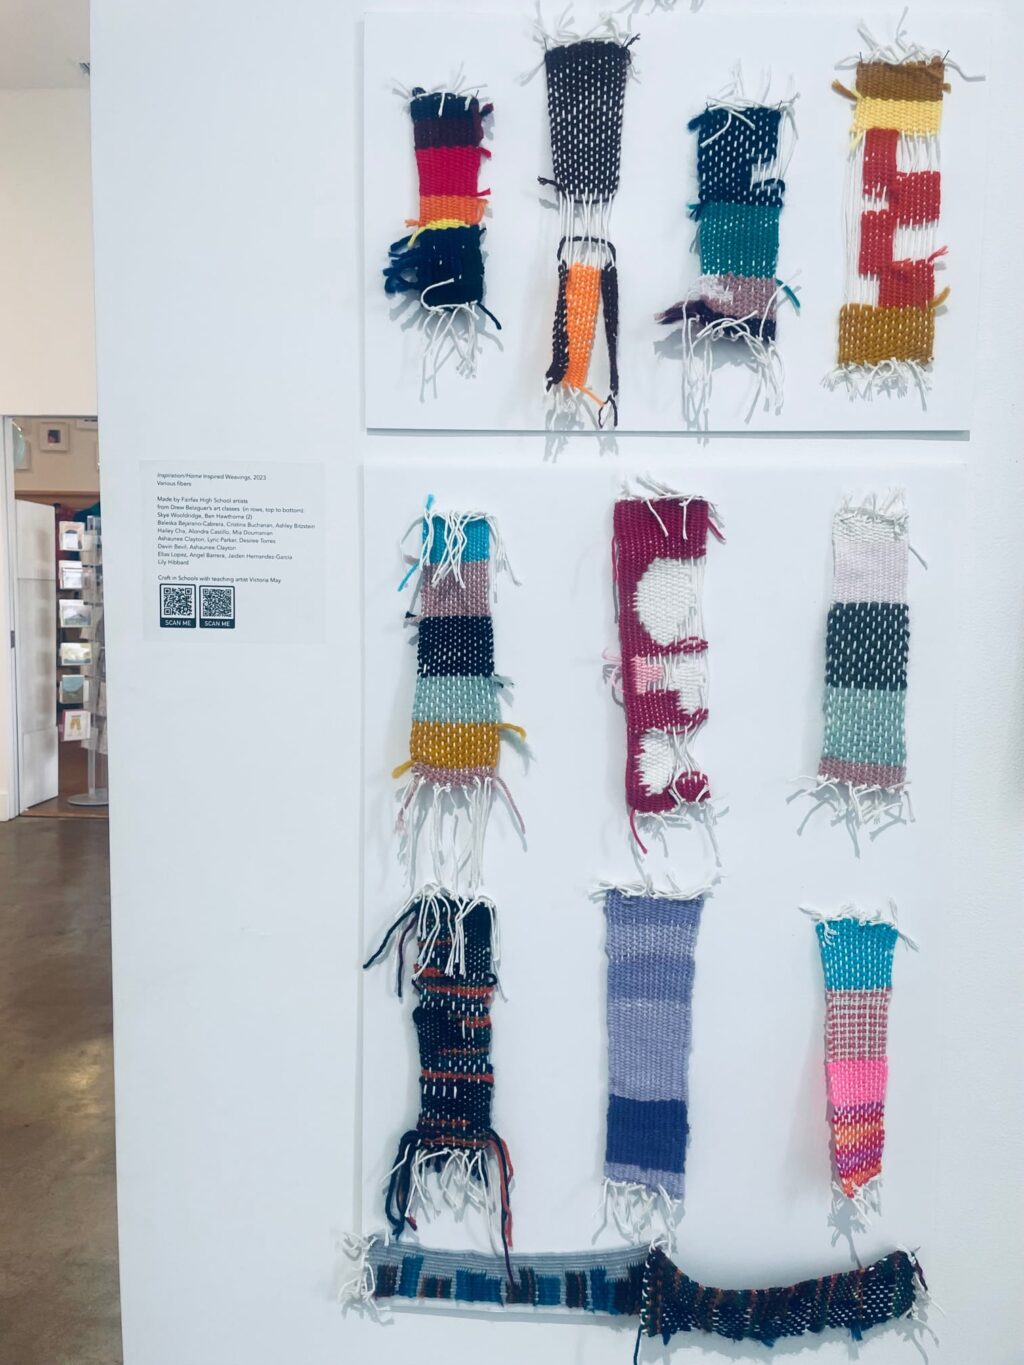
Craft in Schools: End of School Year Student Showcase
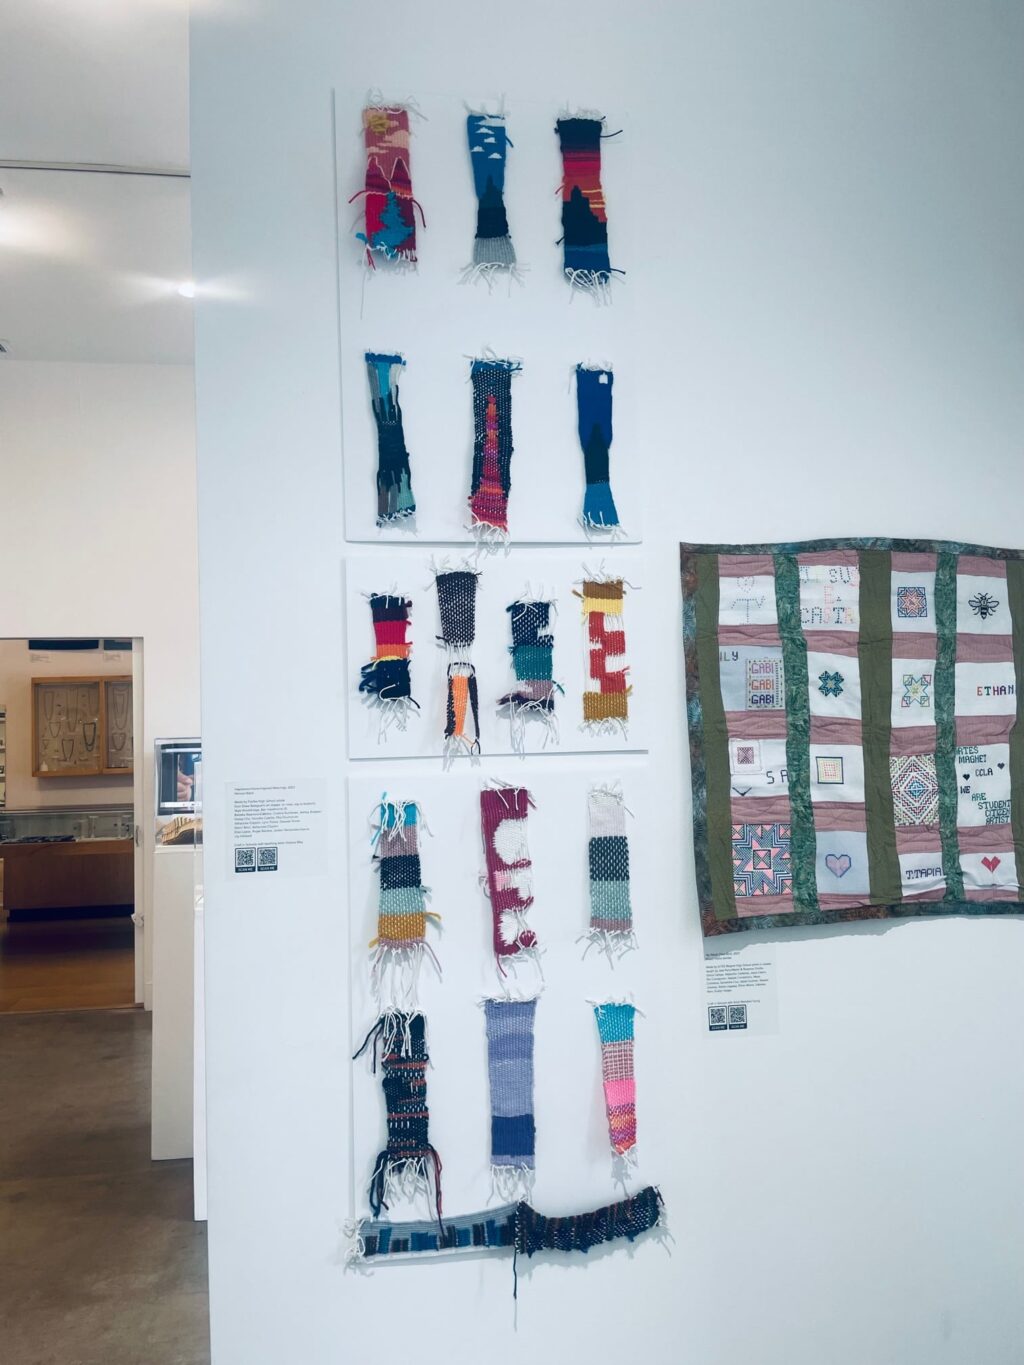
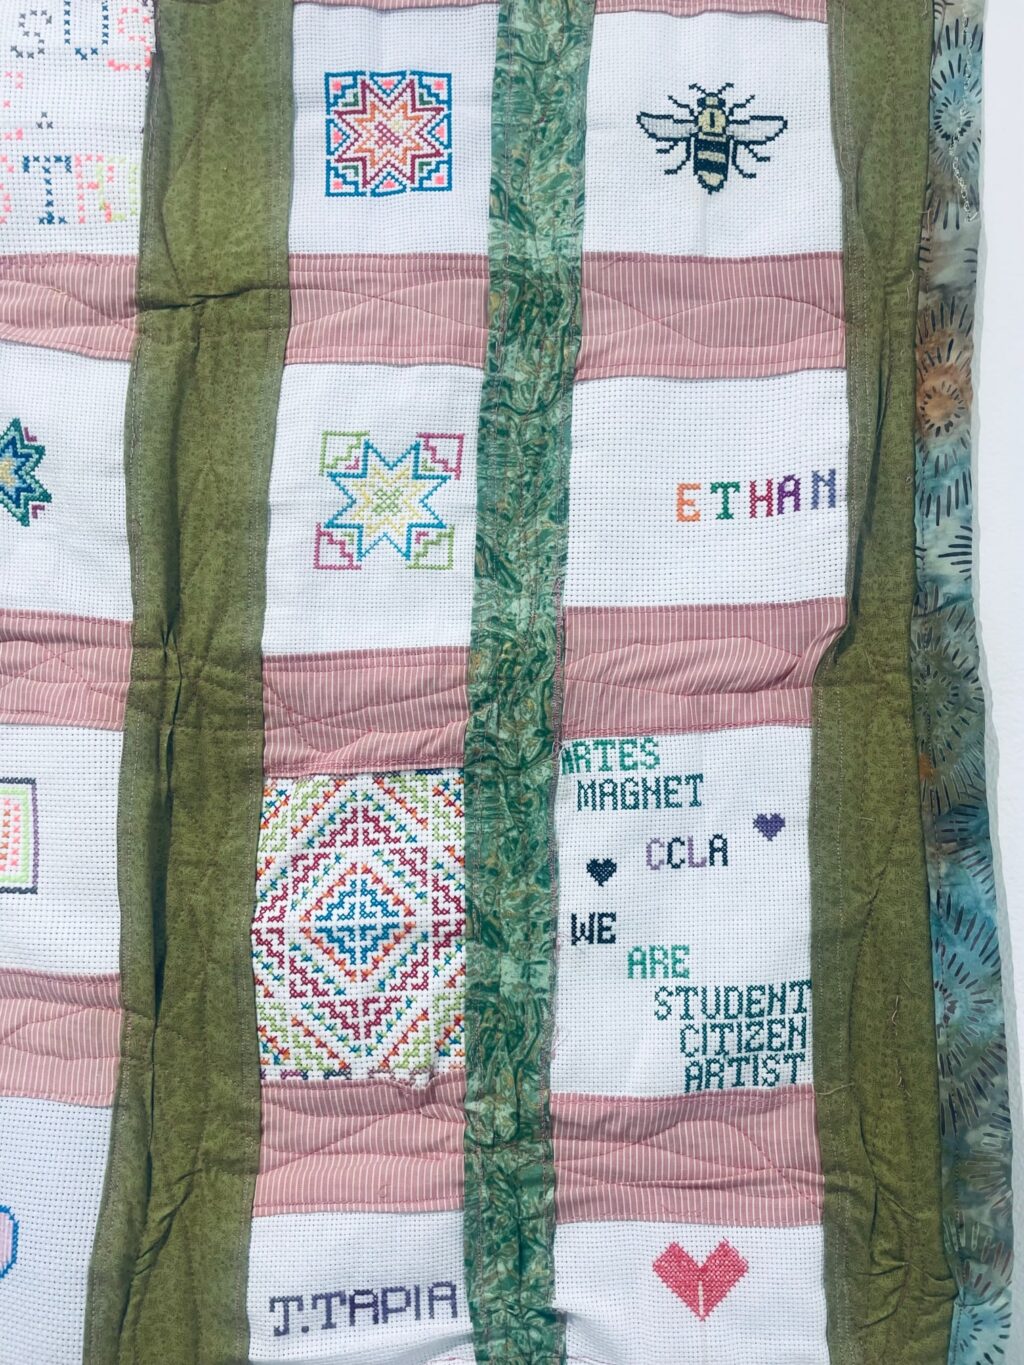
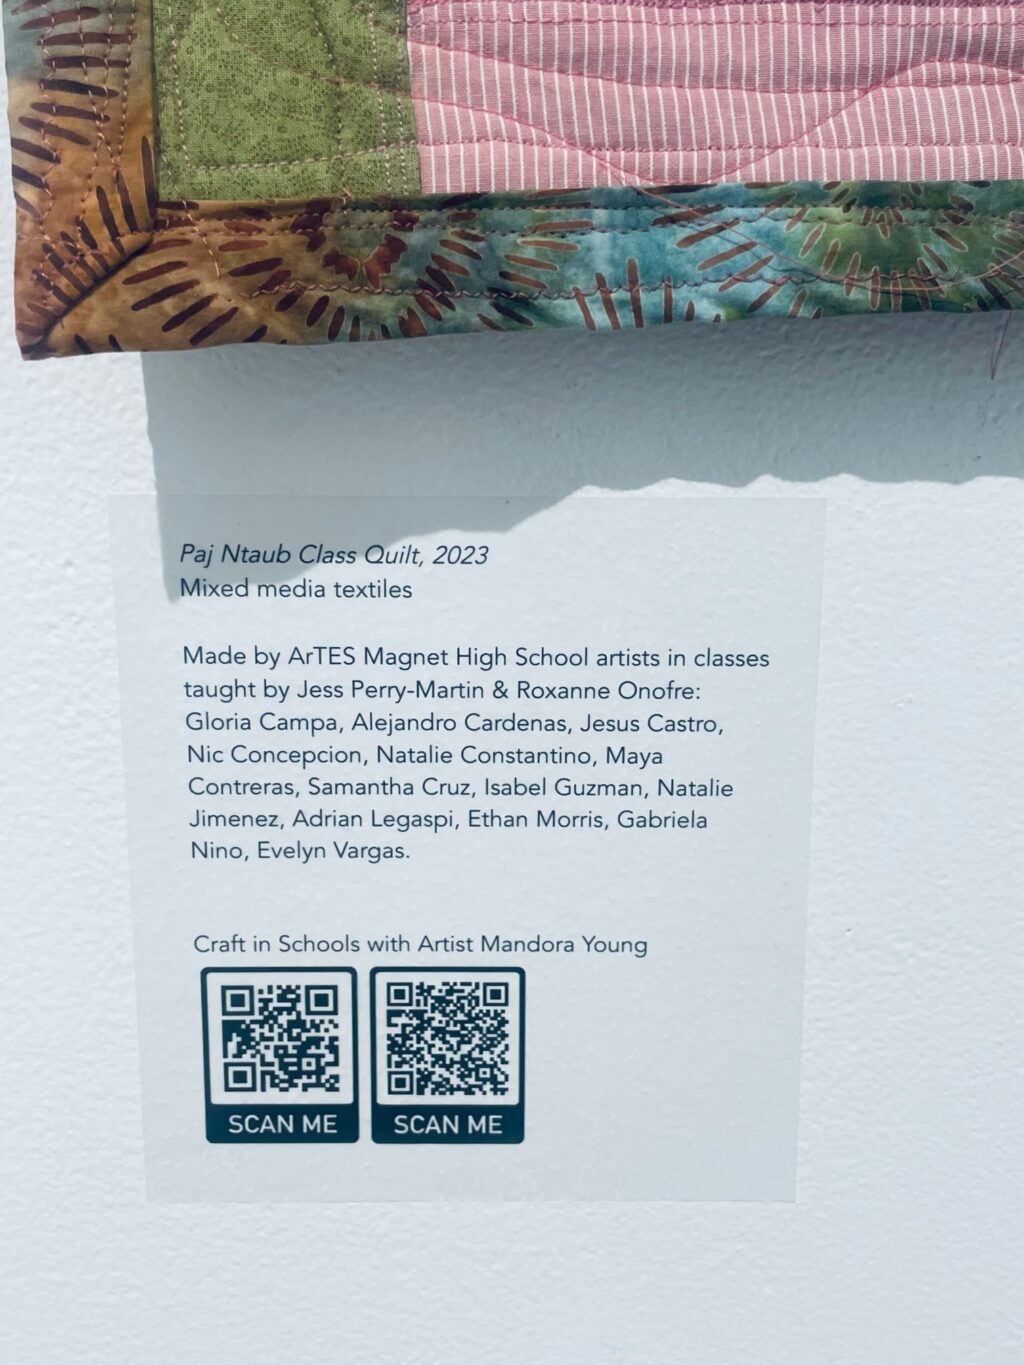
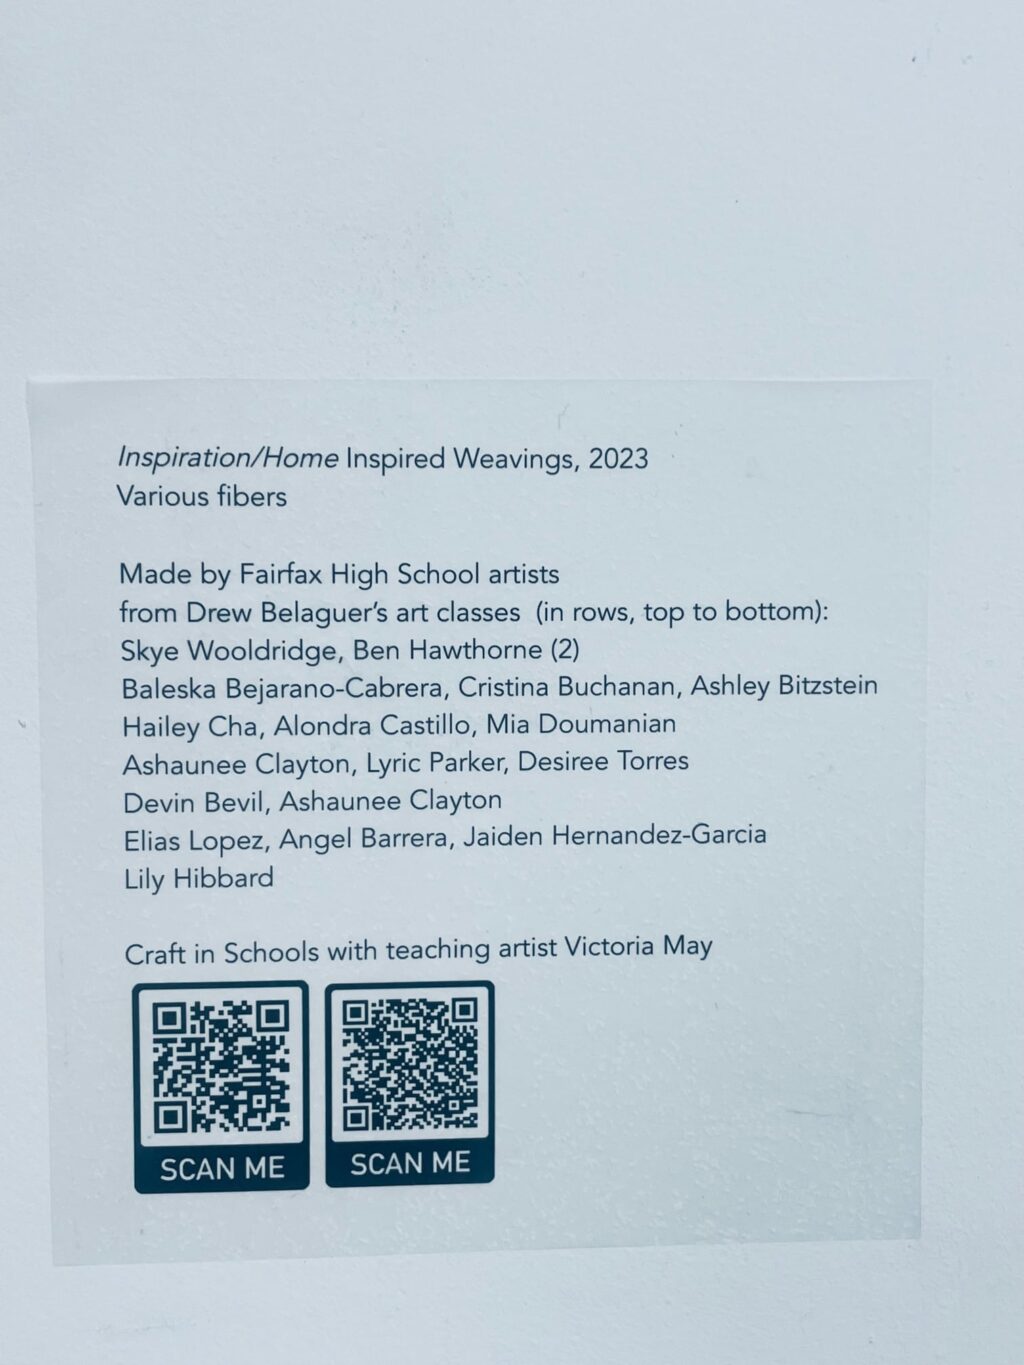
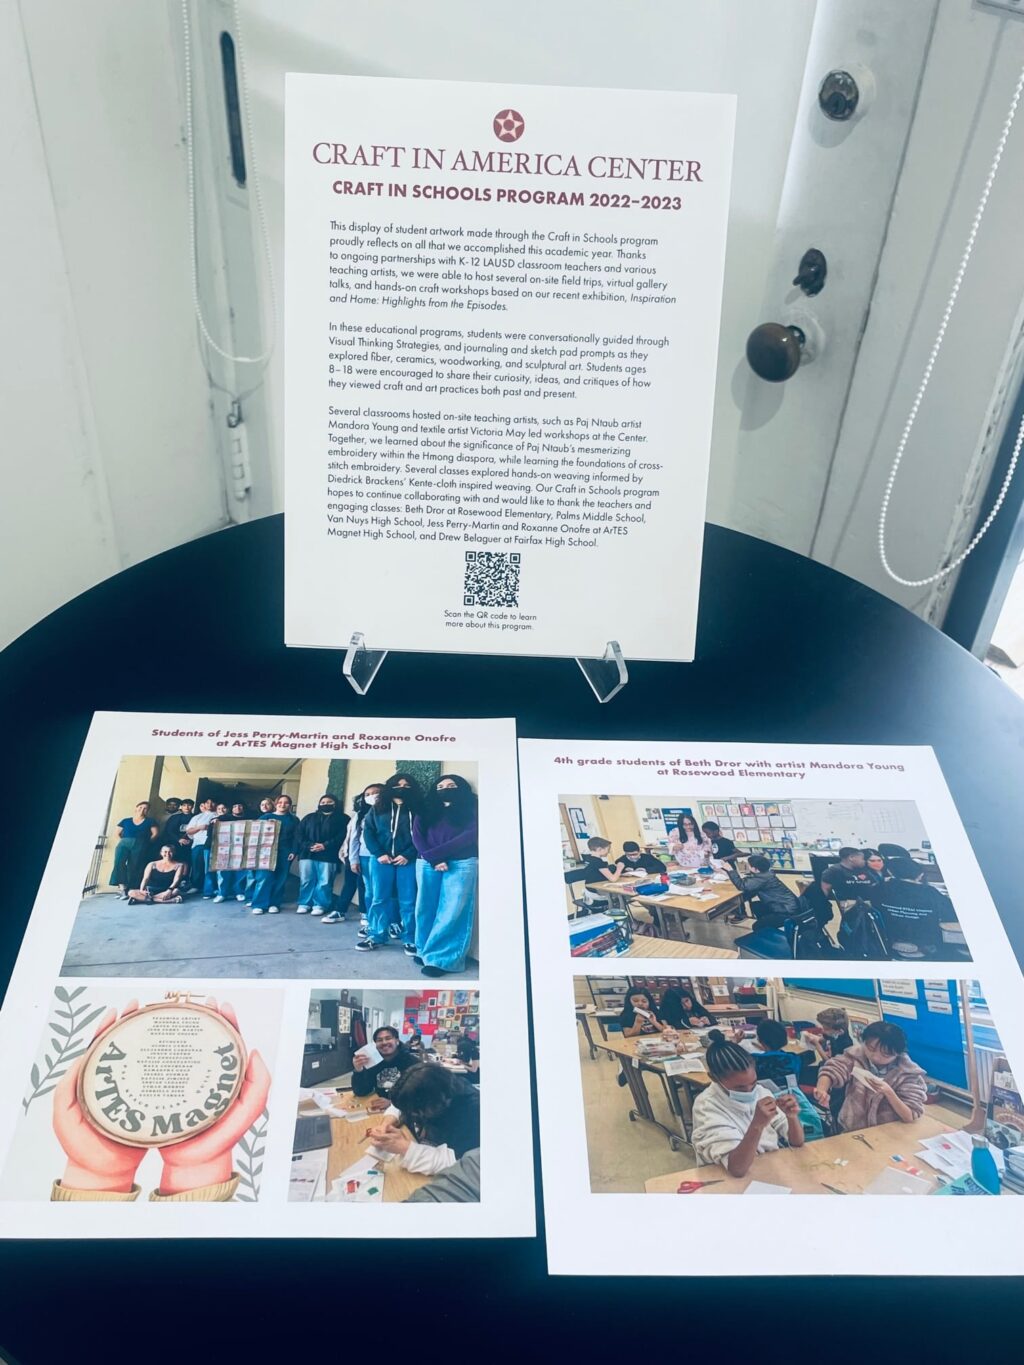
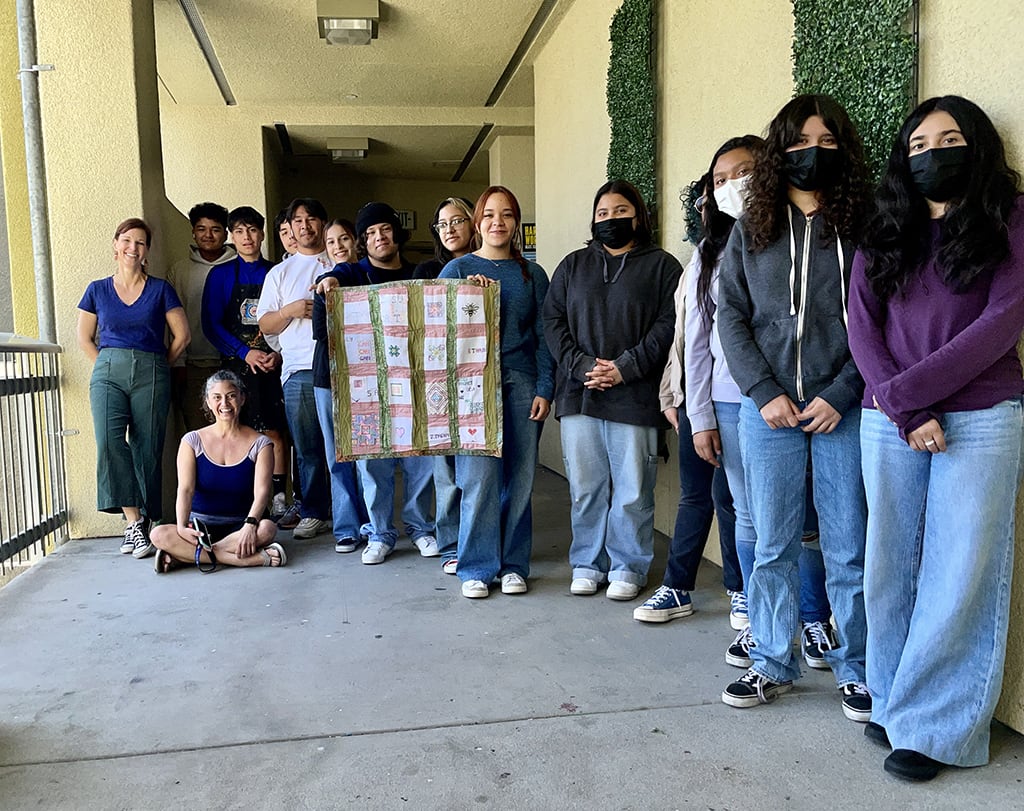
In the last week of Craft in America’s Permanent Collection exhibition, we proudly feature artwork made by students from our Craft in Schools program. The student art on display includes completed projects from school-workshops, virtual workshops, and school field trips to the Craft Center led by teaching artists. We’d like to extend a big thank you to Rosewood Elementary, Fairfax and ArTES Magnet High School classrooms for participating in this end of semester Student Showcase.
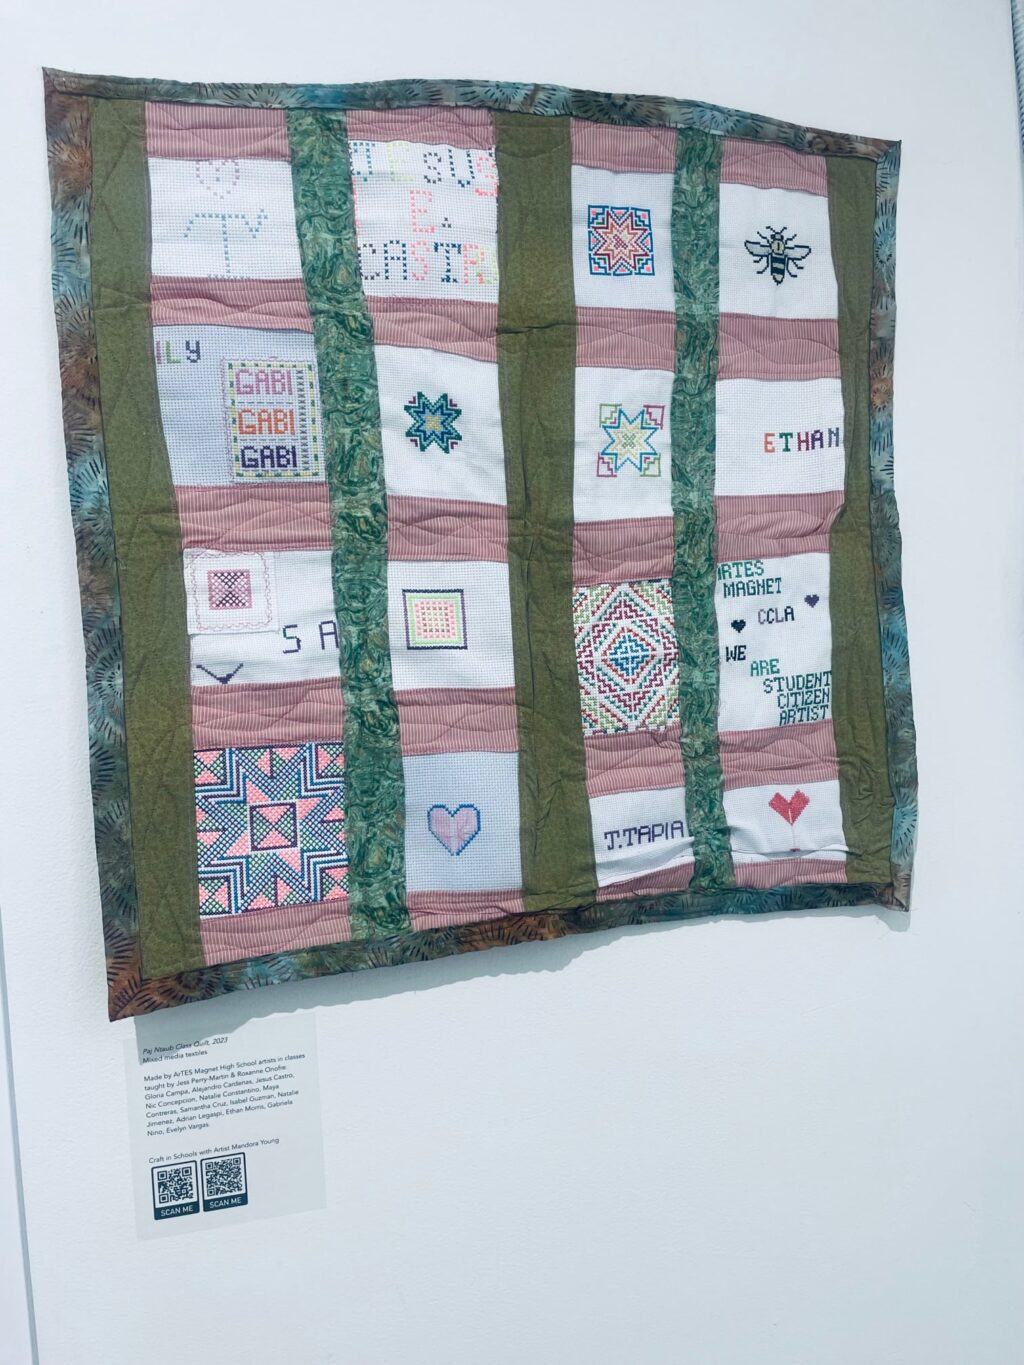
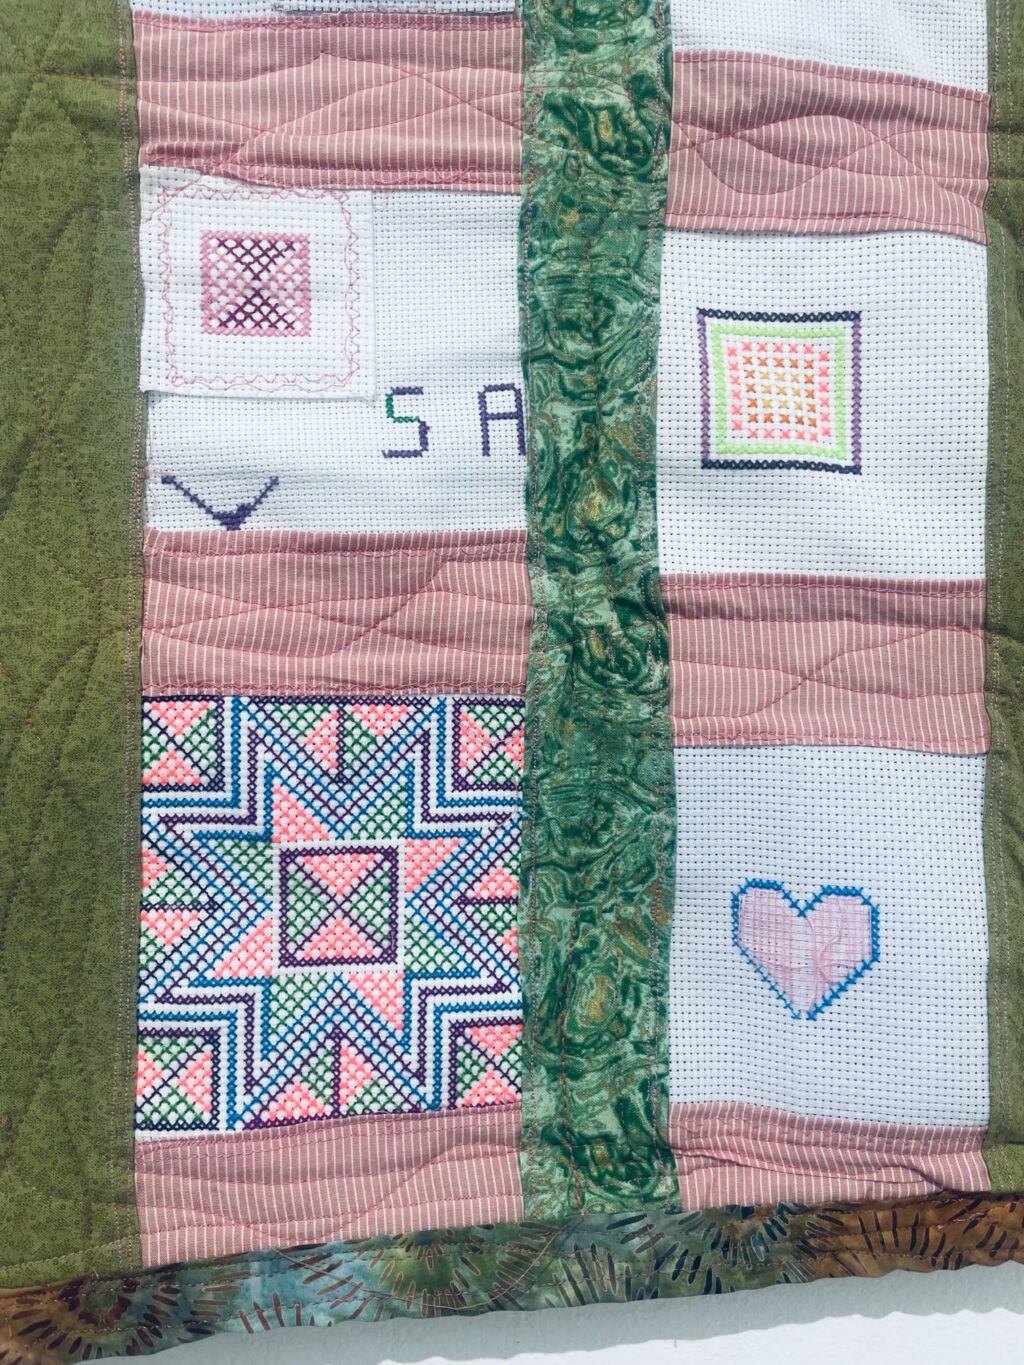
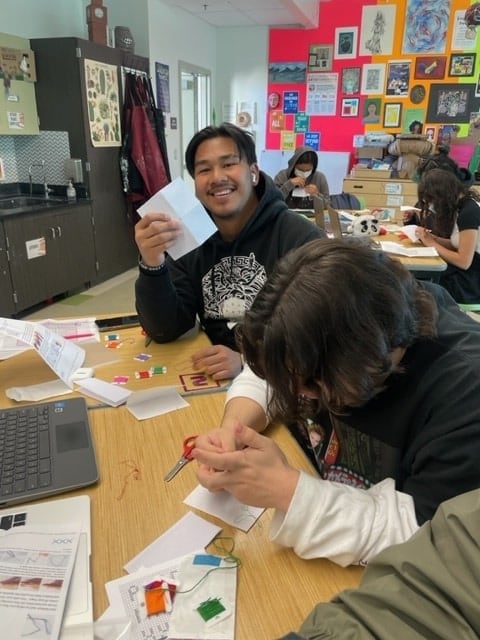
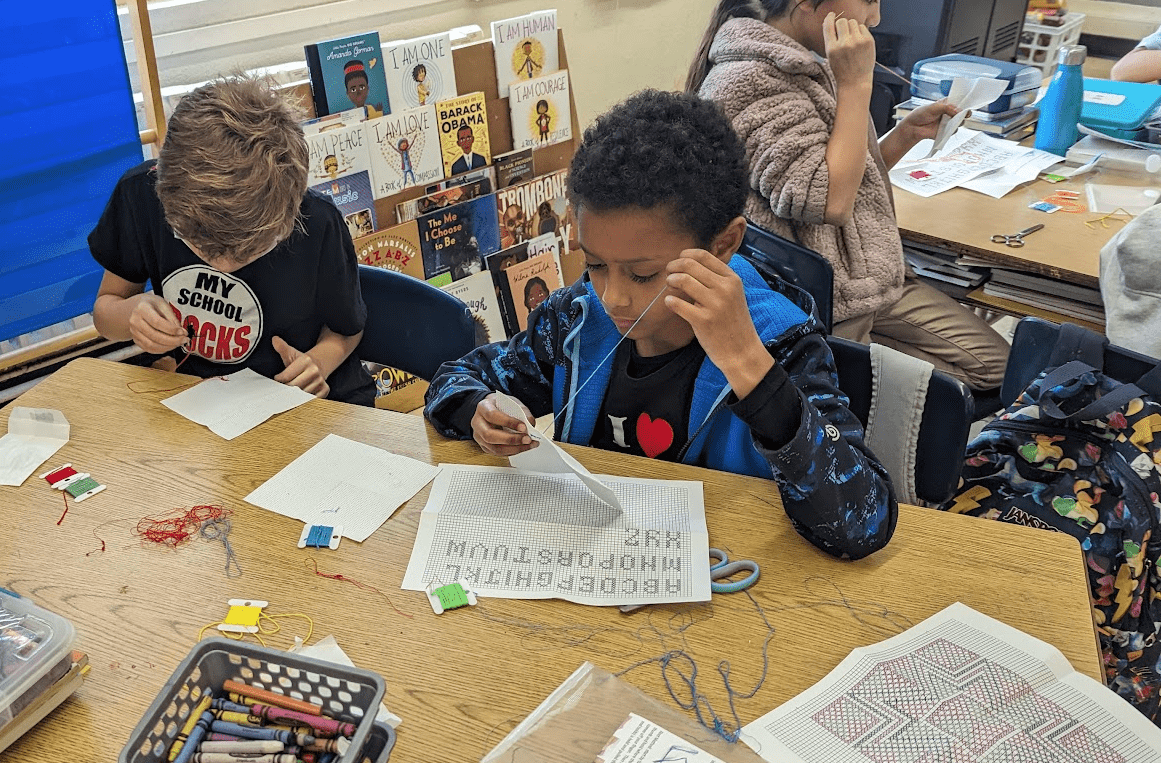
Over the last six months, 300 students from over six schools engaged in Craft in America’s Exhibition key concepts, vocabulary, art discussions, and artist workshops. K-12 students collaborated with teaching-artists Mandora Young, Victoria May (of Craft in America), Joe Cunningham, Carrie Burckle and the inspiring work of Diedrick Brackens. Featured mediums in this Student Showcase include compact card-loom weavings, quilting, and Hmong Paj Ntaub embroidery as explored in our previous exhibition Inspiration and Home: Highlights from the Episodes.
Craft in America wishes all students and their families a happy end of the school year! We hope to collaborate with more LAUSD schools in the coming school year!
For future Craft in Schools-program inquiries, please contact both:
Education Programs Lead – Sam Sermeno and Craft Center Director – Emily Zaiden
center@craftinamerica.org
Craft in Schools: Home and Inspiration Winter Reflections
As we welcome Spring, our Craft in Schools program proudly reflects on all that we accomplished earlier this year. Thanks to ongoing partnerships with K-12 LAUSD classroom teachers and various teaching artists, we were able to host several on-site field trips, virtual gallery talks, and hands-on craft workshops based on our recent Home and Inspiration Exhibition.
In these educational programs, students were conversationally guided through Visual Thinking Strategies, and journaling and sketch pad prompts as they explored fiber, ceramics, woodworking, and sculptural art. Students ages 8-18 were encouraged to share their curiosity, ideas, and critiques of how they viewed craft and art practices both past and present.
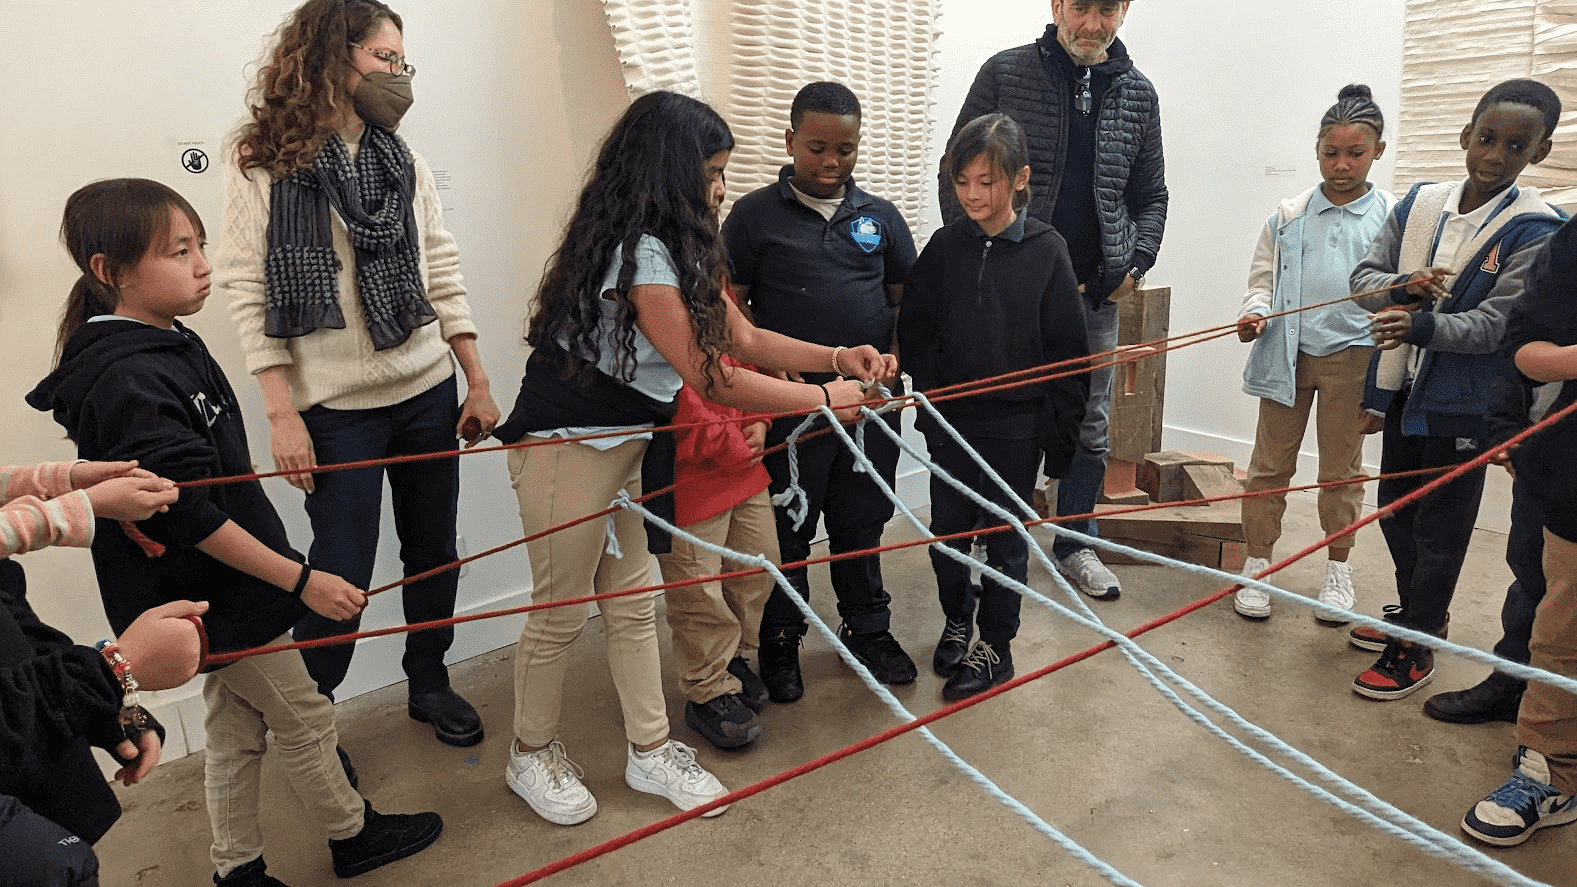
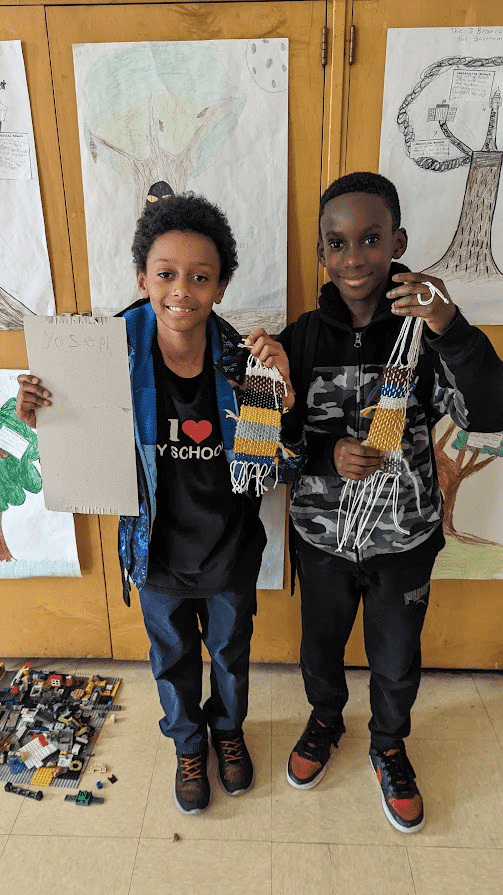
Talented 4th grade weavers proudly show their yarn-weavings
Several classrooms hosted on-site teaching artists, such as Paj Ntaub artist Mandora Young and textile artist Victoria May. Together, we learned about the significance of Paj Ntaub’s mesmerizing embroidery within the Hmong diaspora, while learning the foundations of cross-stitch embroidery. Our neighboring Rosewood Elementary 4th graders enjoyed a dynamic “human loom” weaving exercise as pictured above! And, several classes explored hands-on weaving as seen in Diedrick Brackens’ Kente-cloth inspired weaving. Our Craft in Schools program hopes to continue collaborating with and would like to thank the engaging classes at: Rosewood Elementary, Palms Middle School, Van Nuys High School, ArTES Magnet High School, and Fairfax High School.
Stay tuned for more family and Craft in Schools programming!
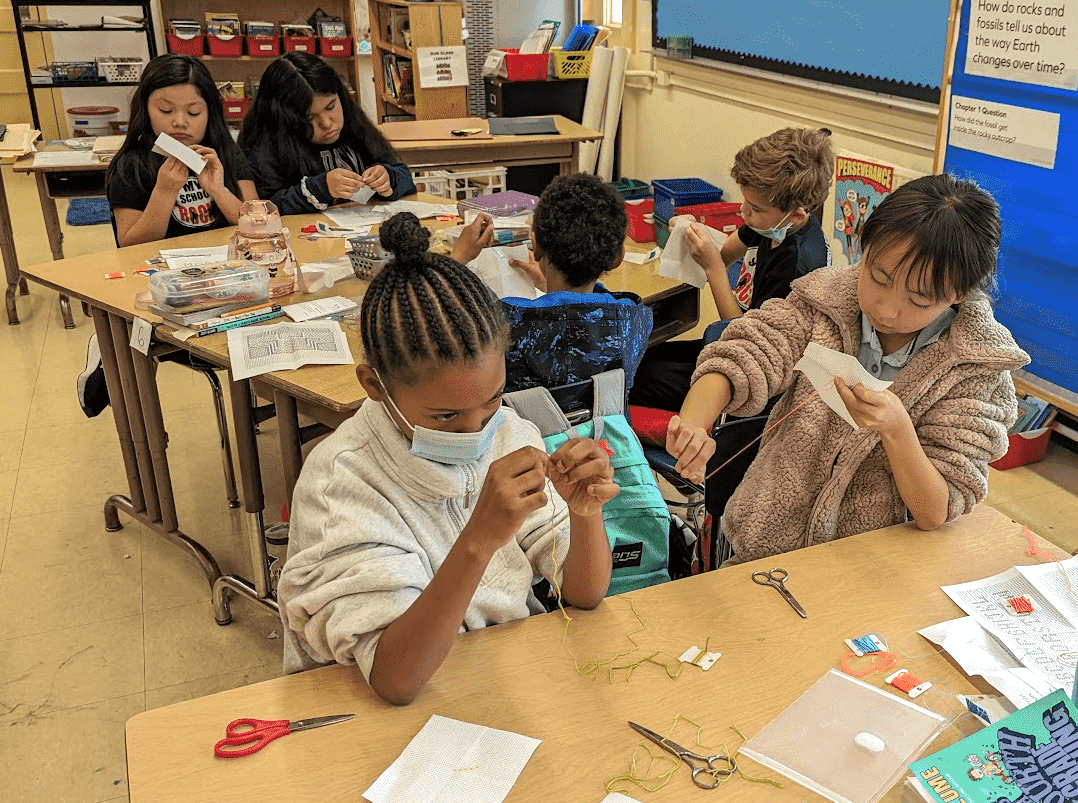
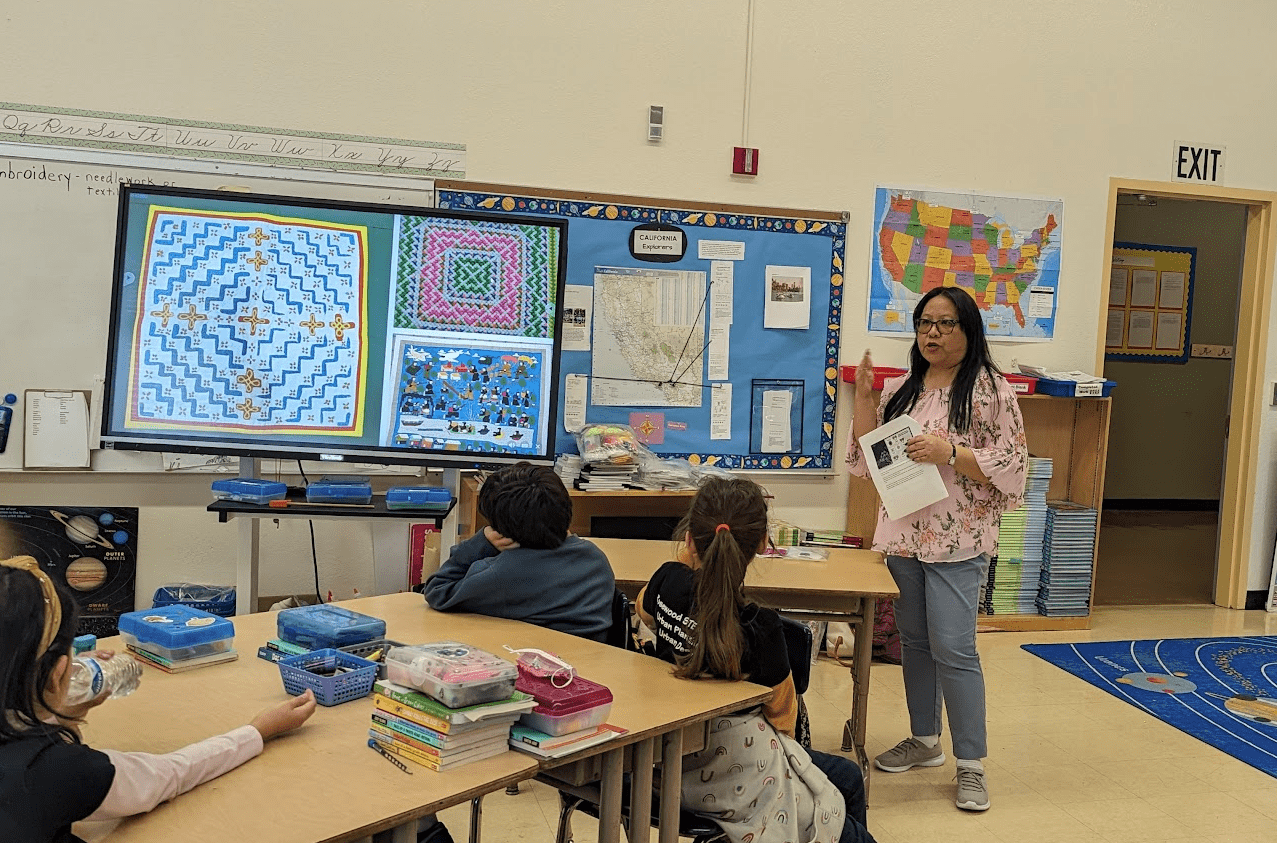
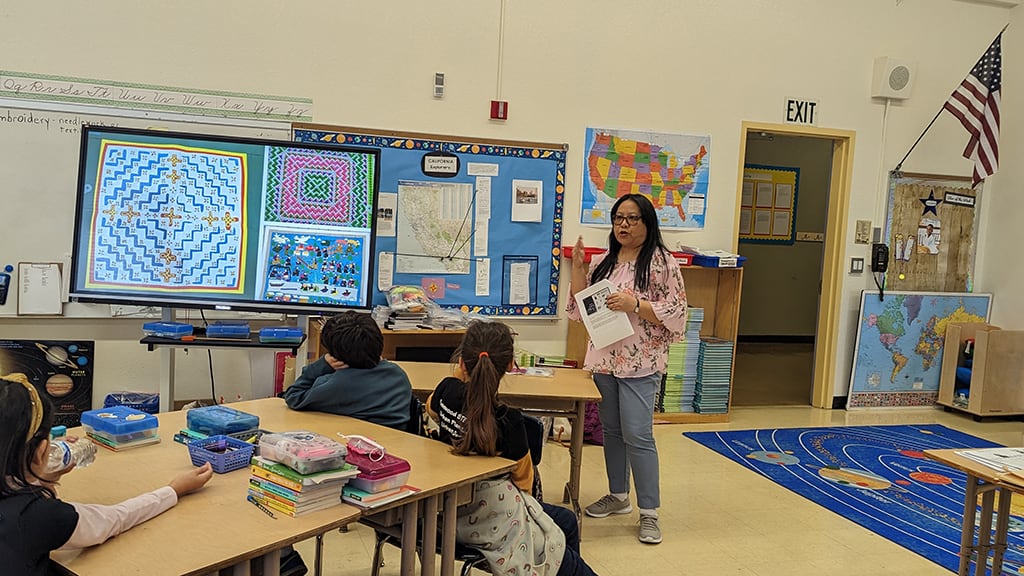
Teaching Artist Mandora Young leads a hands-on Paj Ntaub workshop with elementary schoolers
Craft in Schools Summer 2022
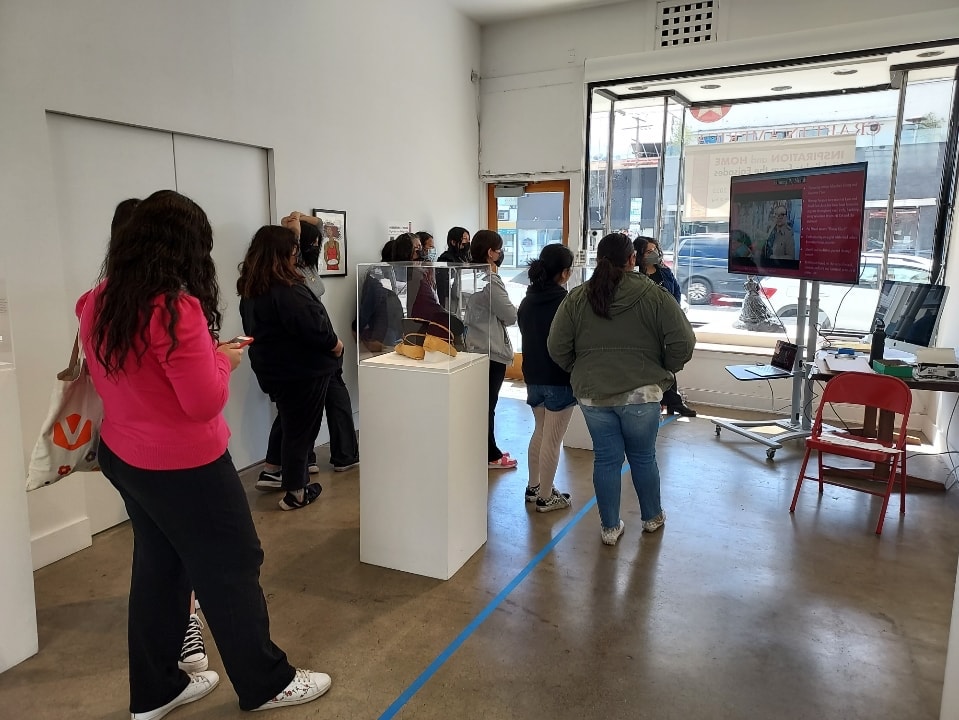
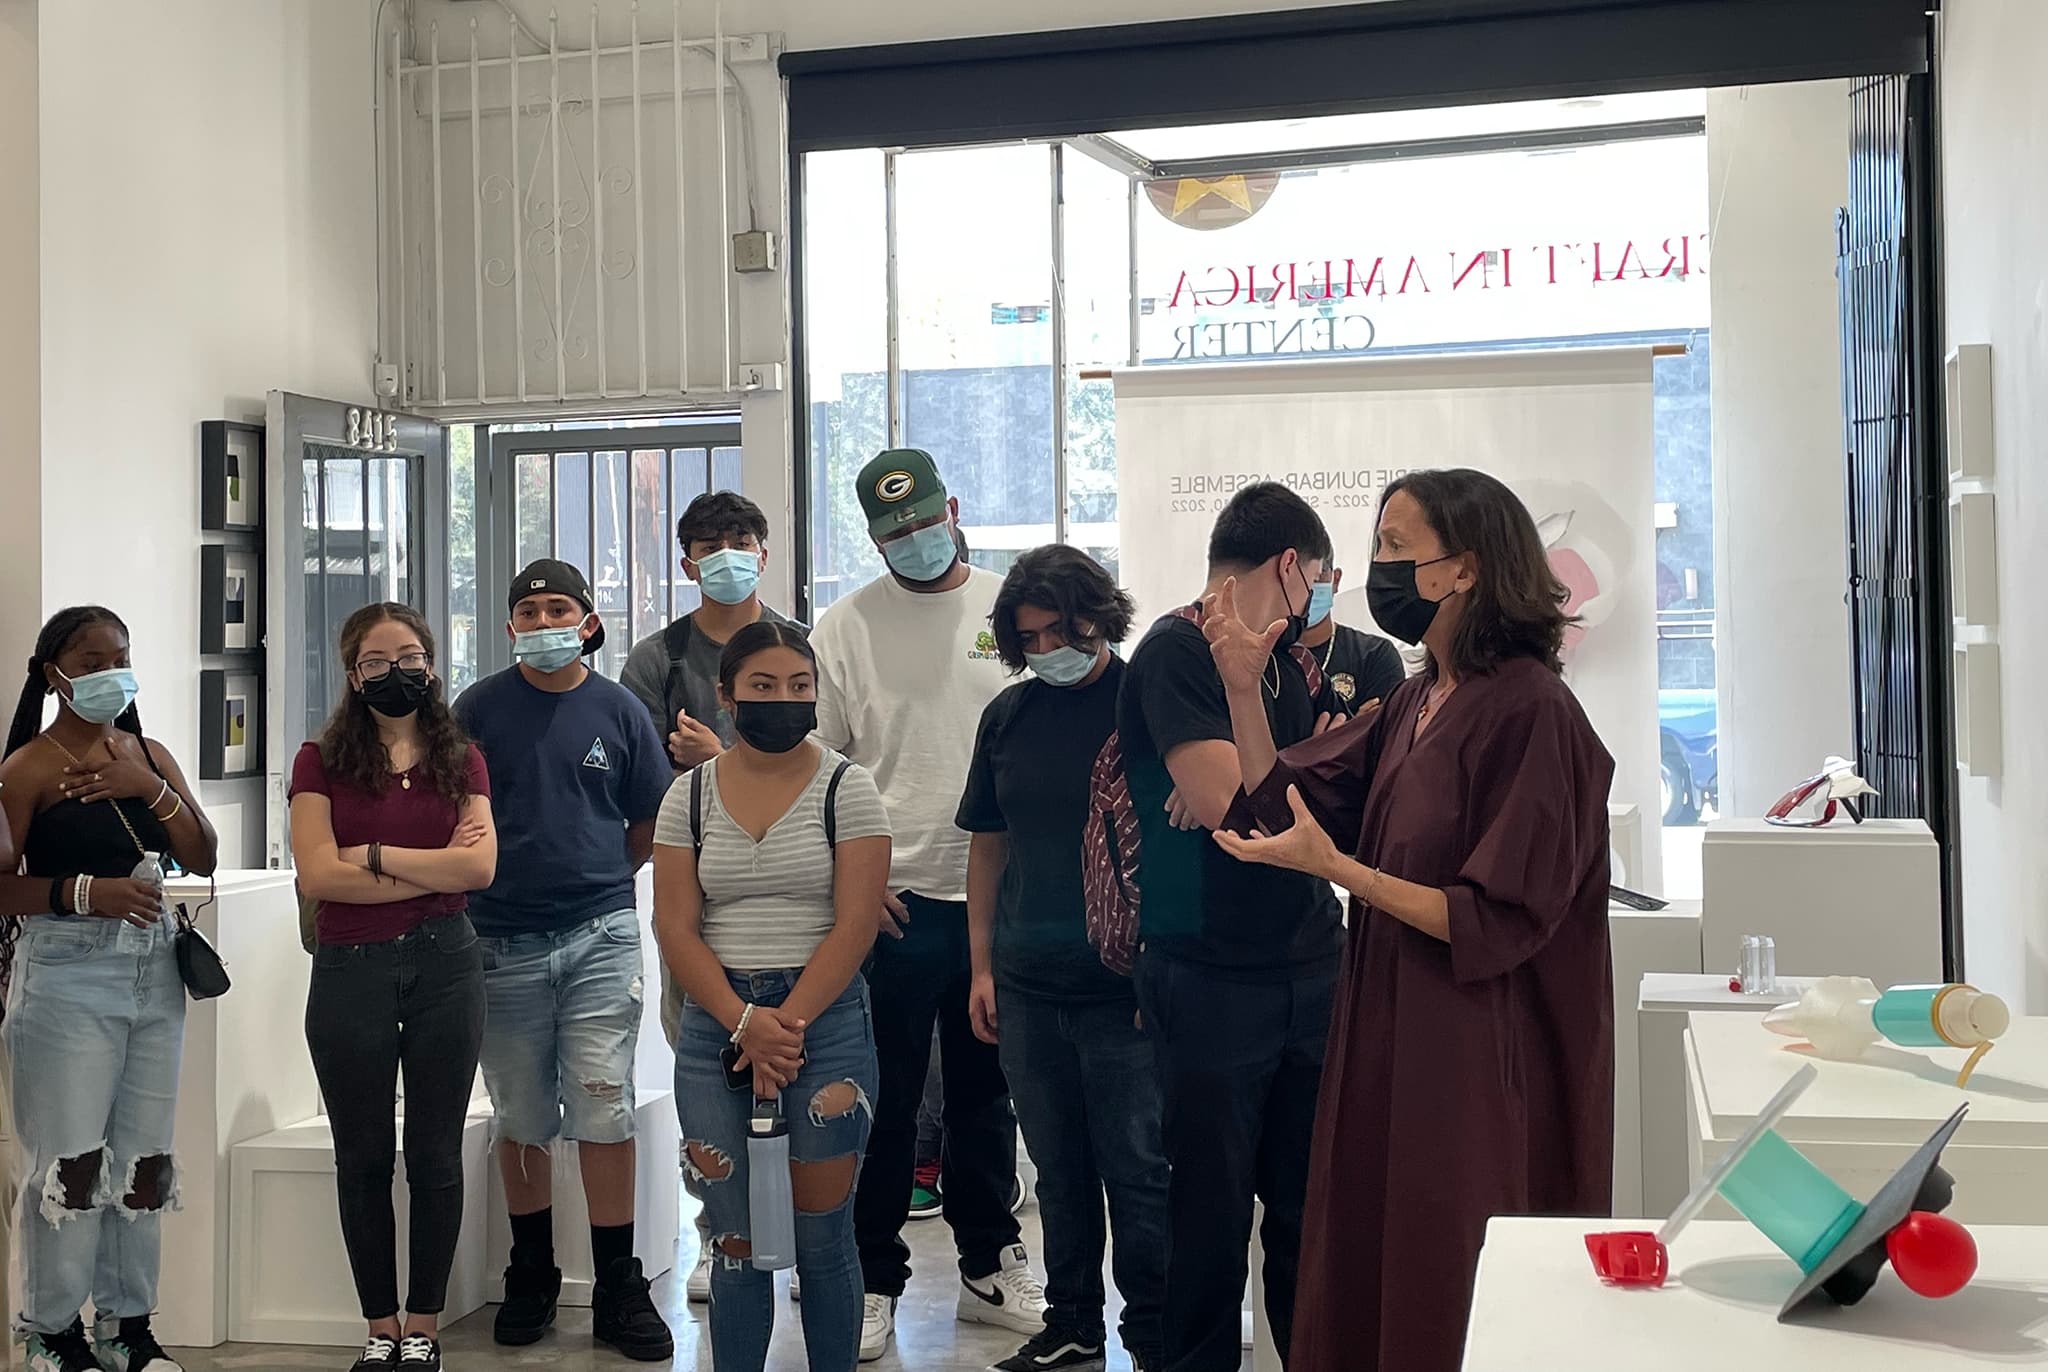
School is out, but Craft in Schools is active all summer long! Last week we had the pleasure of hosting Ms. Suzanna Hidalgo’s art history class from Eisenhower High School in Rialto, CA. During the field trip the students experienced the current Craft in America Center exhibitions Tibbie Dunbar: Assemble and Location Services: Jewelry Perspectives on Time and Place. Assemble artist Tibbie Dunbar spoke about her artworks, process, and career. The students posed thoughtful questions, which led to a rich discussion about the meaning of her art and the use of non-traditional materials such as plastic debris and car parts to make sculptures. Reflecting on the discussion, Ms. Hidalgo said that “being able to hear from an artist was the most meaningful part of the field trip experience.”
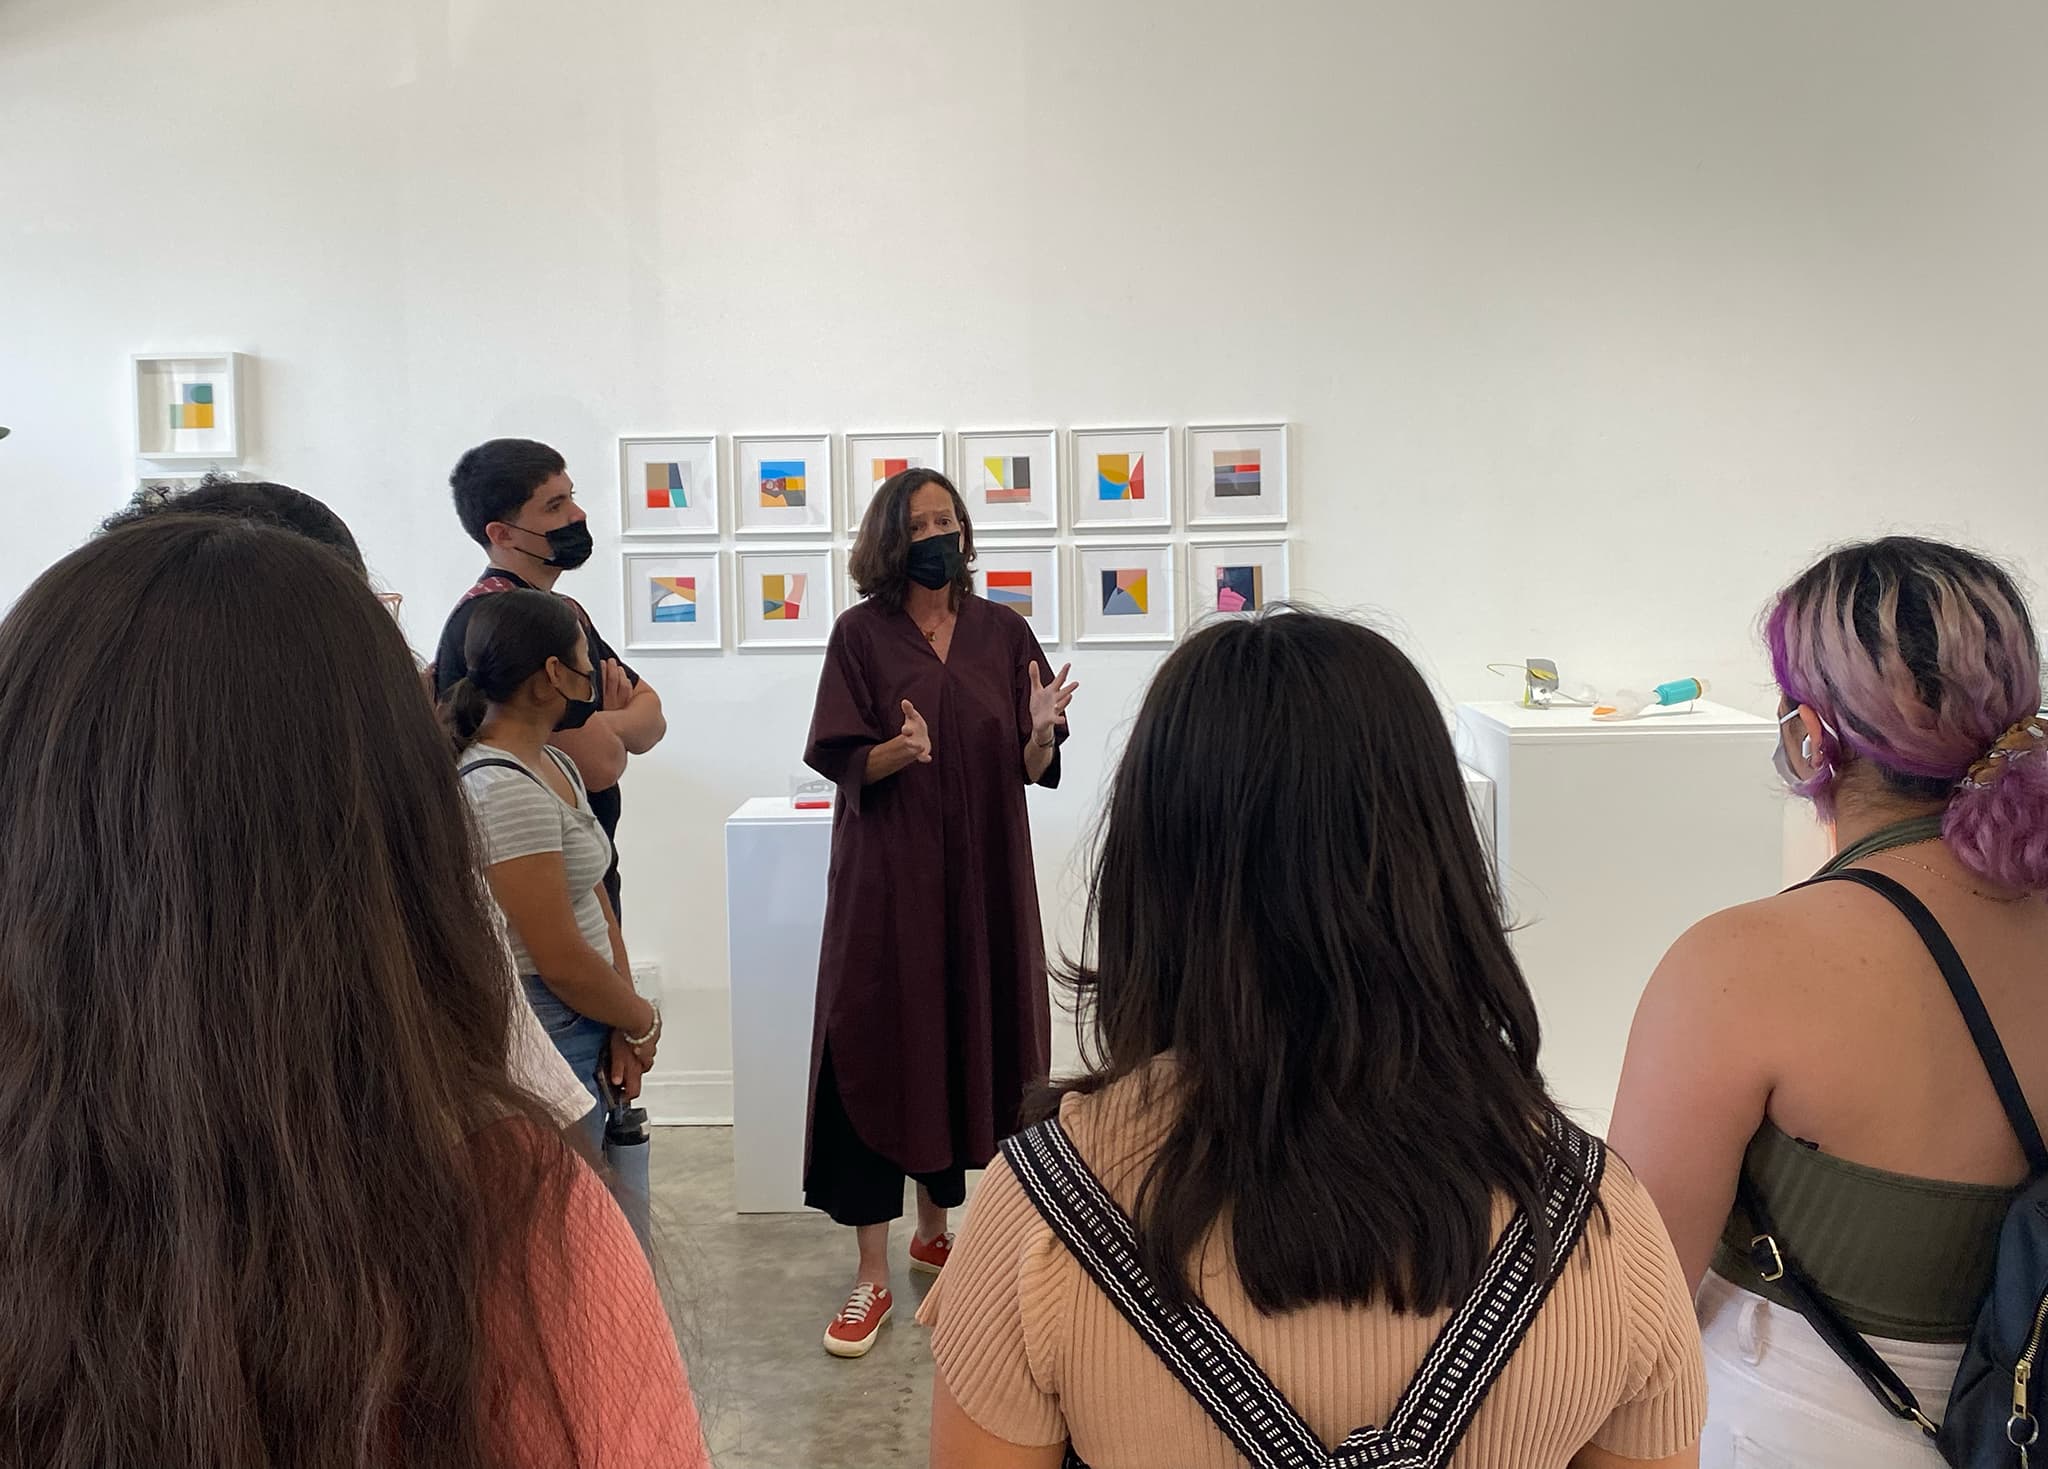
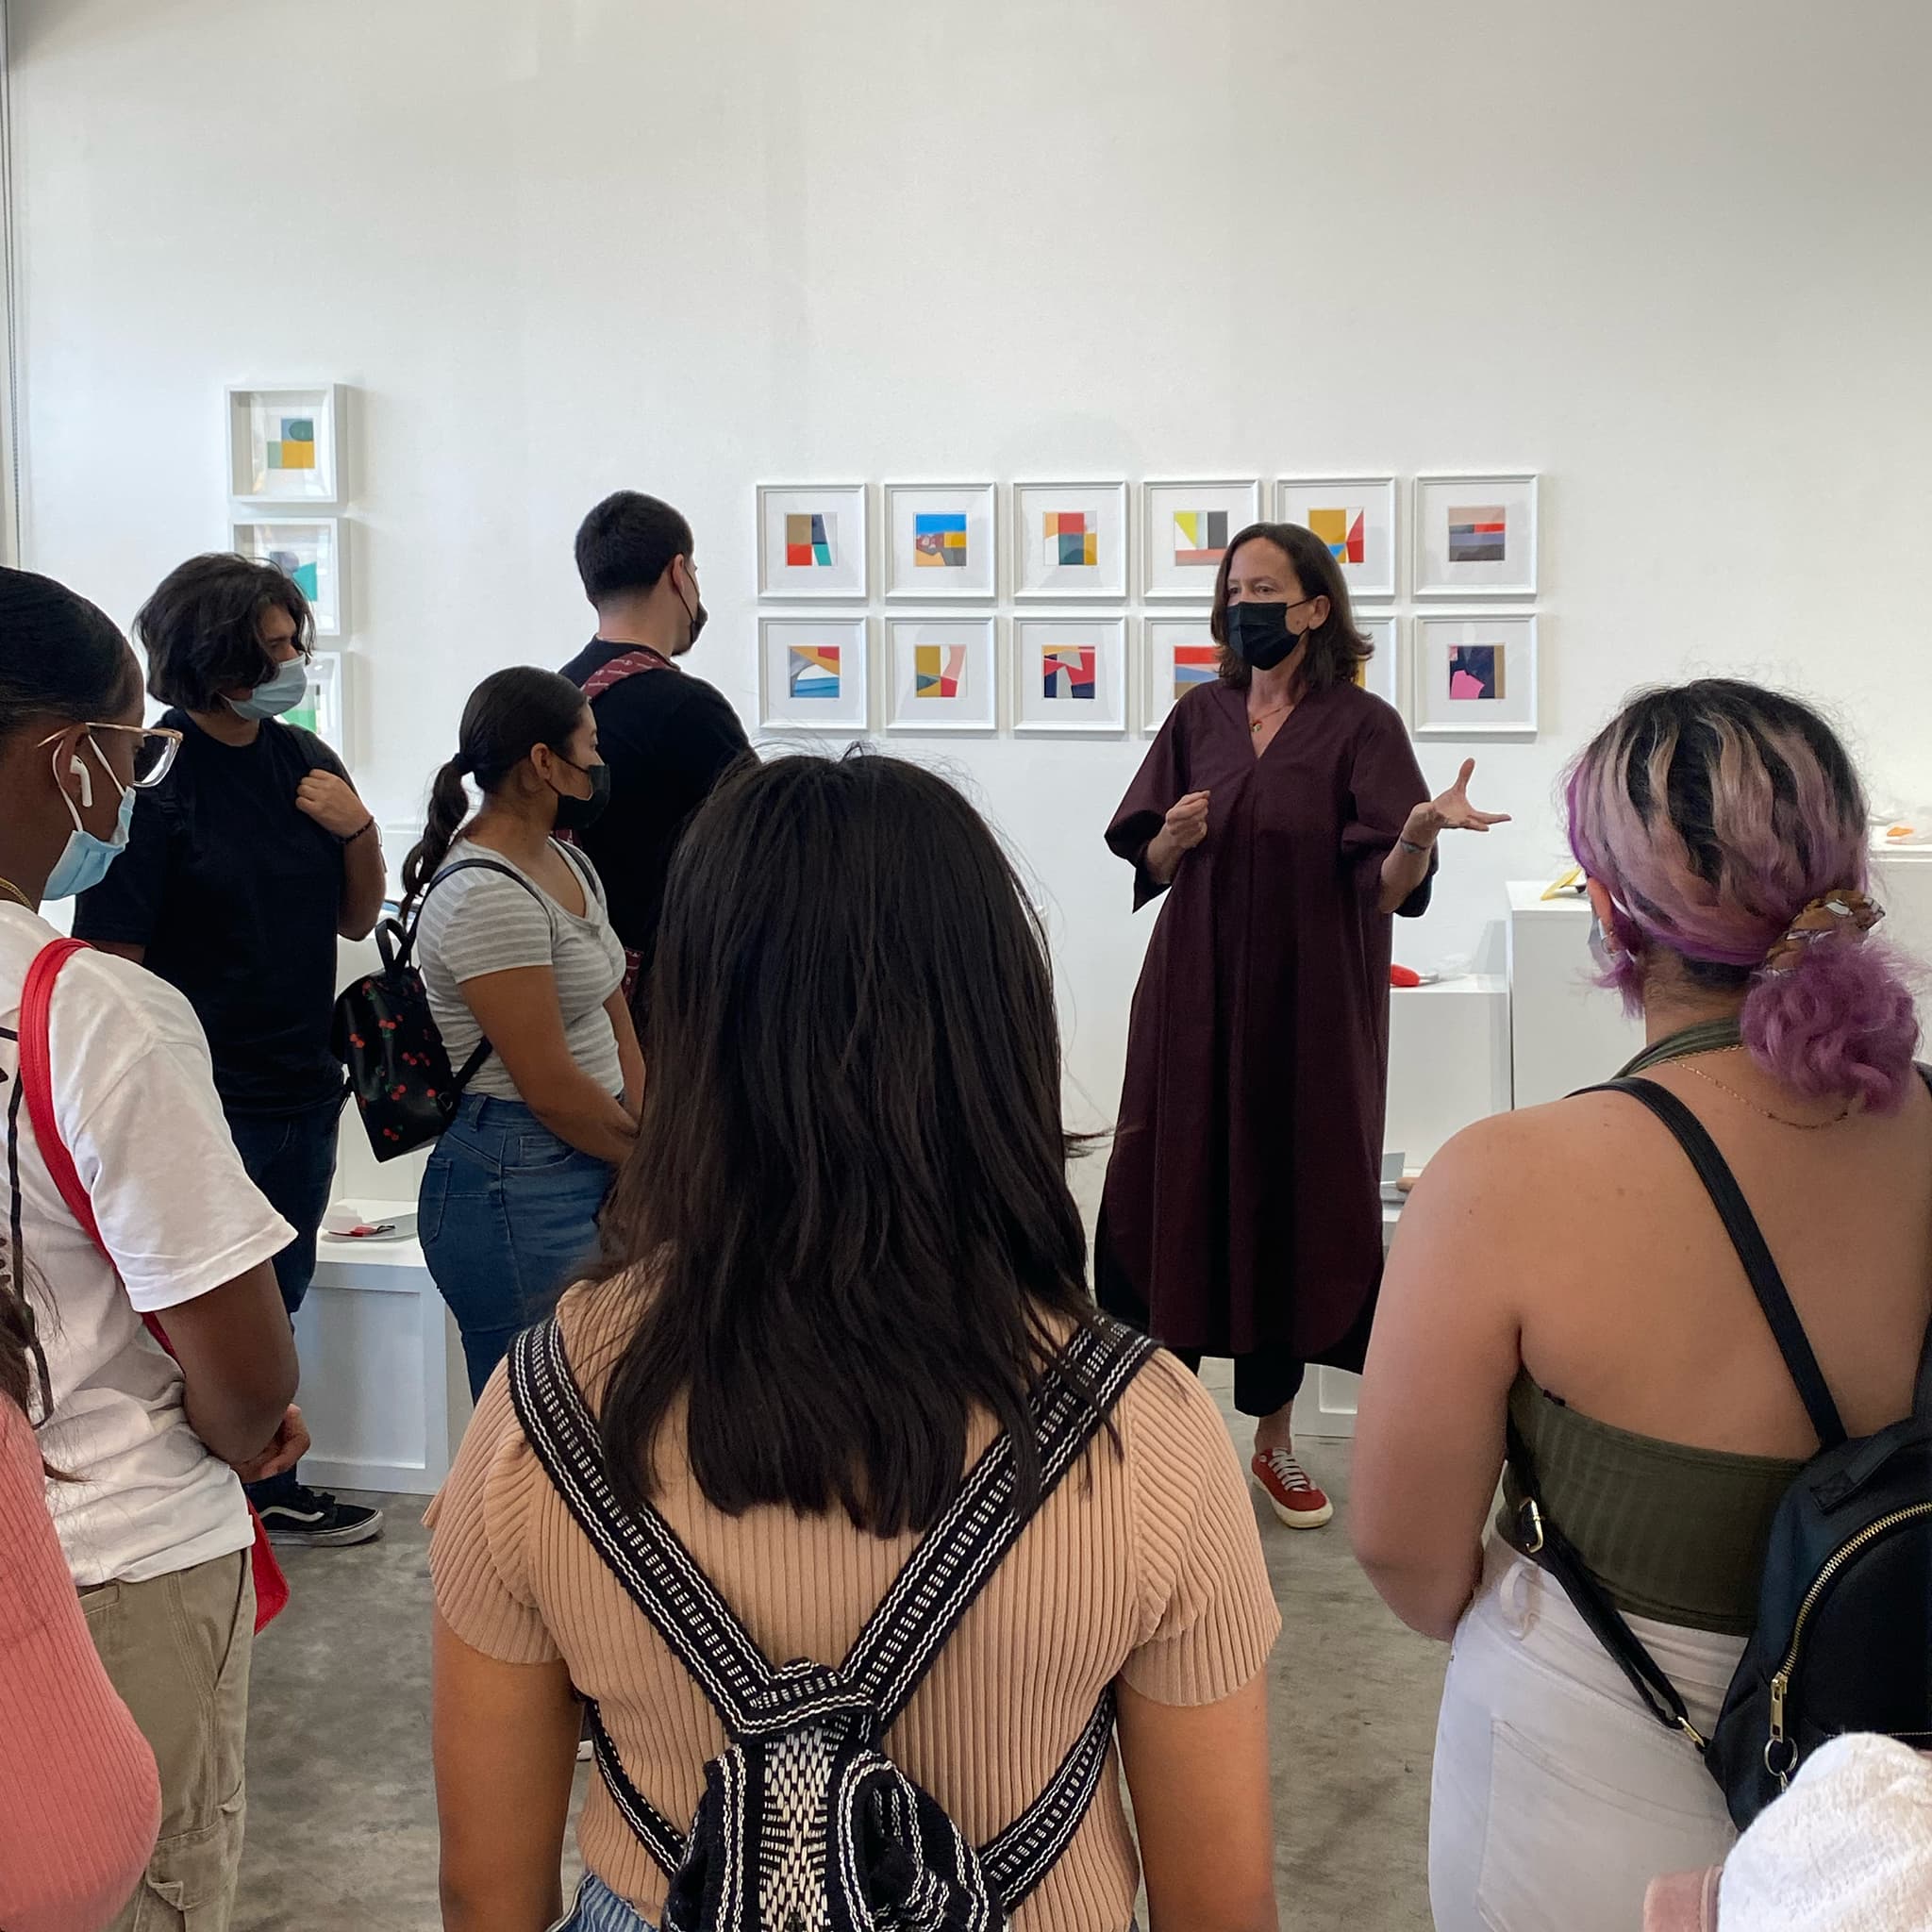
After the talk, the students explored Location Services. Through a facilitated art discussion using Visual Thinking Strategies, the students learned about the way the artists Motoko Furuhashi, Kerianne Quick, and Demitra Thomloudis investigate place through the lens of contemporary jewelry. The students were enthralled by the individual narratives associated with the Kerianne’s artworks and felt compelled to share their own personal stories and connections with the objects on display.
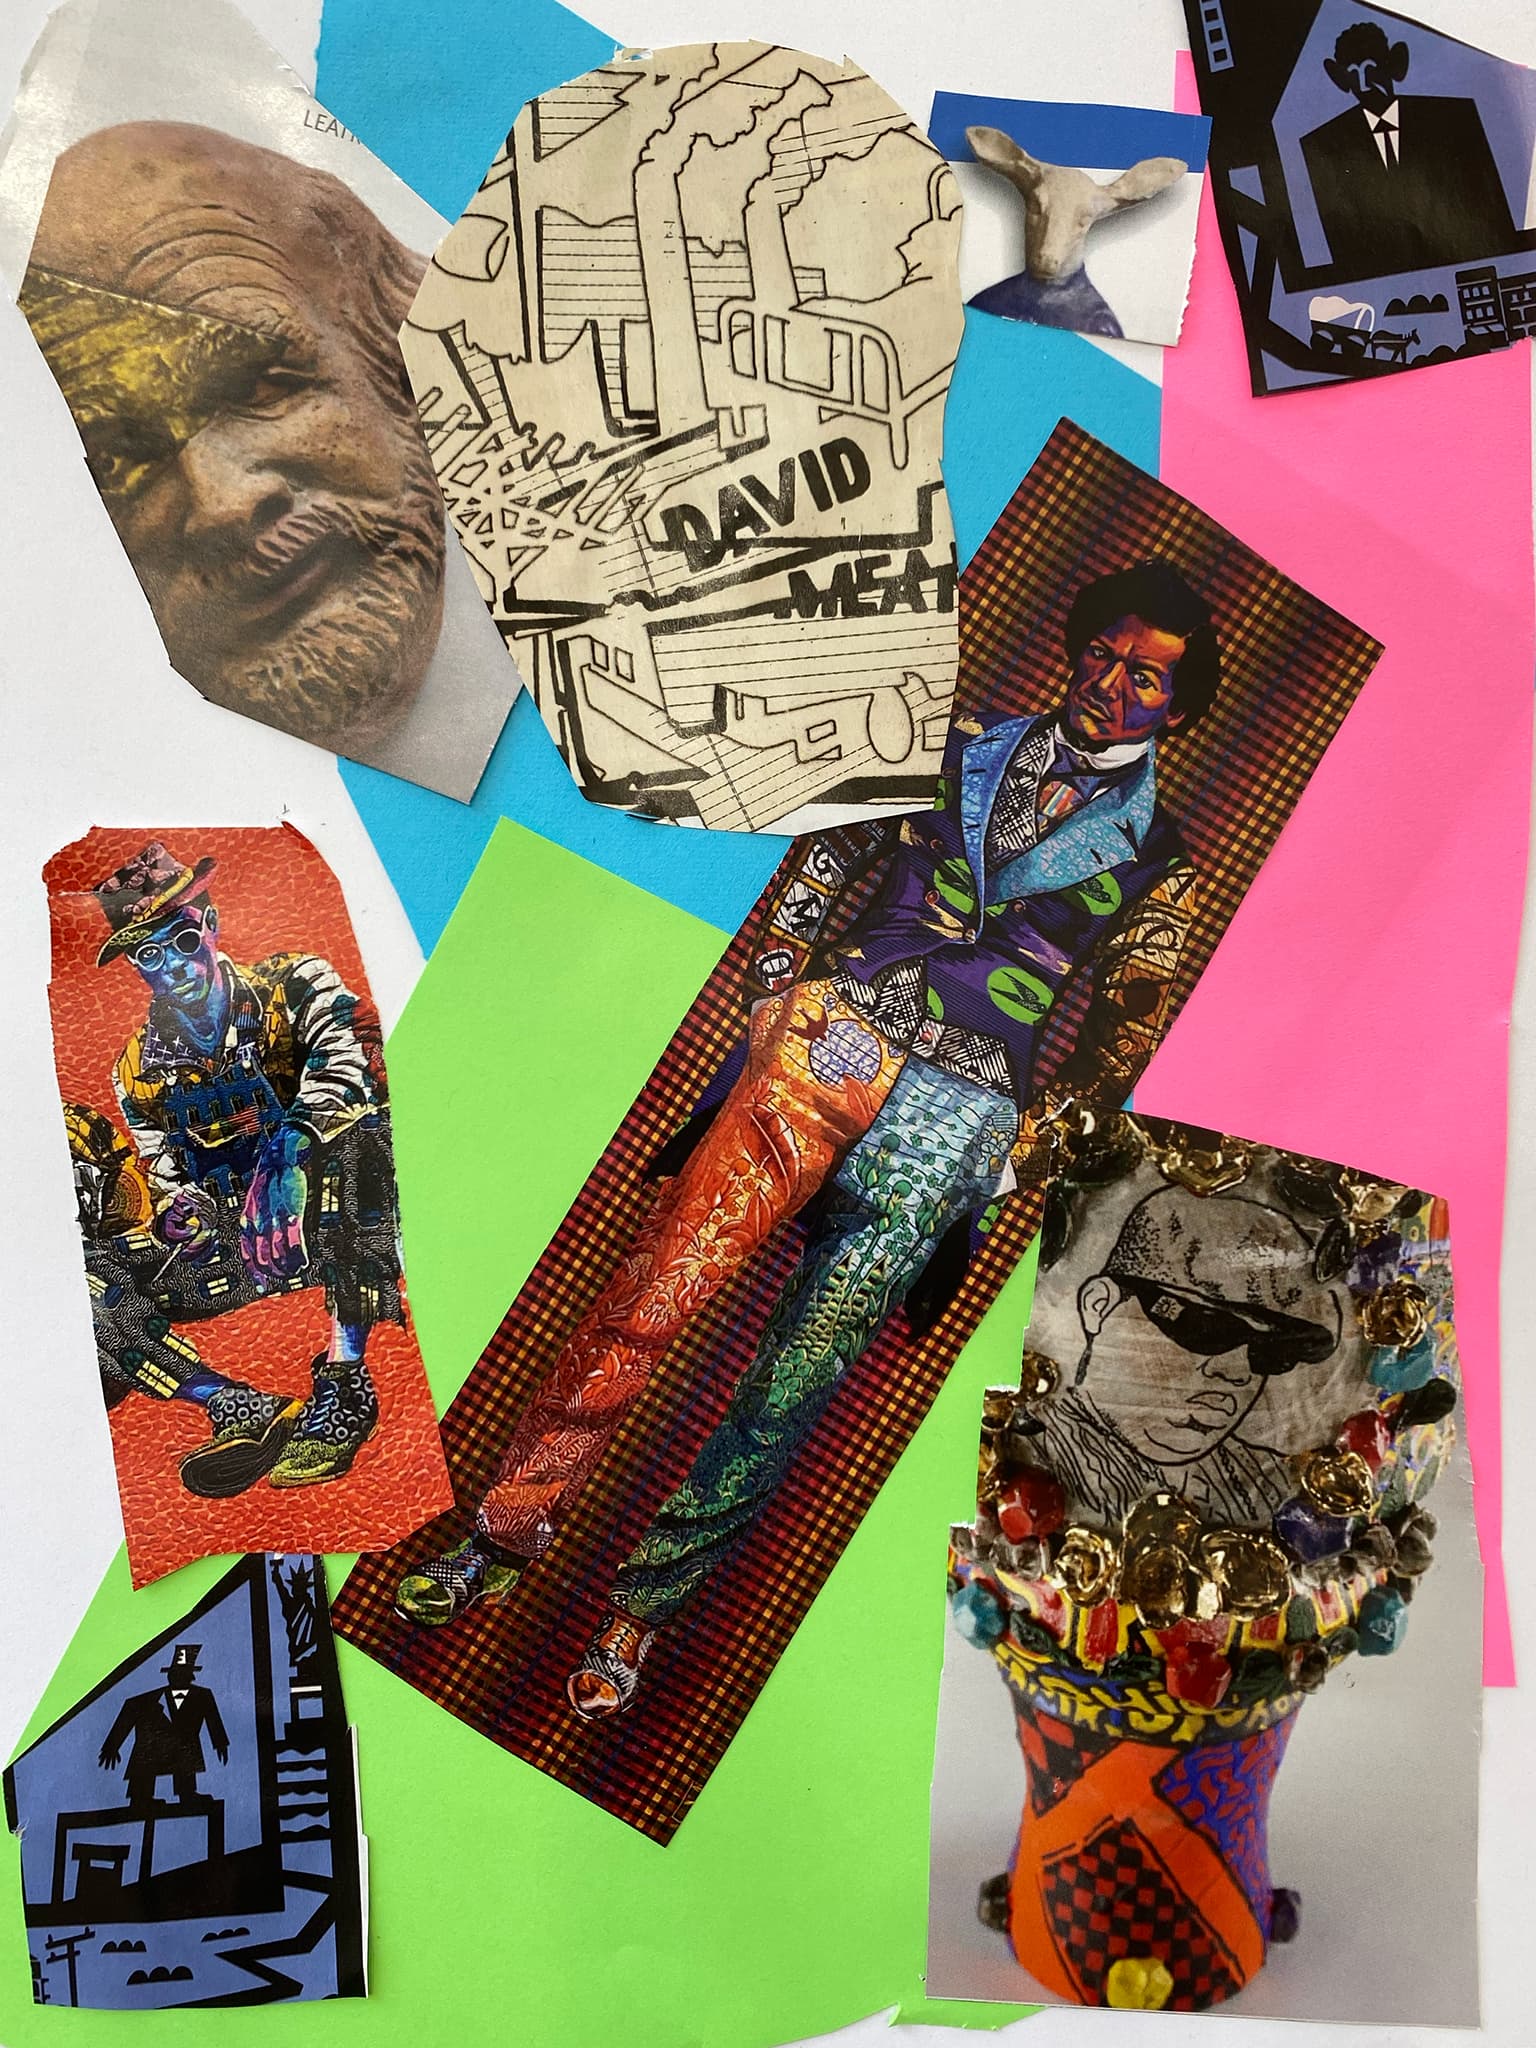
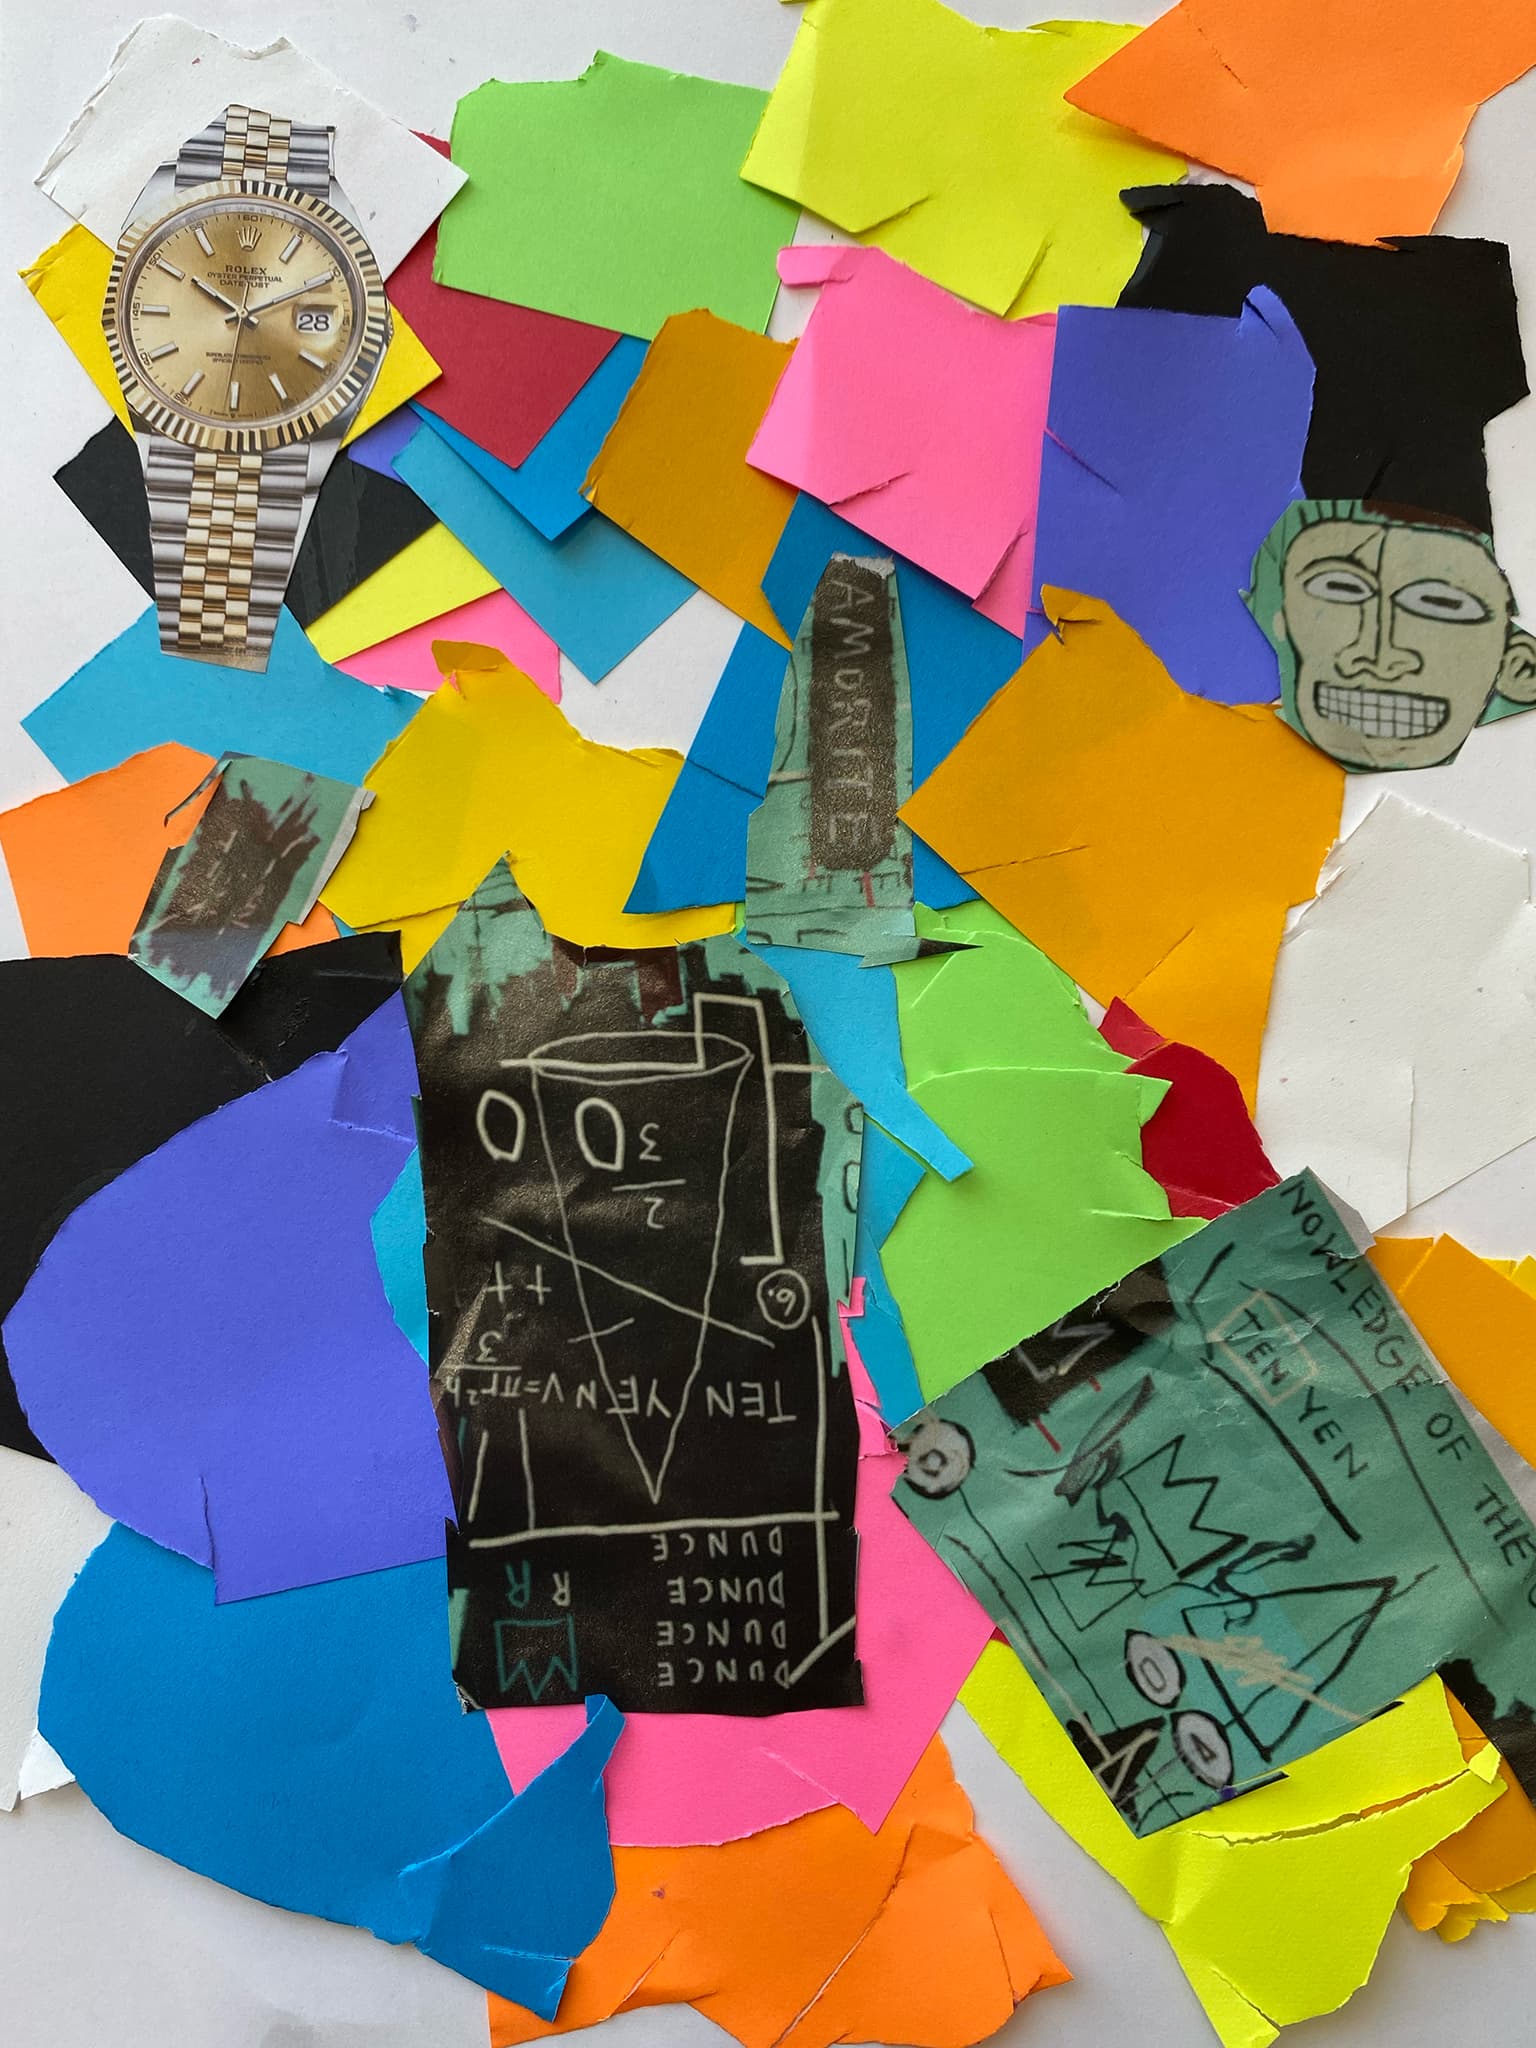
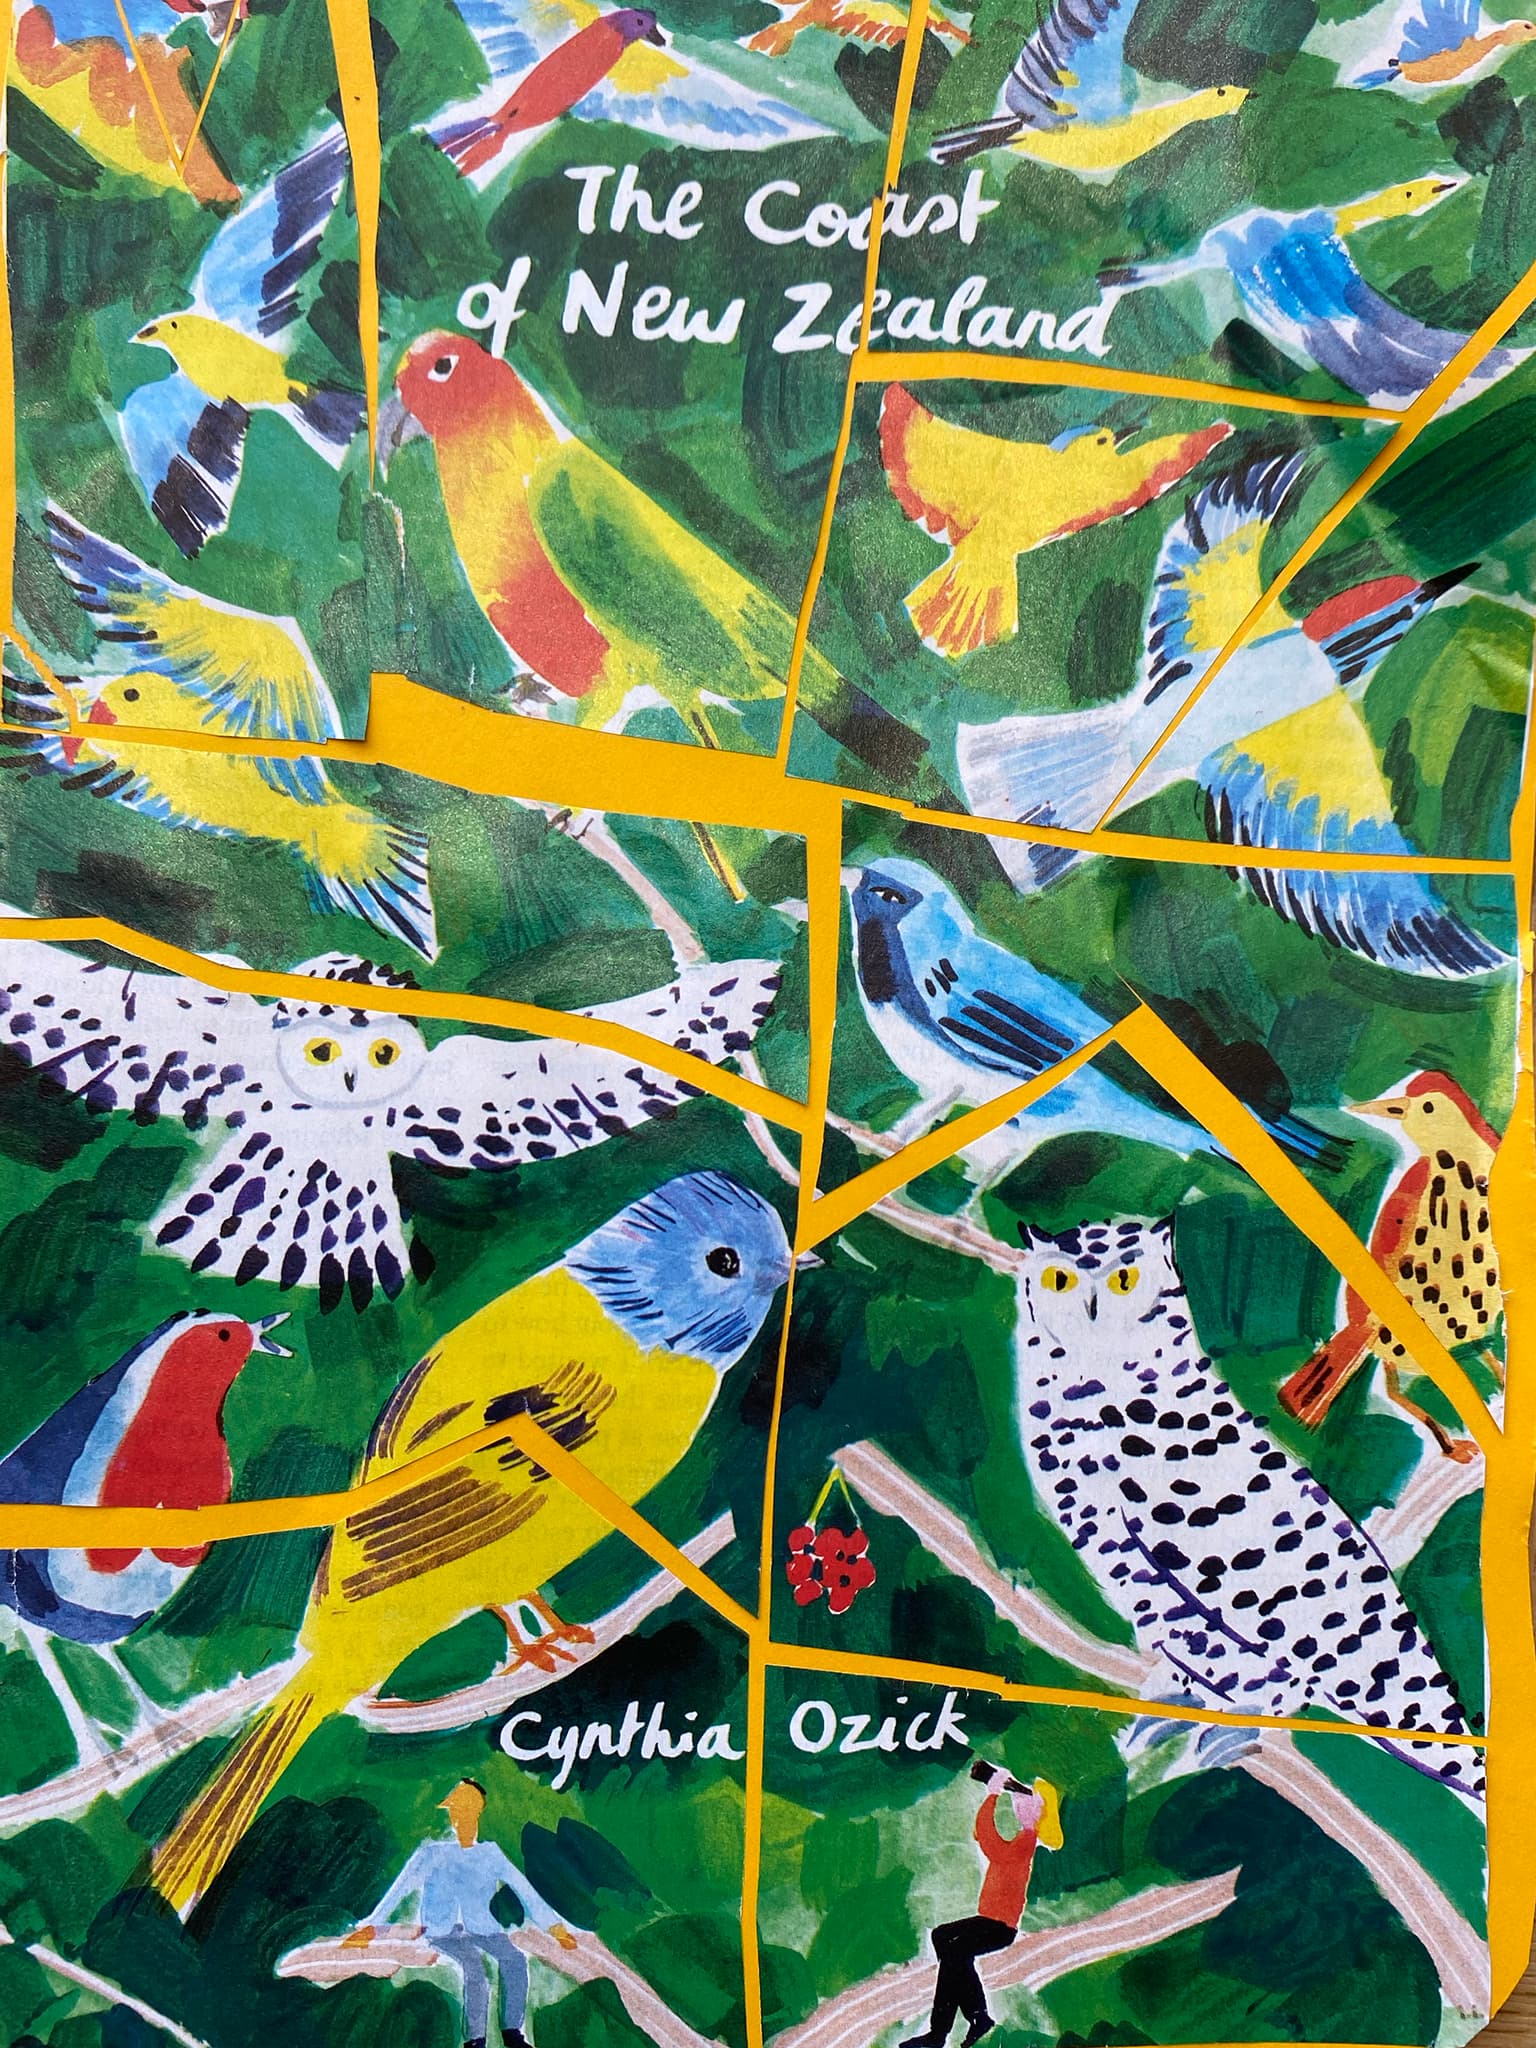
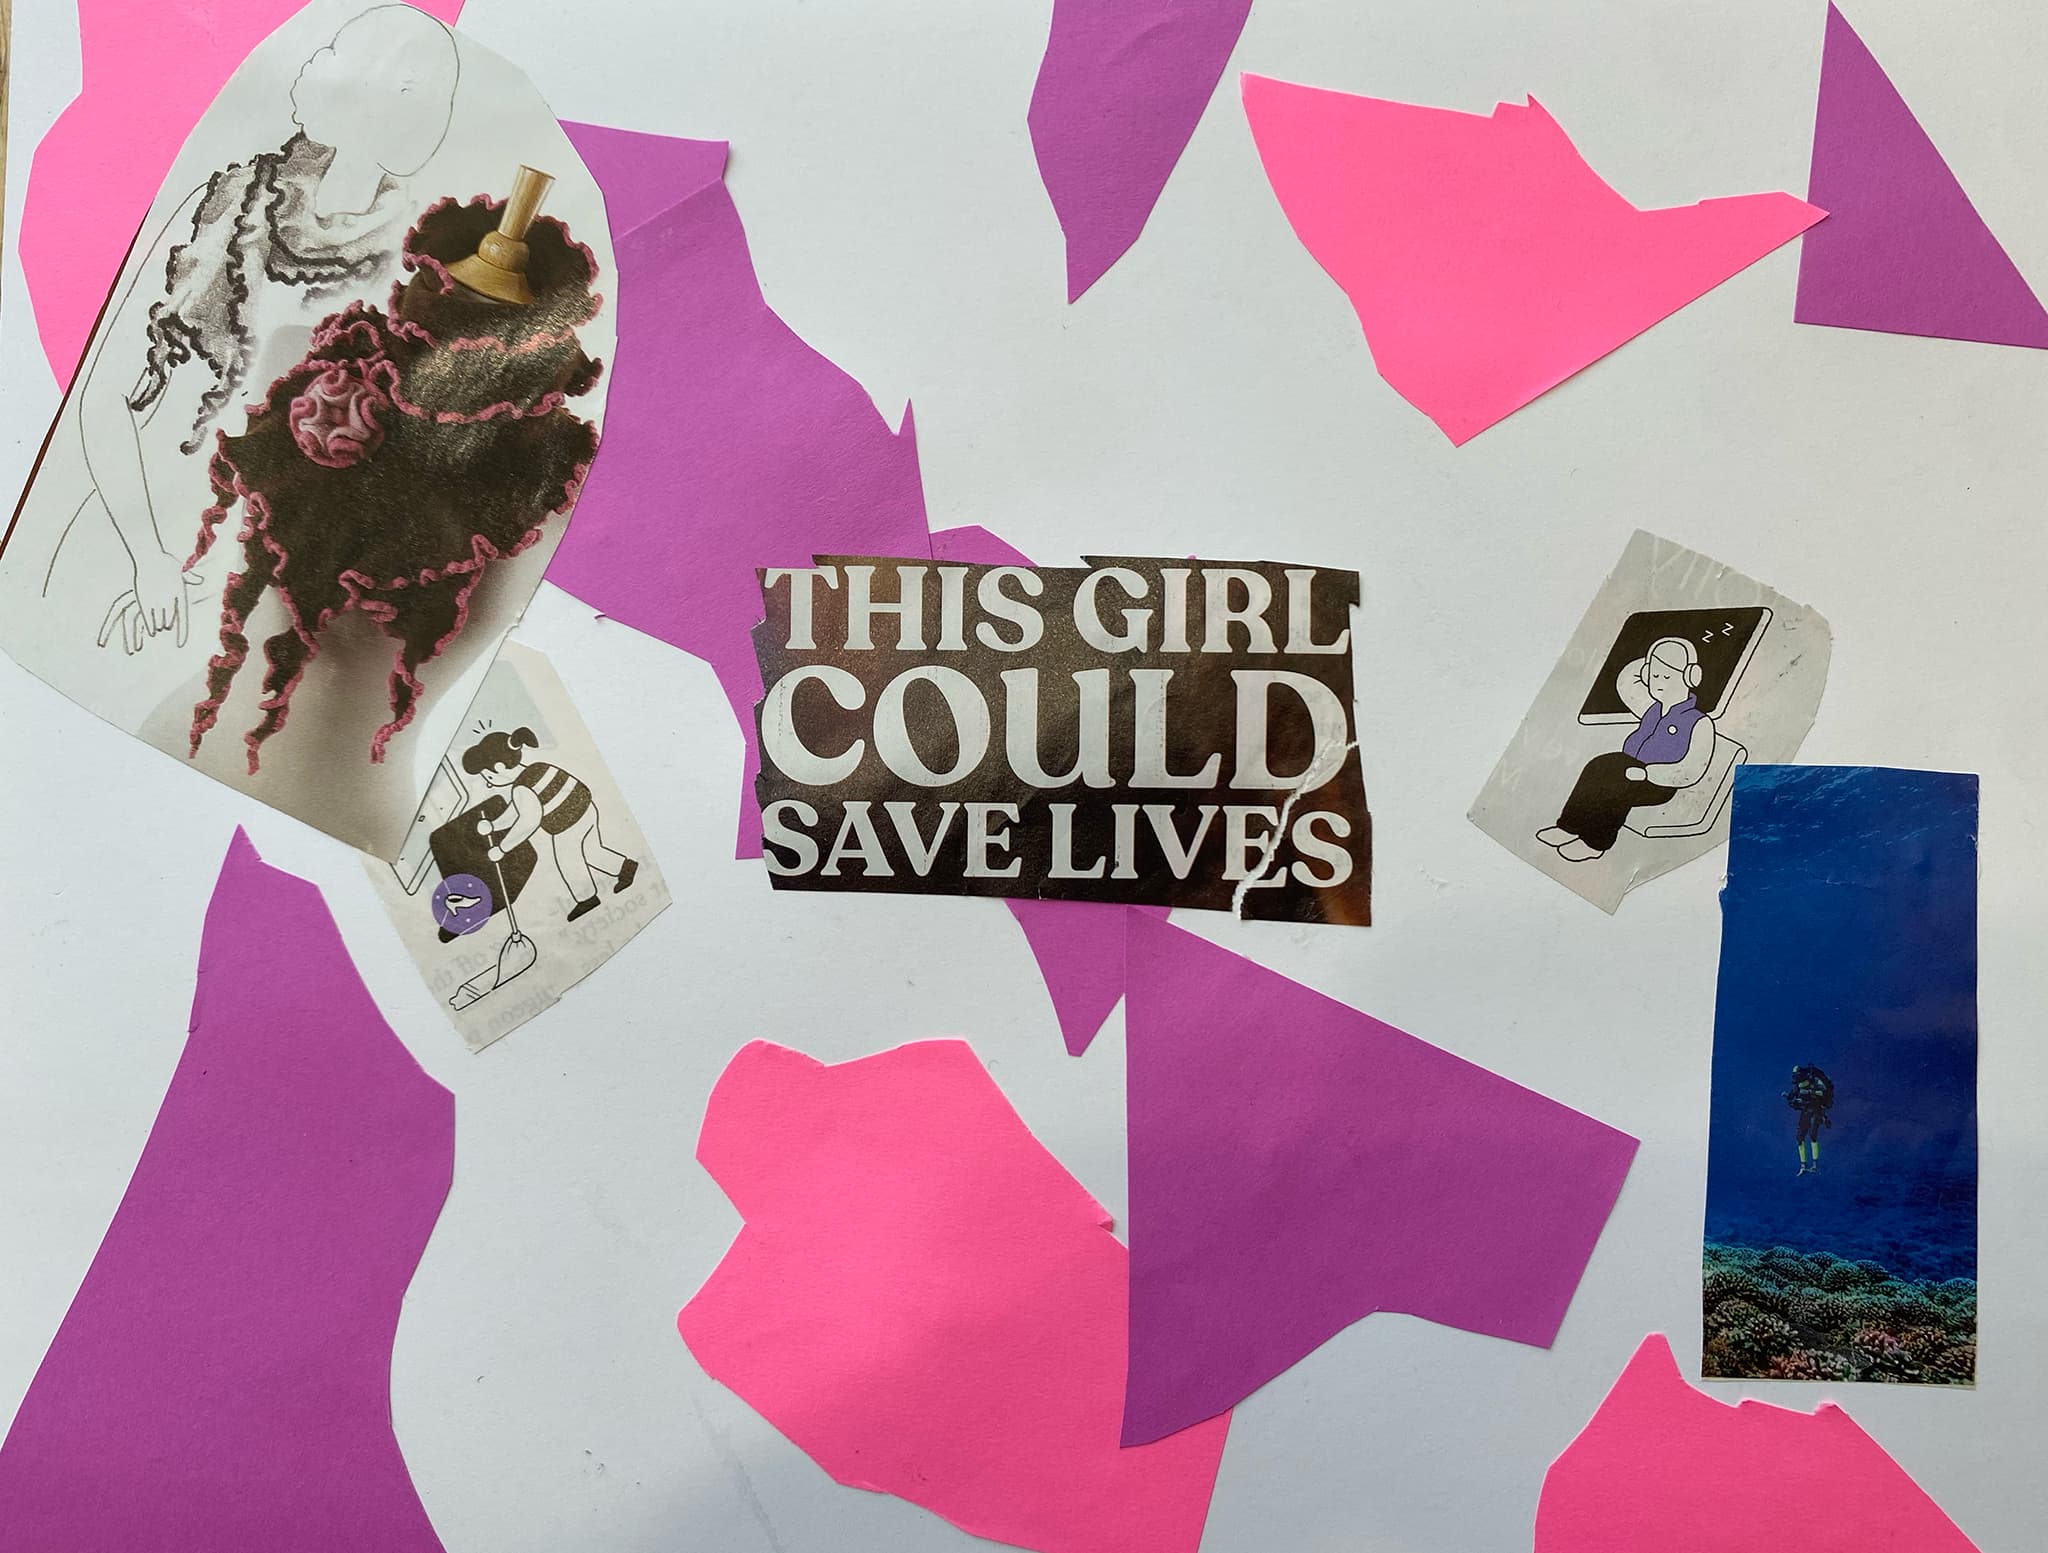
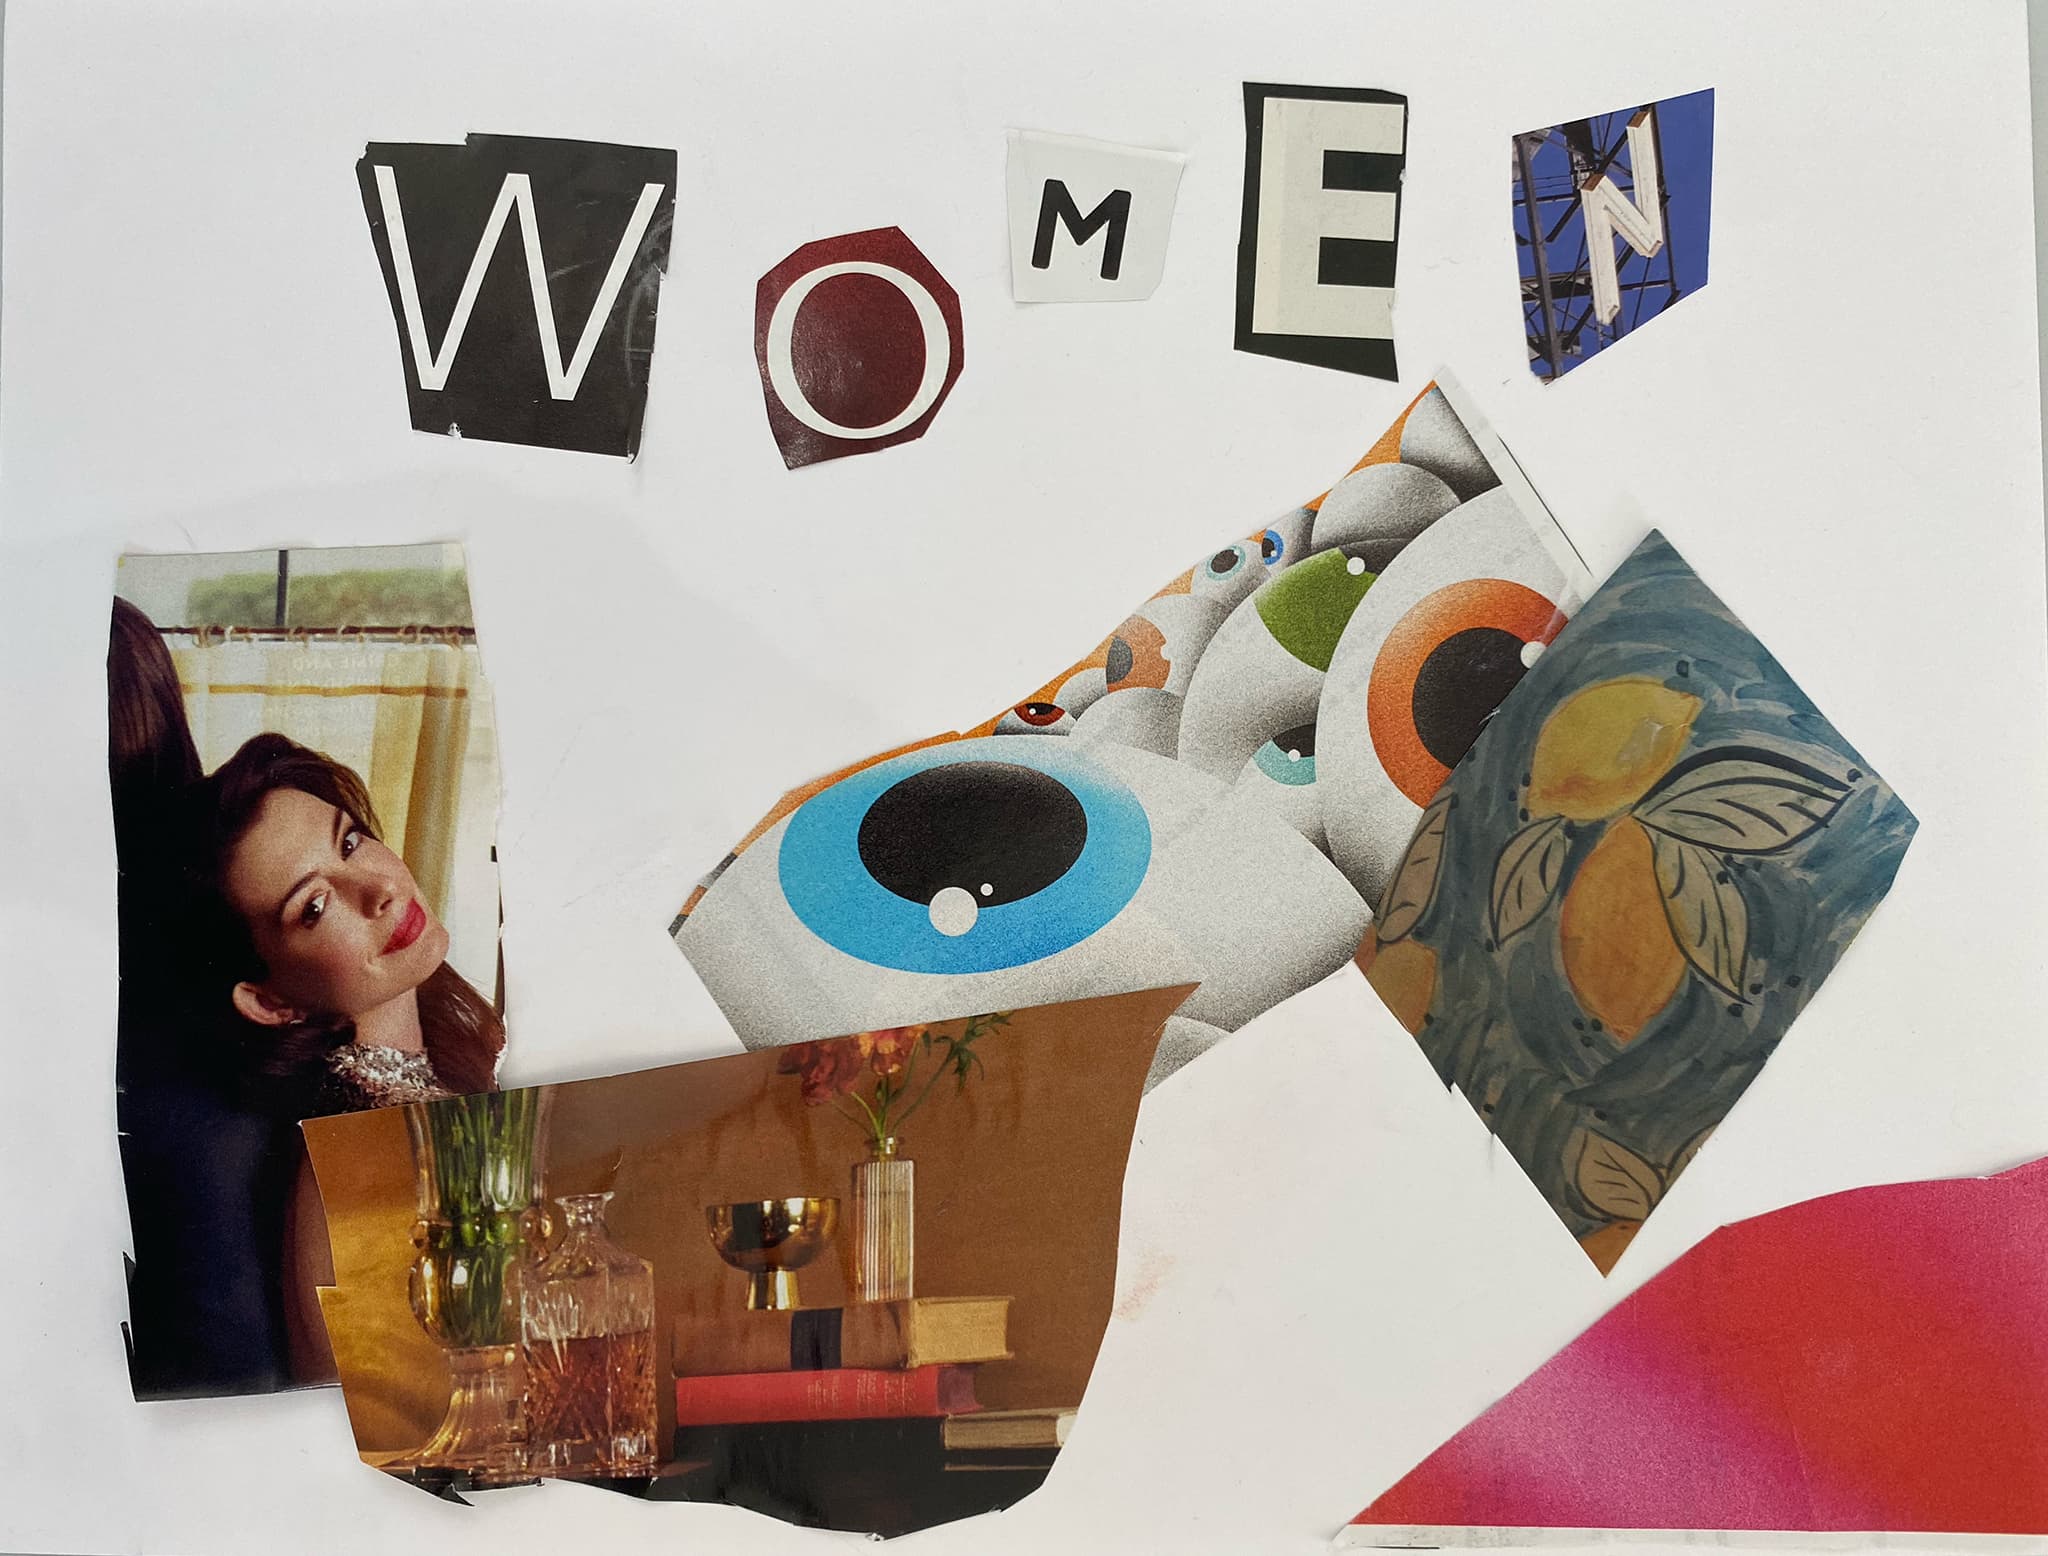
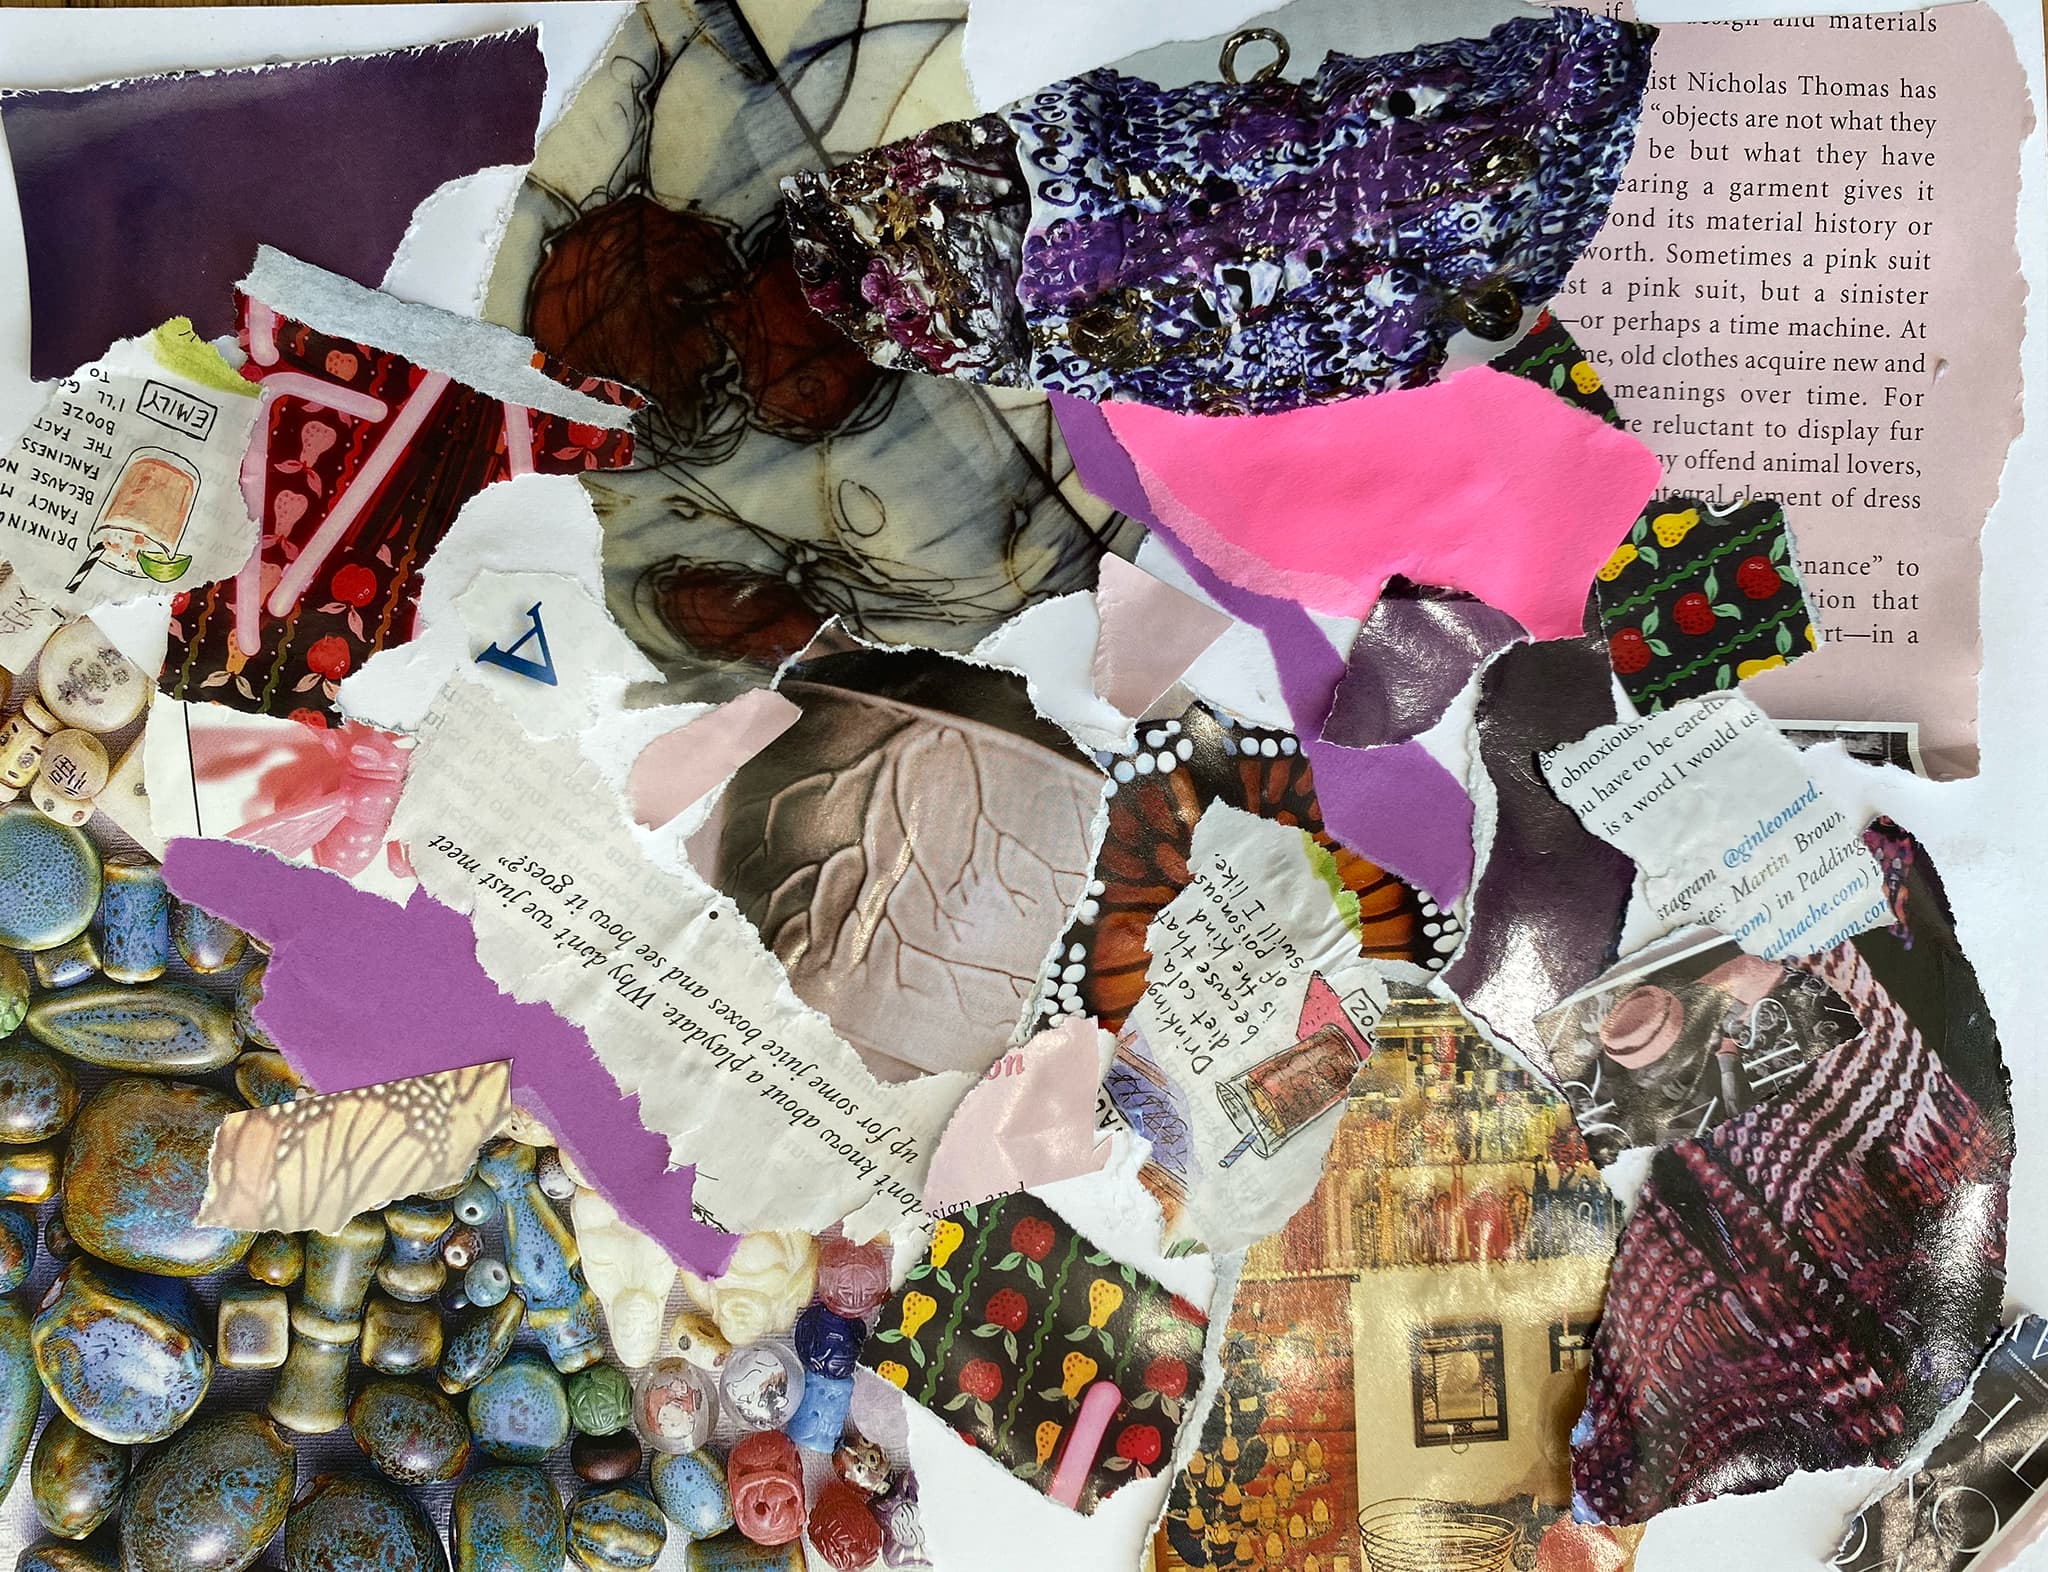
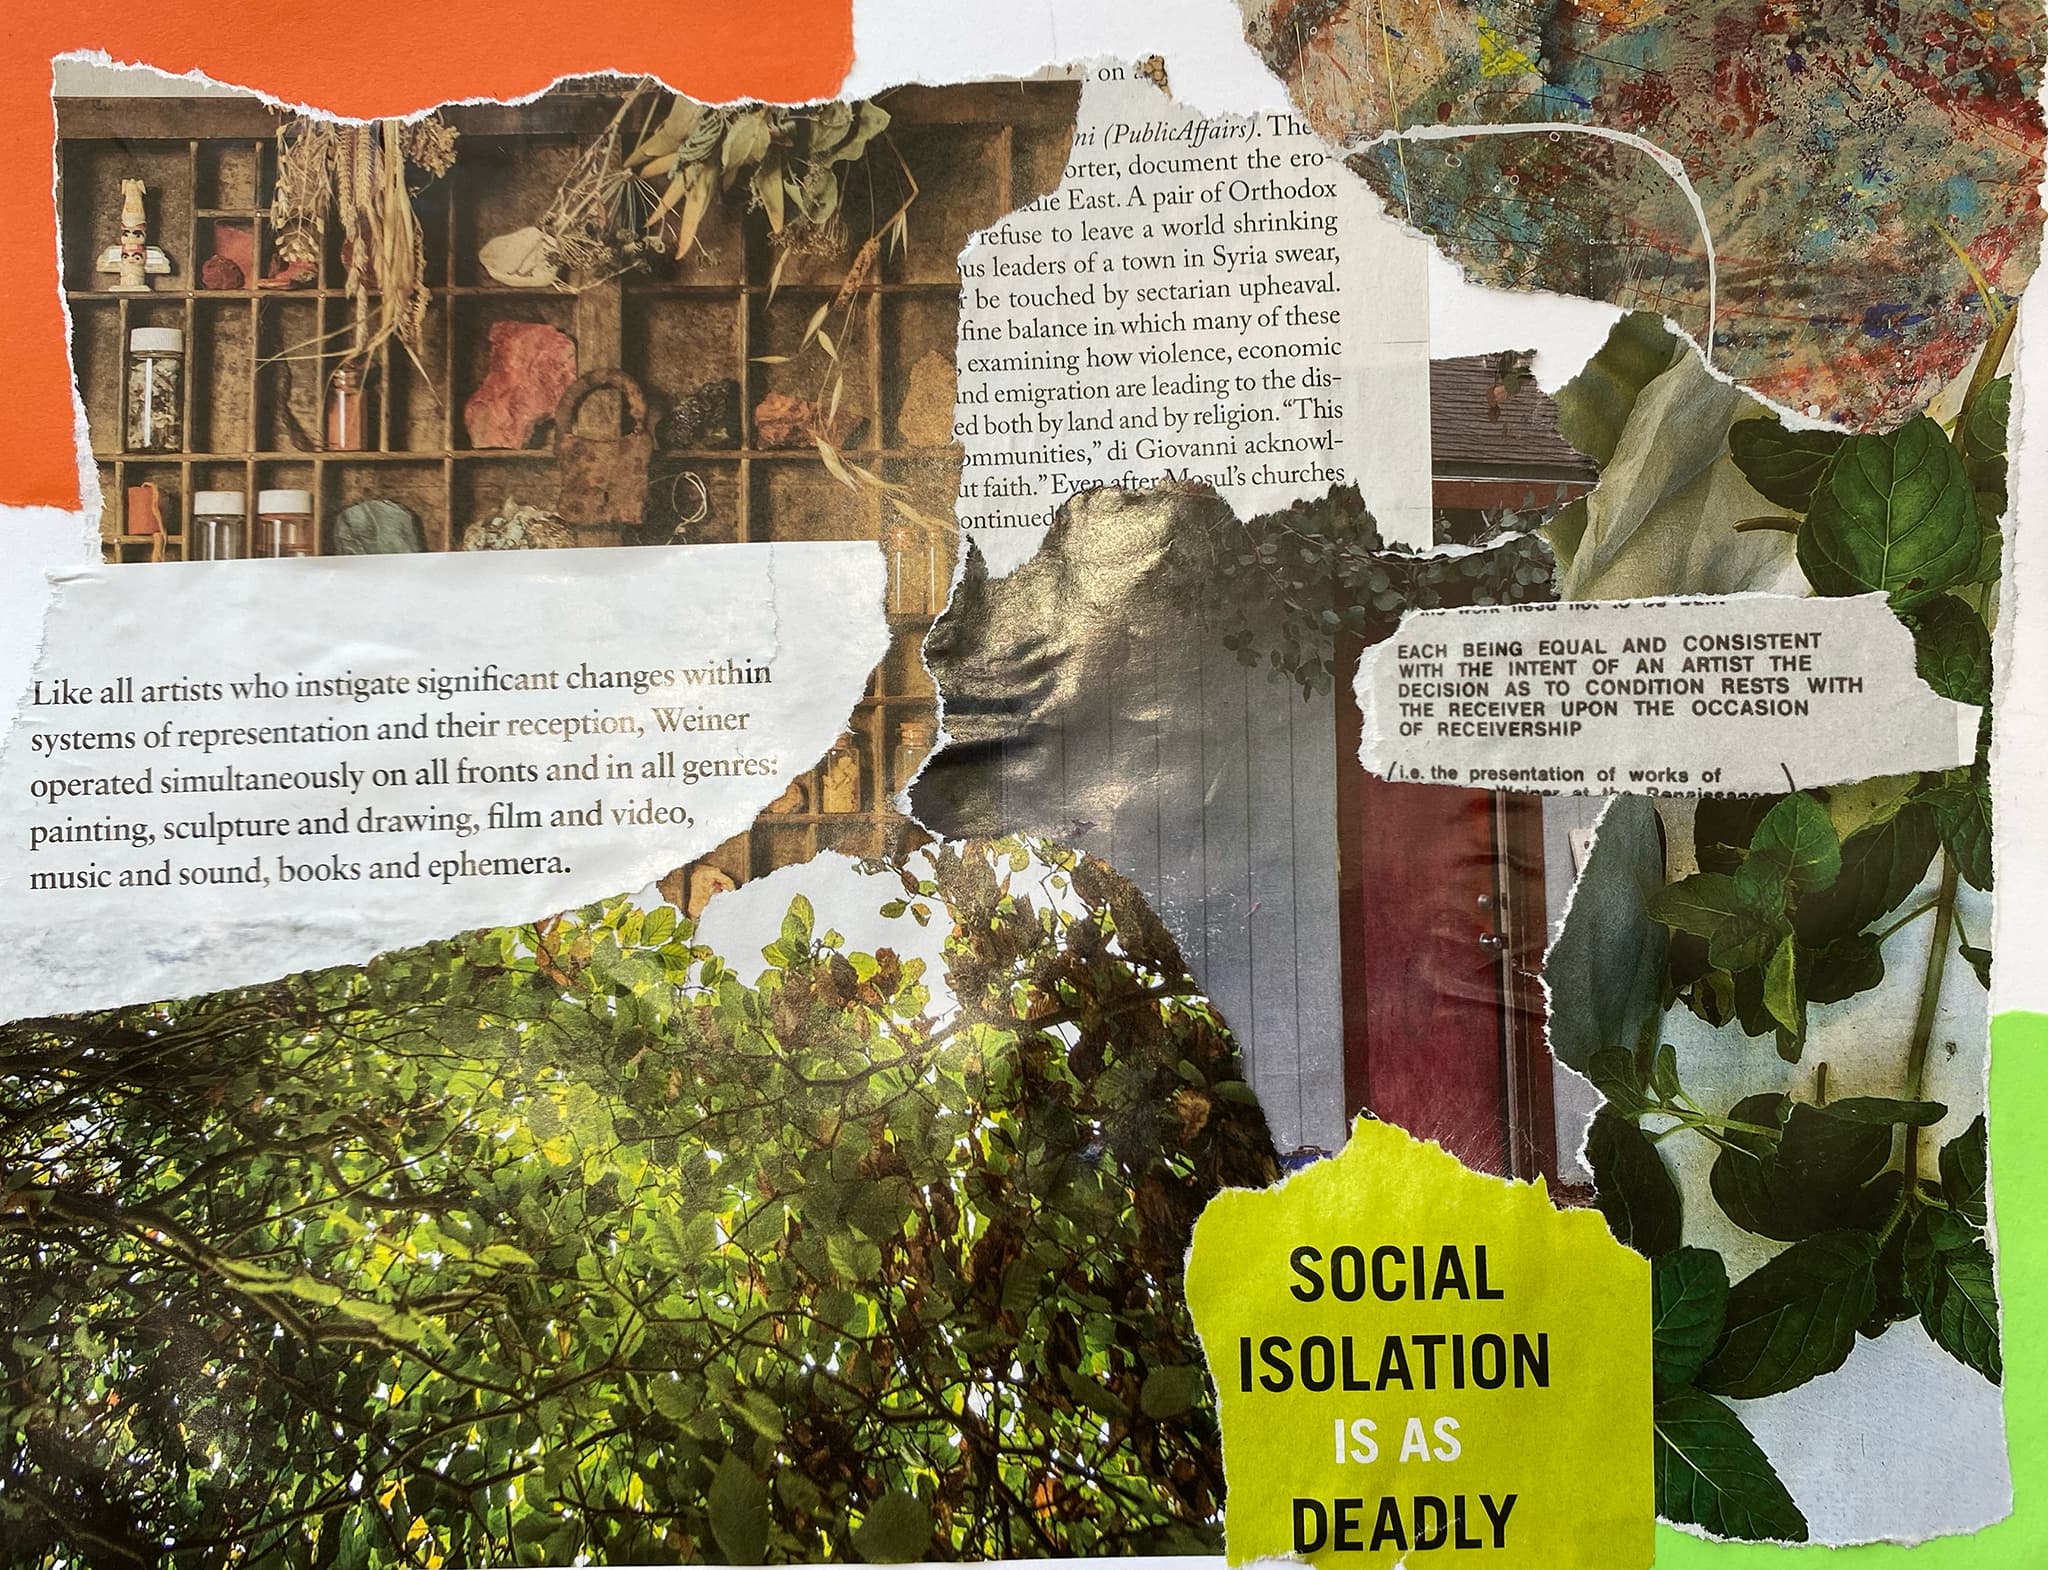
After the tour, the students made their own collages inspired by Tibbie Dunbar’s work and process. After the field trip, many of the students shared that the collage workshop was their favorite part of the day.
If you are interested in visiting the Craft in America Center during the summer with your class or summer camp, please email joan@craftinamerica.org to learn more!
Craft in Schools Fall 2021
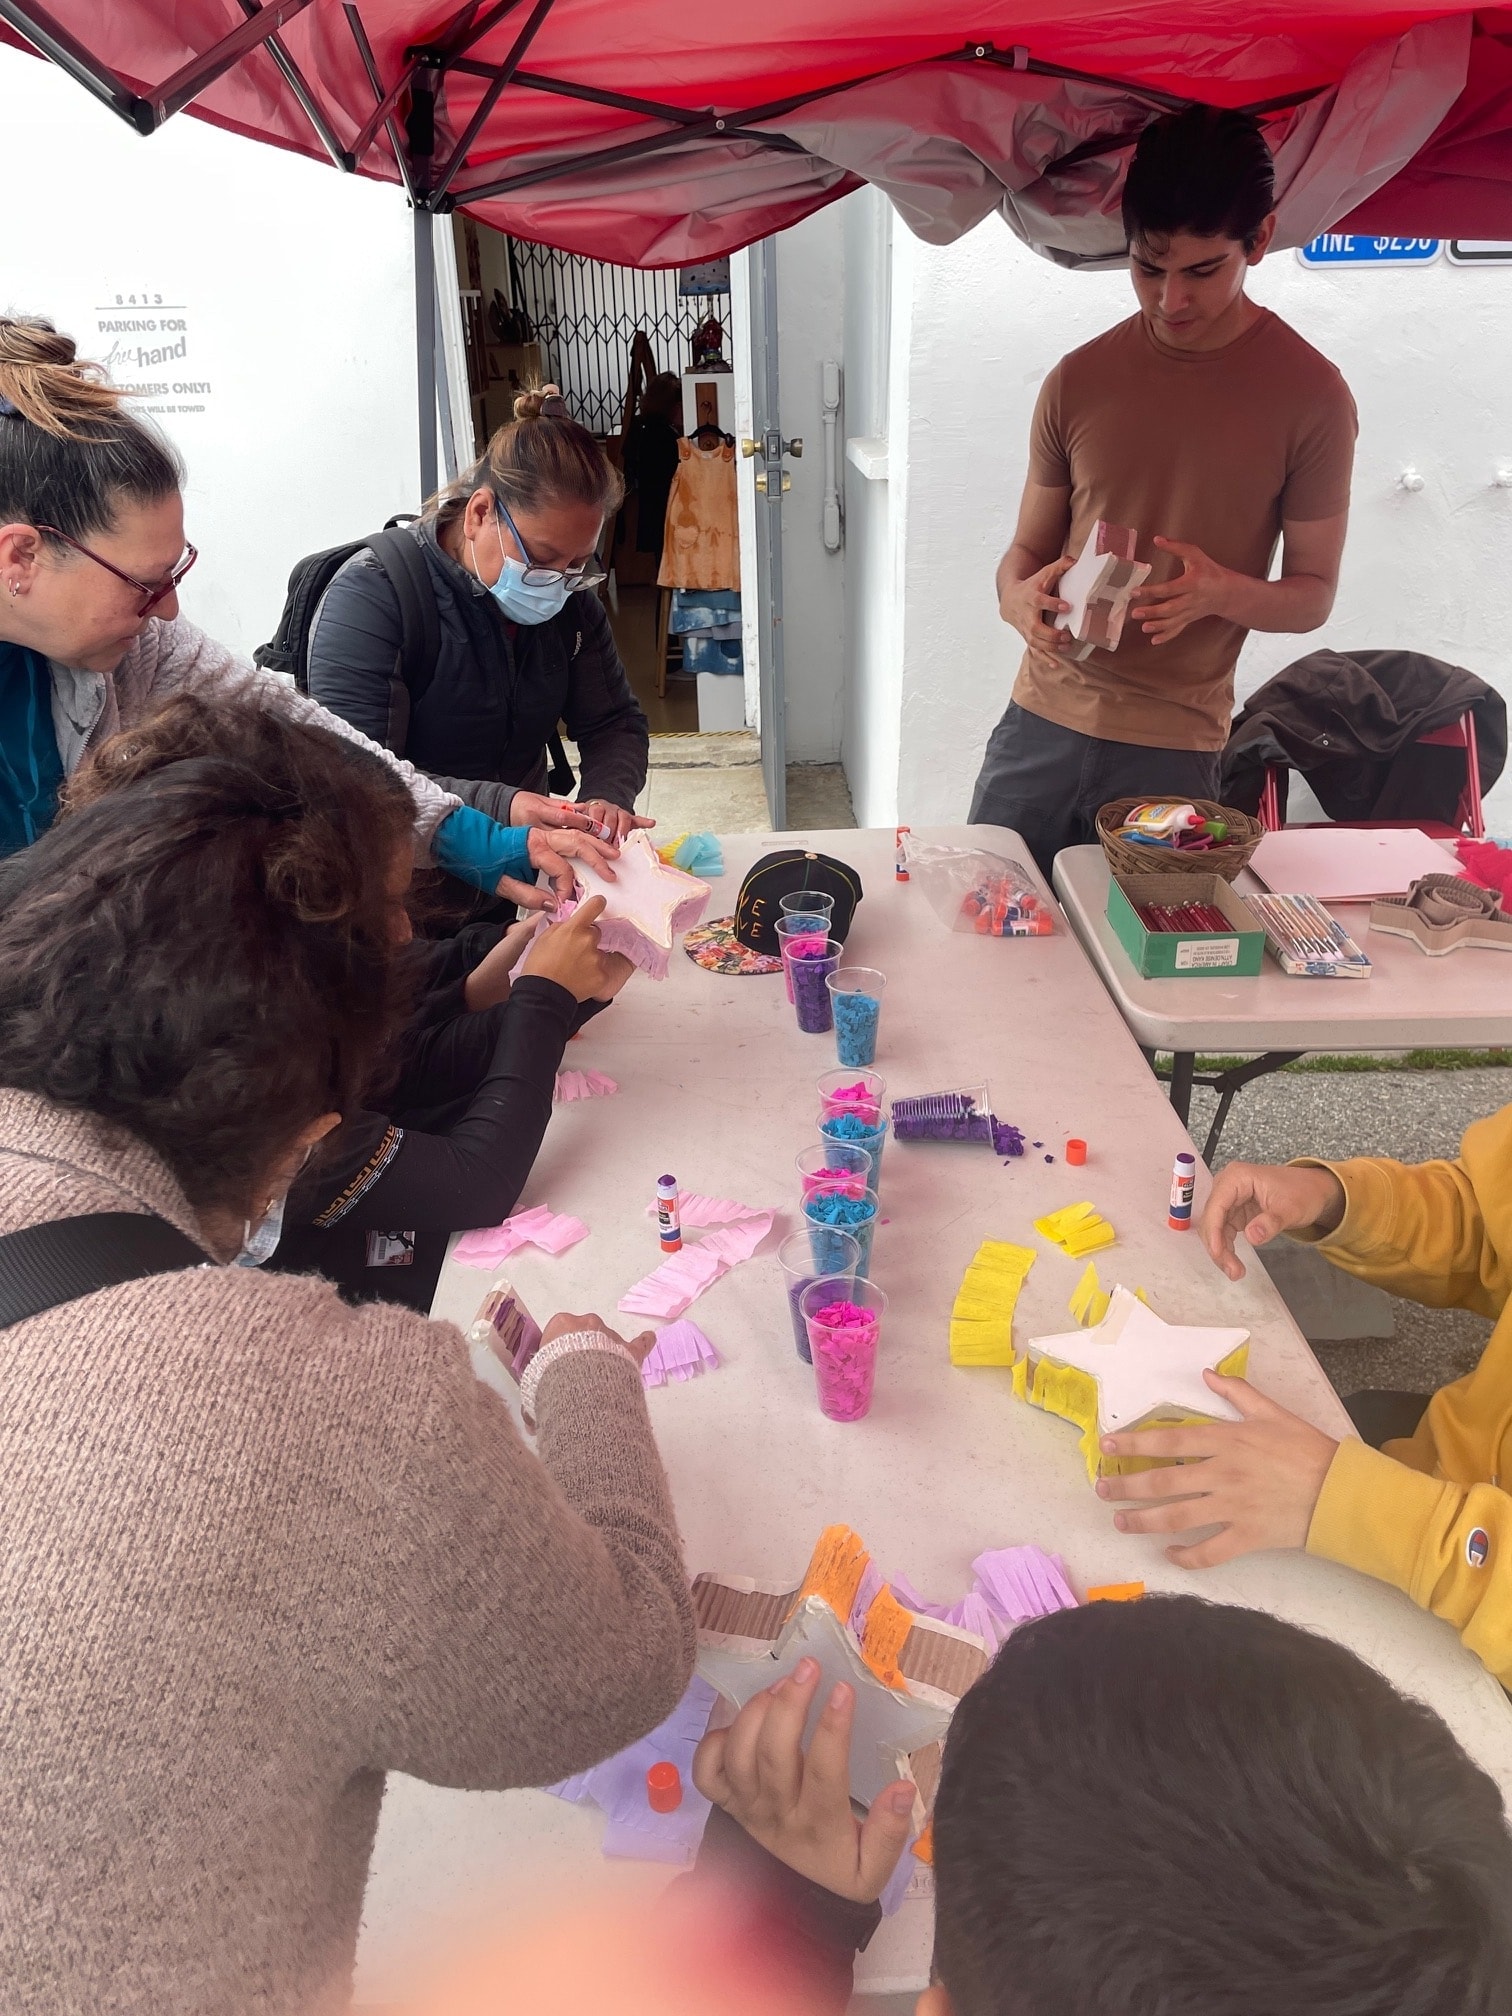
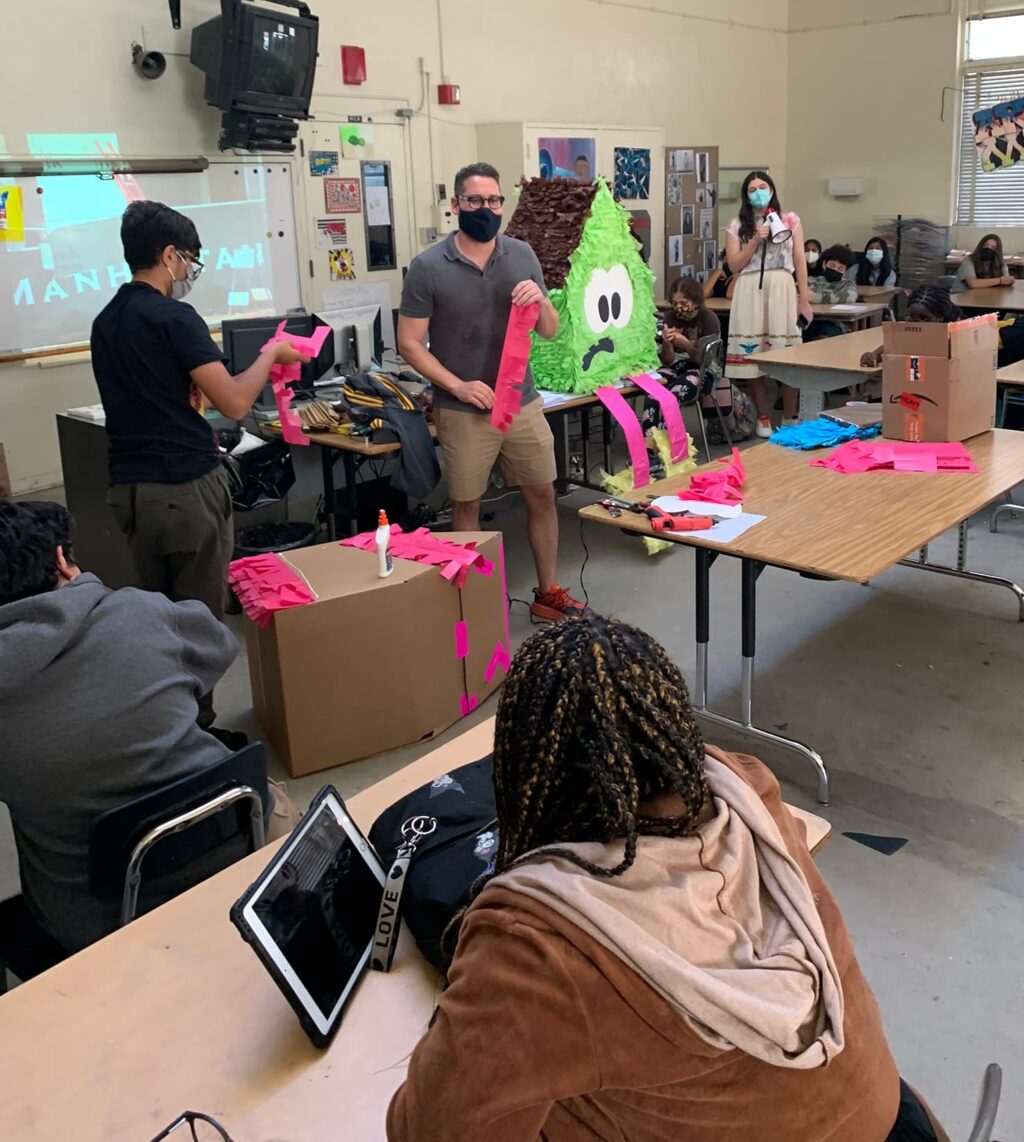
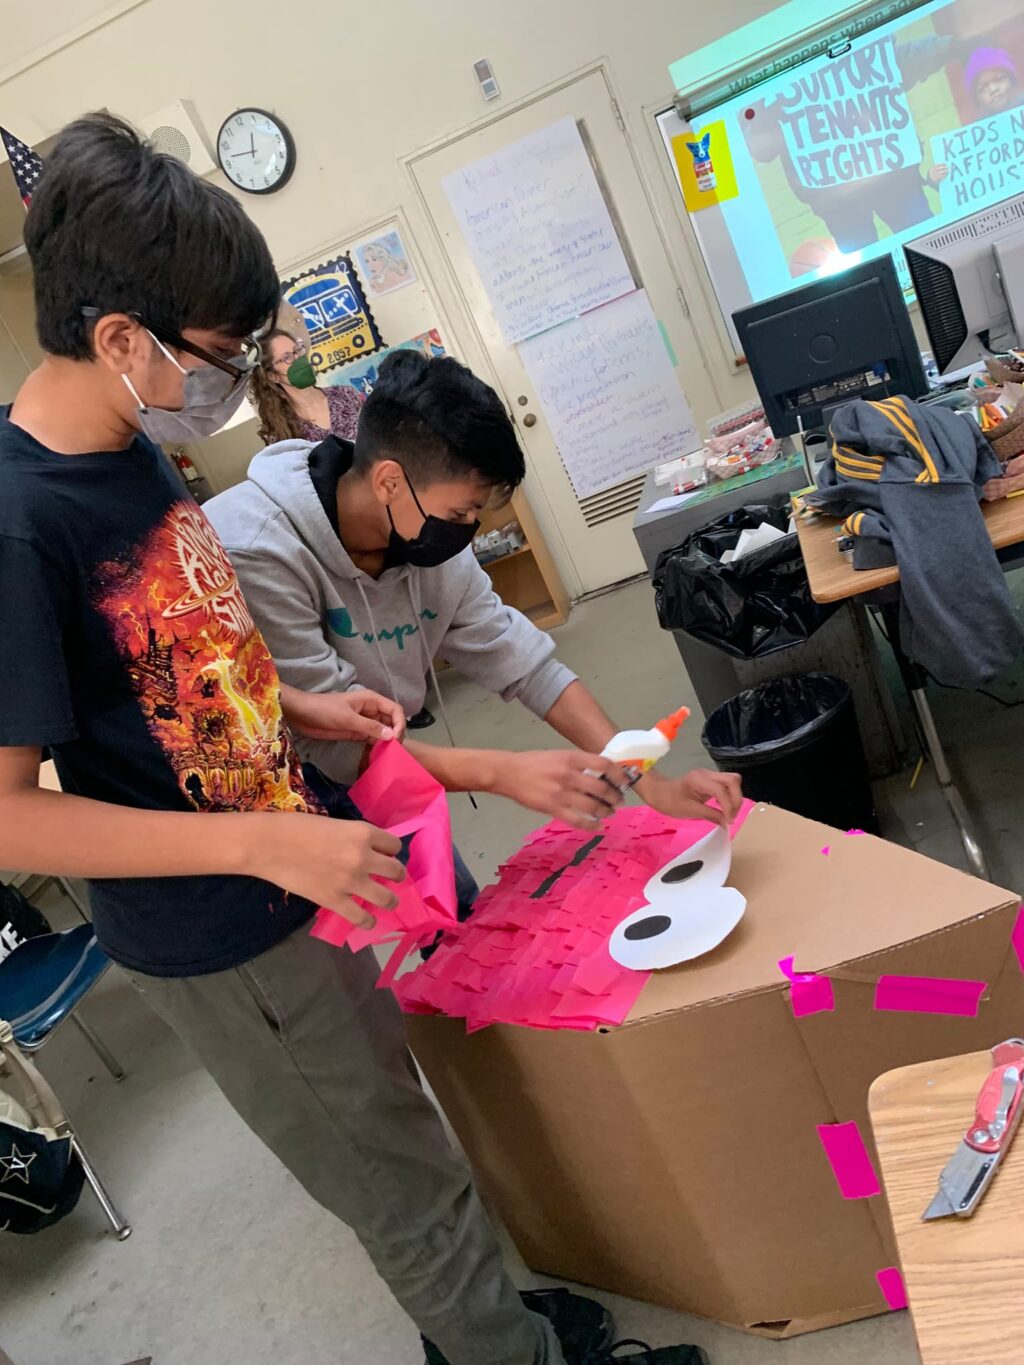
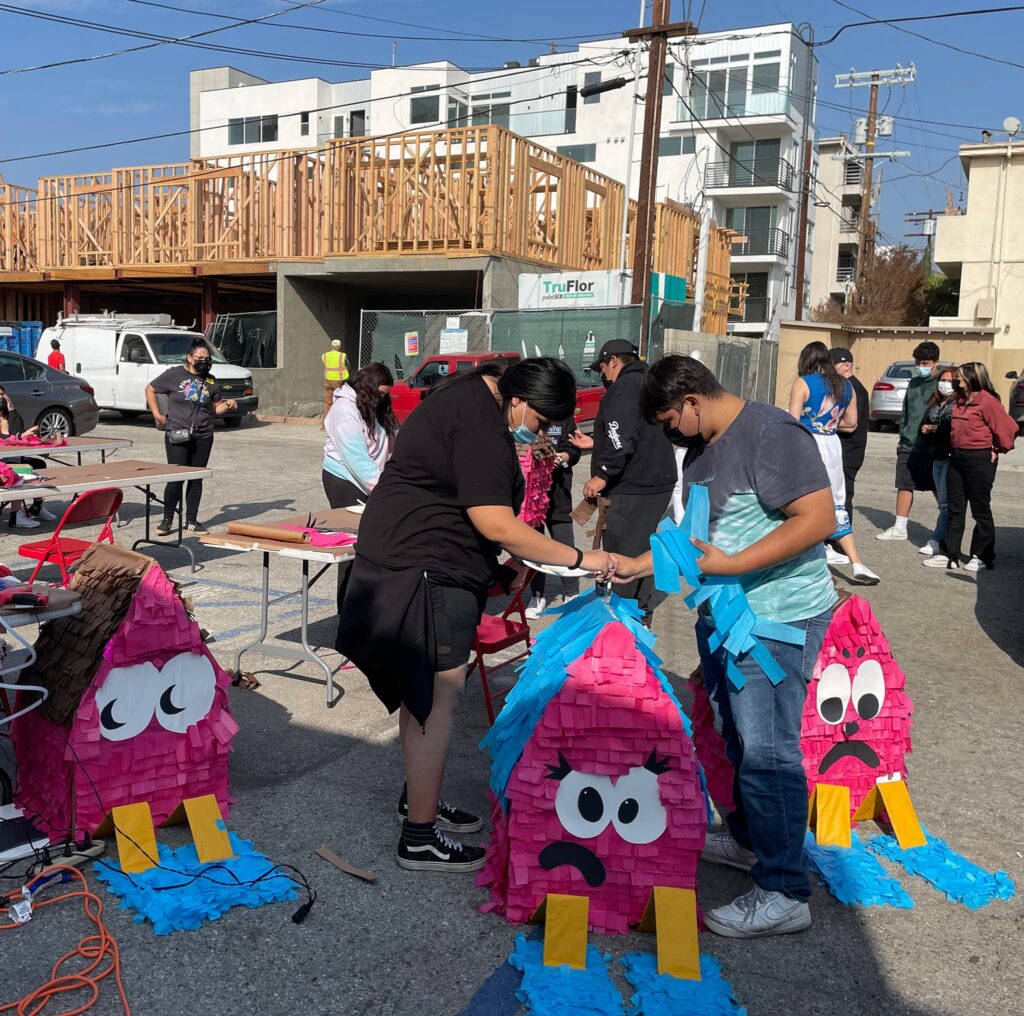
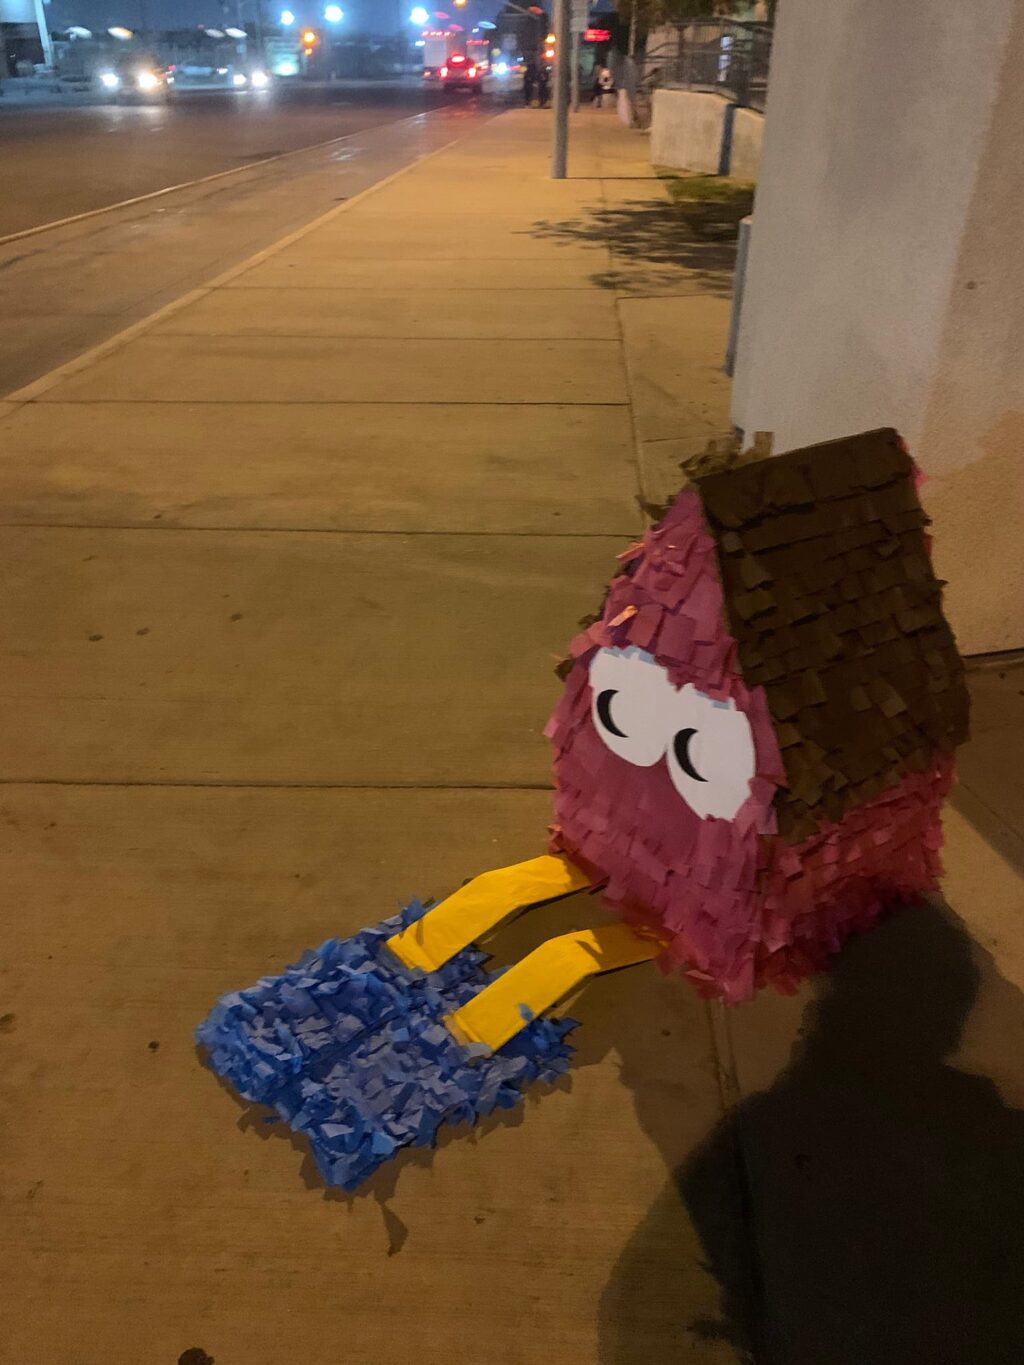
The exhibition Piñatas: The High Art of Celebration has come to a close, but the 600 students who participated in Craft in Schools will remember it for years to come. This fall schools returned to in-person learning, so we had the opportunity to bring artists into the classroom and students into the museum. We are thrilled to share a few highlights with you!
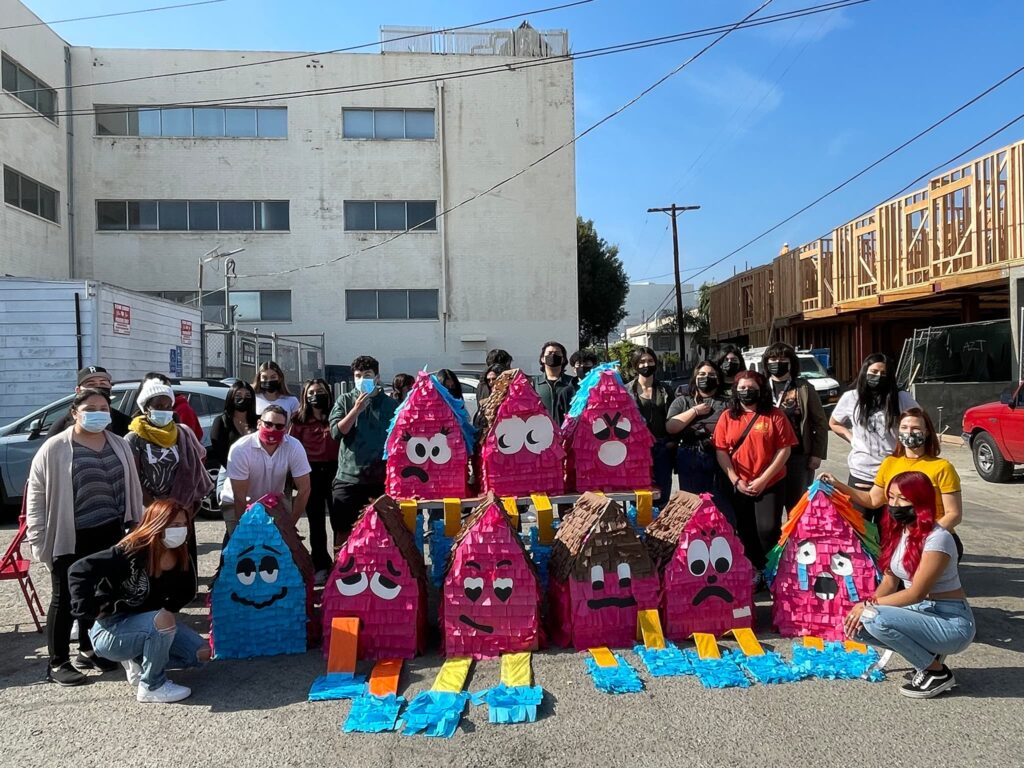
Artist Giovanni Valderas visited Ms. Laura Goldin’s classes at Palms Middle School to demonstrate how to make their own sad piñata houses based on Valderas’ landscape intervention project Casita Triste. Valderas, a Dallas based artist, places his Casitas in his hometown of Oakcliff to bring attention to gentrification, lack of affordable housing, and displacement of Latinx communities. The students learned about these issues and placed their Casita in a neighborhood suffering from similar issues.
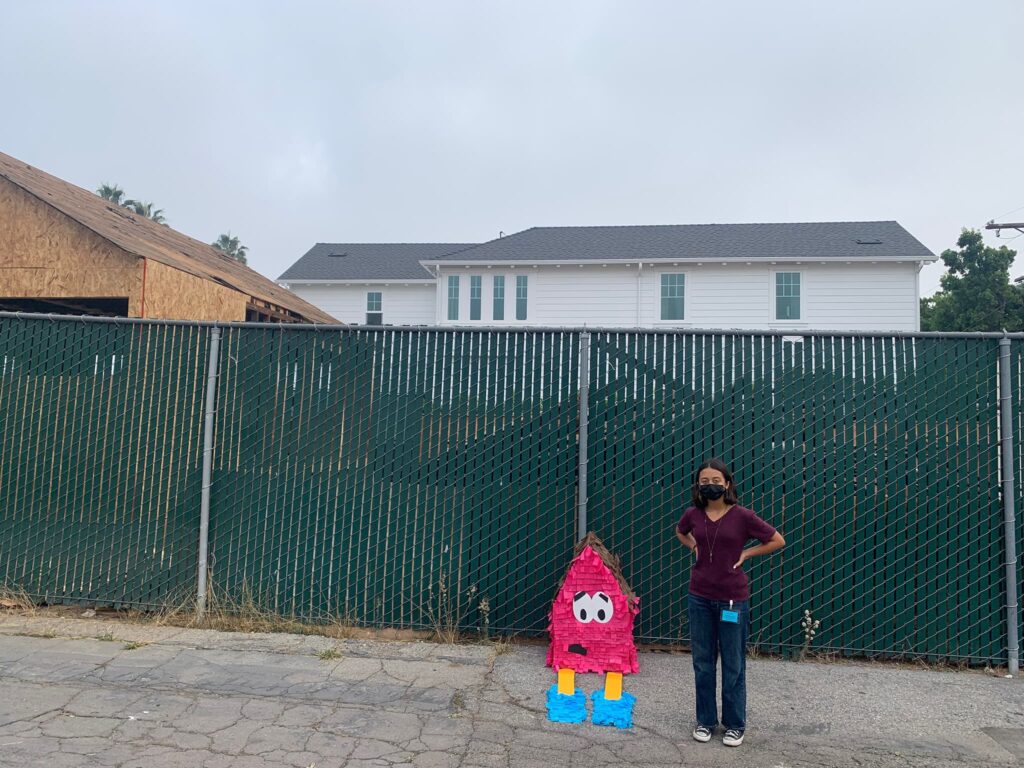
Giovanni also led a Casita Triste workshop at the Craft in America Center with students from Ms. Jess Perry-Martin’s high school art class from Artes Magnet. The students experienced the piñata exhibition and then made their own Casitas, which they placed in their neighborhoods.
Another highlight was when Fresno based artist Isaias Rodriguez (Little Piñata Maker) led a workshop with Ms. Beth Dror’s fourth grade class from Rosewood Stem Magnet Elementary School. First, the students engaged in Visual Thinking Strategies (VTS) while exploring the exhibition. Then they had the opportunity to hear from Rodriguez about the meaning and significance of his installation resilience. The creativity continued back in the classroom where Rodriguez taught the students how to make little reindeer piñatas.
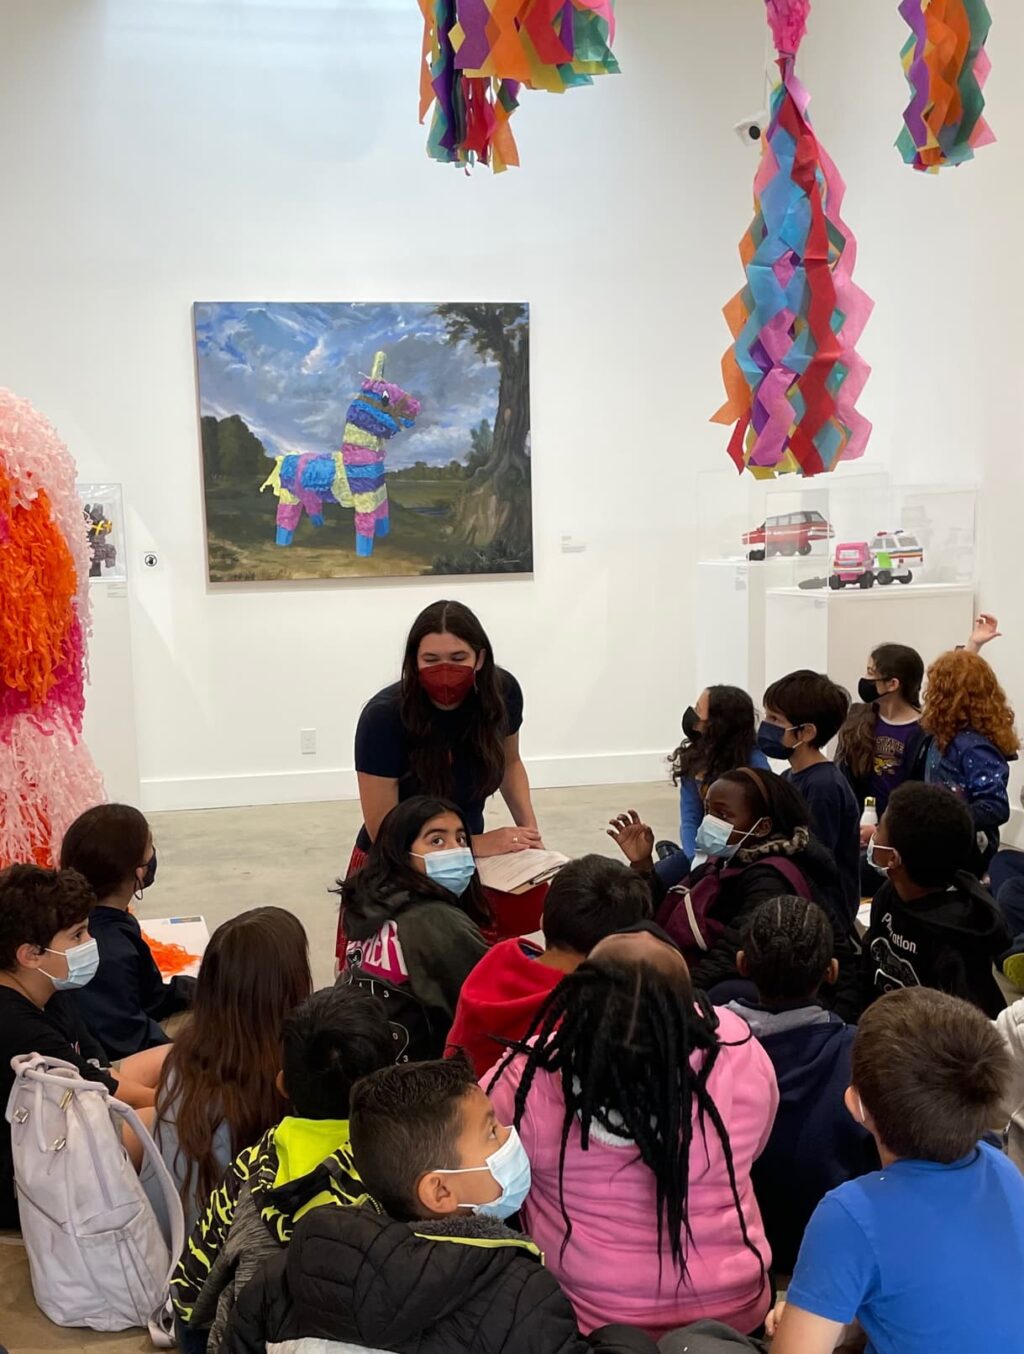

Considering the socioeconomic issues involved in piñata making, we were able to connect with Ms. Suzanna Hidalgo’s AP Macroeconomics class. The students were inspired to visit because they watched our artist talk “Labor of Love: The Economics of Piñata Making.” We coordinated a talk and workshop with artist Lorena Robletto, who is a passionate advocate for piñata makers. The students heard Robletto speak to these issues and made their own piñatas to understand the time and love that goes into making them.
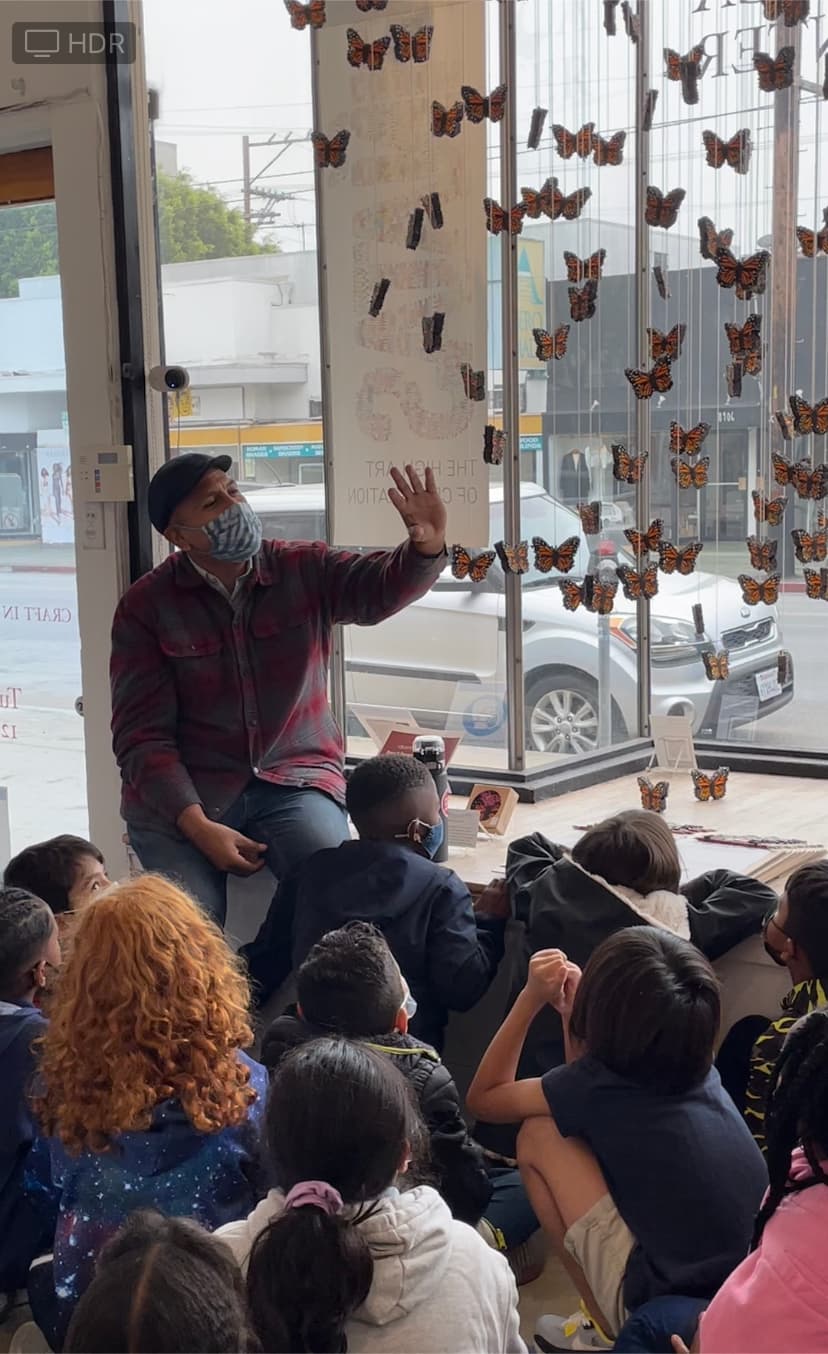
If students were not able to meet artists or see the exhibition in person, we were able to connect with them virtually. For example, East L.A. artist Francisco Palomares gave a virtual artist talk and led a two-day painting workshop with Fairfax High School students from Ms. Elizabeth Kim’s advanced painting class.
Giovanni Valderas and Lorena Robletto also led virtual artist talks and workshops in addition to their in-person experiences. We are so grateful to the artists involved in Craft in Schools, and we are excited for what is to come next year!


A Great Start to Craft in Schools 2021
As someone who has devoted their entire adult life to art education, it is an honor to be the new Education Manager at the Craft in America Center. In this role, I have the privilege and responsibility of bringing craft into the classroom by providing educational experiences at the Center with K-12 public school students across L.A. County. Because of the pandemic, we had to get creative about the way we celebrate and share the handmade remotely. Starting in 2020, we joined classrooms via Zoom, and continued this virtual approach into 2021. As teachers already know, the challenges of teaching remotely are innumerable, so one of our main goals was to create a craft experience that was engaging and inspiring.
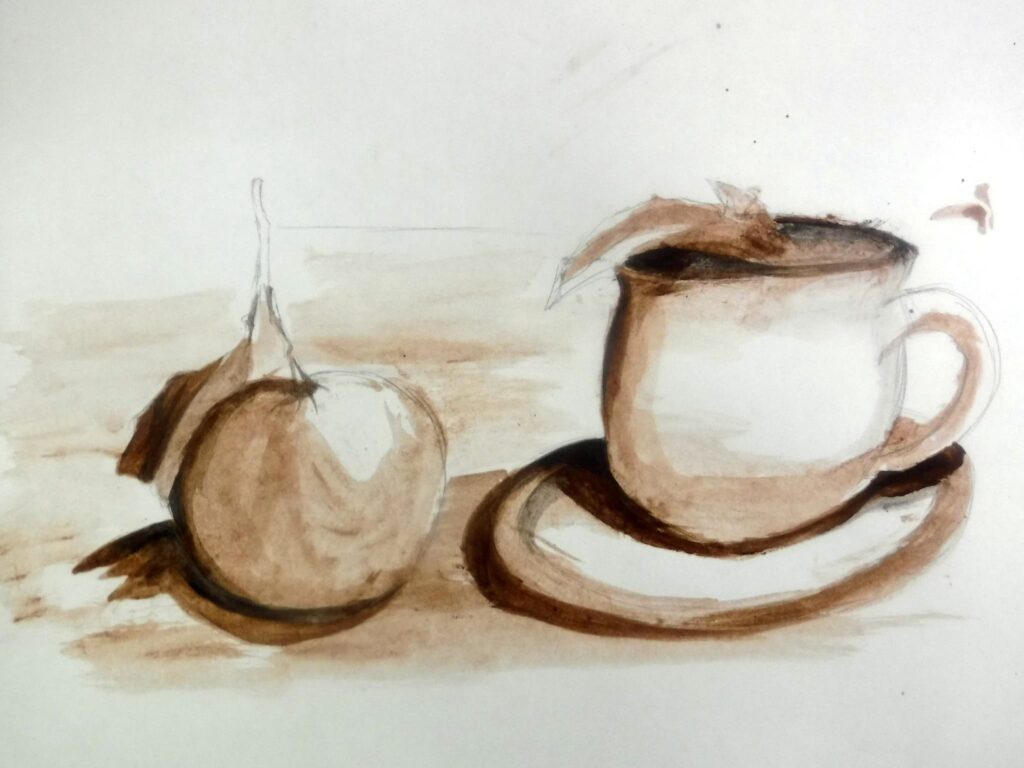
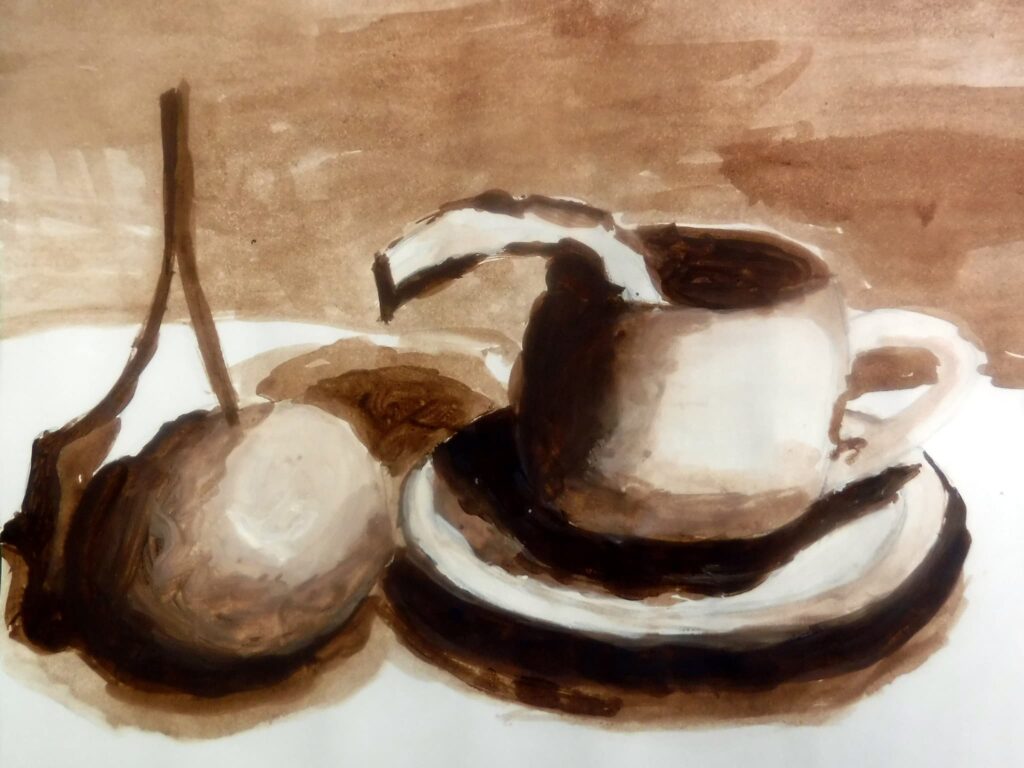
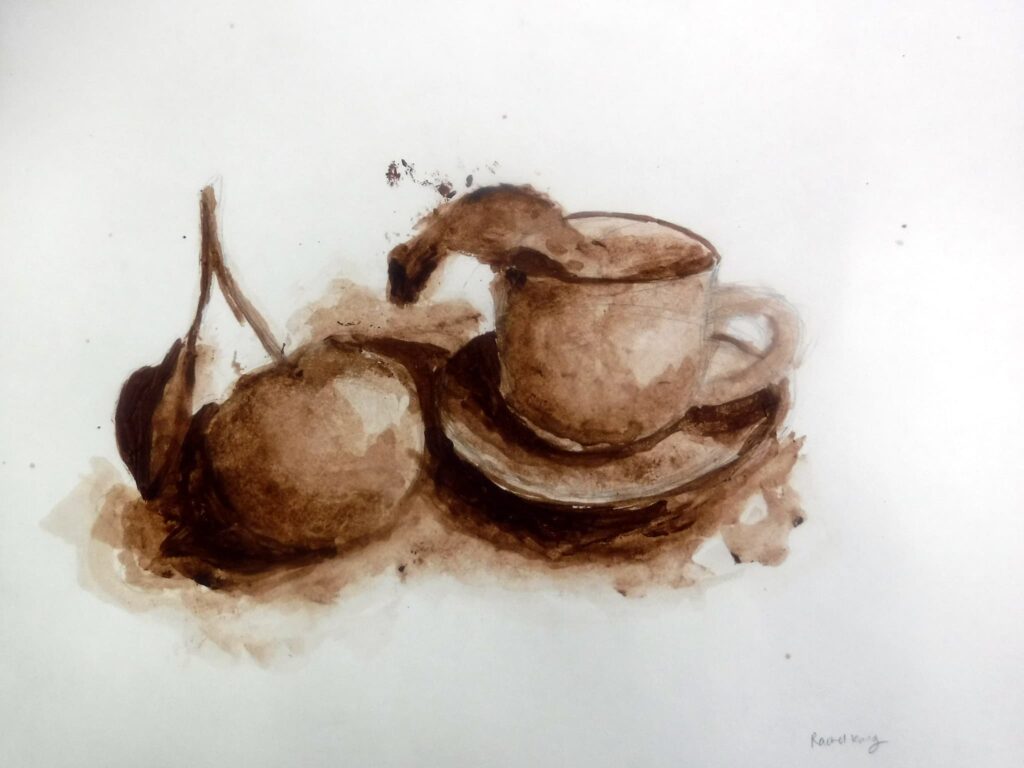
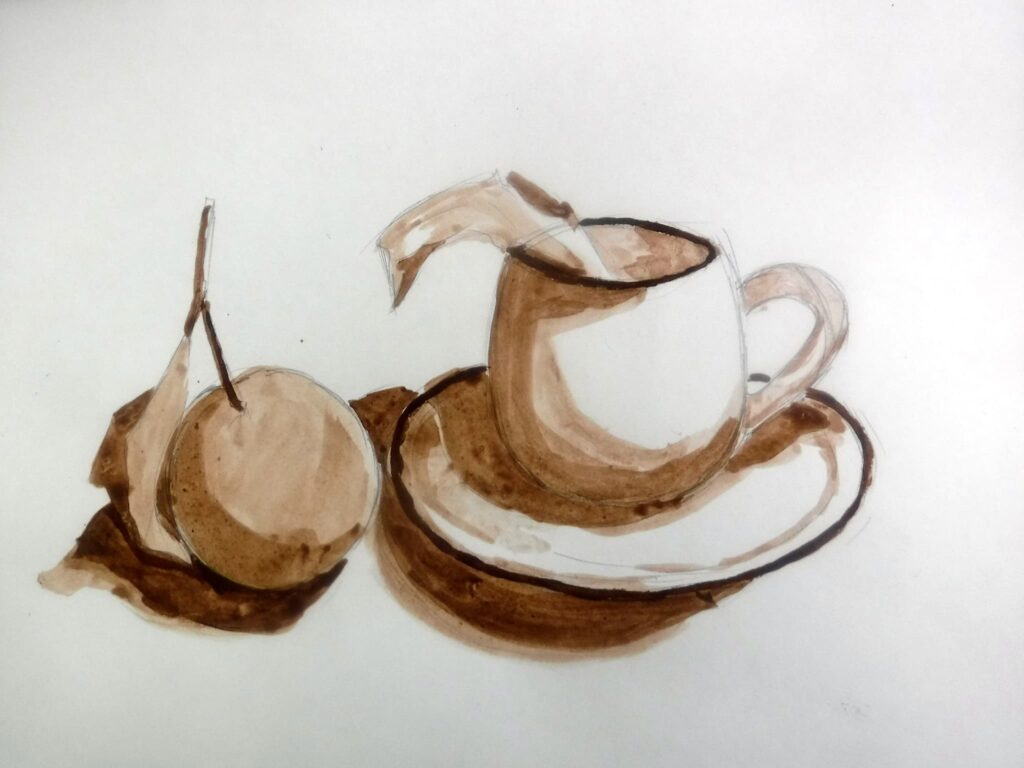
Since the start of 2021, we have already hosted students from Rosewood Elementary and Van Nuys High School. In Ms. Dror’s 3rd/4th grade class, the students shared their favorite cups in conjunction with a field trip focused on our exhibitions A Humble Legacy and Here/Now: Contemporary Narrative and Form in the Yunomi. They are also making a virtual cup exhibition which you can enjoy here.
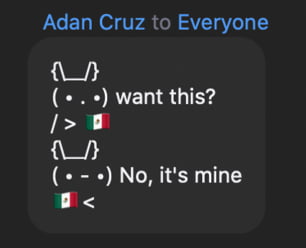
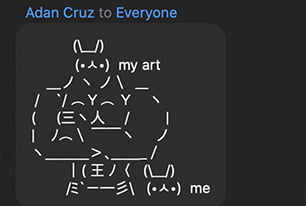
In Mr. Ruppert’s Honors U.S. History class and Ms. Price’s U.S. History class we discussed the exhibition Democracy 2020: Craft & the Election. The responses the students had to the societal issues the artists were addressing in their works were powerful. When asked the different ways that they exercise their democracy, since they are not old enough to vote, they proudly said that they protest, use social media, donate to political causes, and make art. One student in particular shared his “meme art,” and used this illustrative method to share his thoughts on the craft objects that we were discussing.
I reflect often on the moving responses the students had to the pieces we talked about. Their excitement is what makes teaching so rewarding. If you are interested in participating or learning more about Craft in Schools click here to learn more or email: joan@craftinamerica.org.