Craft for Kids: Cardboard Animal Sculpture
Wendy Maruyama’s recent work, The WildLife Project, was inspired by the harm being done to African elephants. Informed by the issues and problems of poaching and its impact on wildlife, her wood sculptures of elephants bring new life to the animal. Each knot representing a desire to repair the damage done to these beautiful creatures, Maruyama connects ideals of conservation to the art of craft.
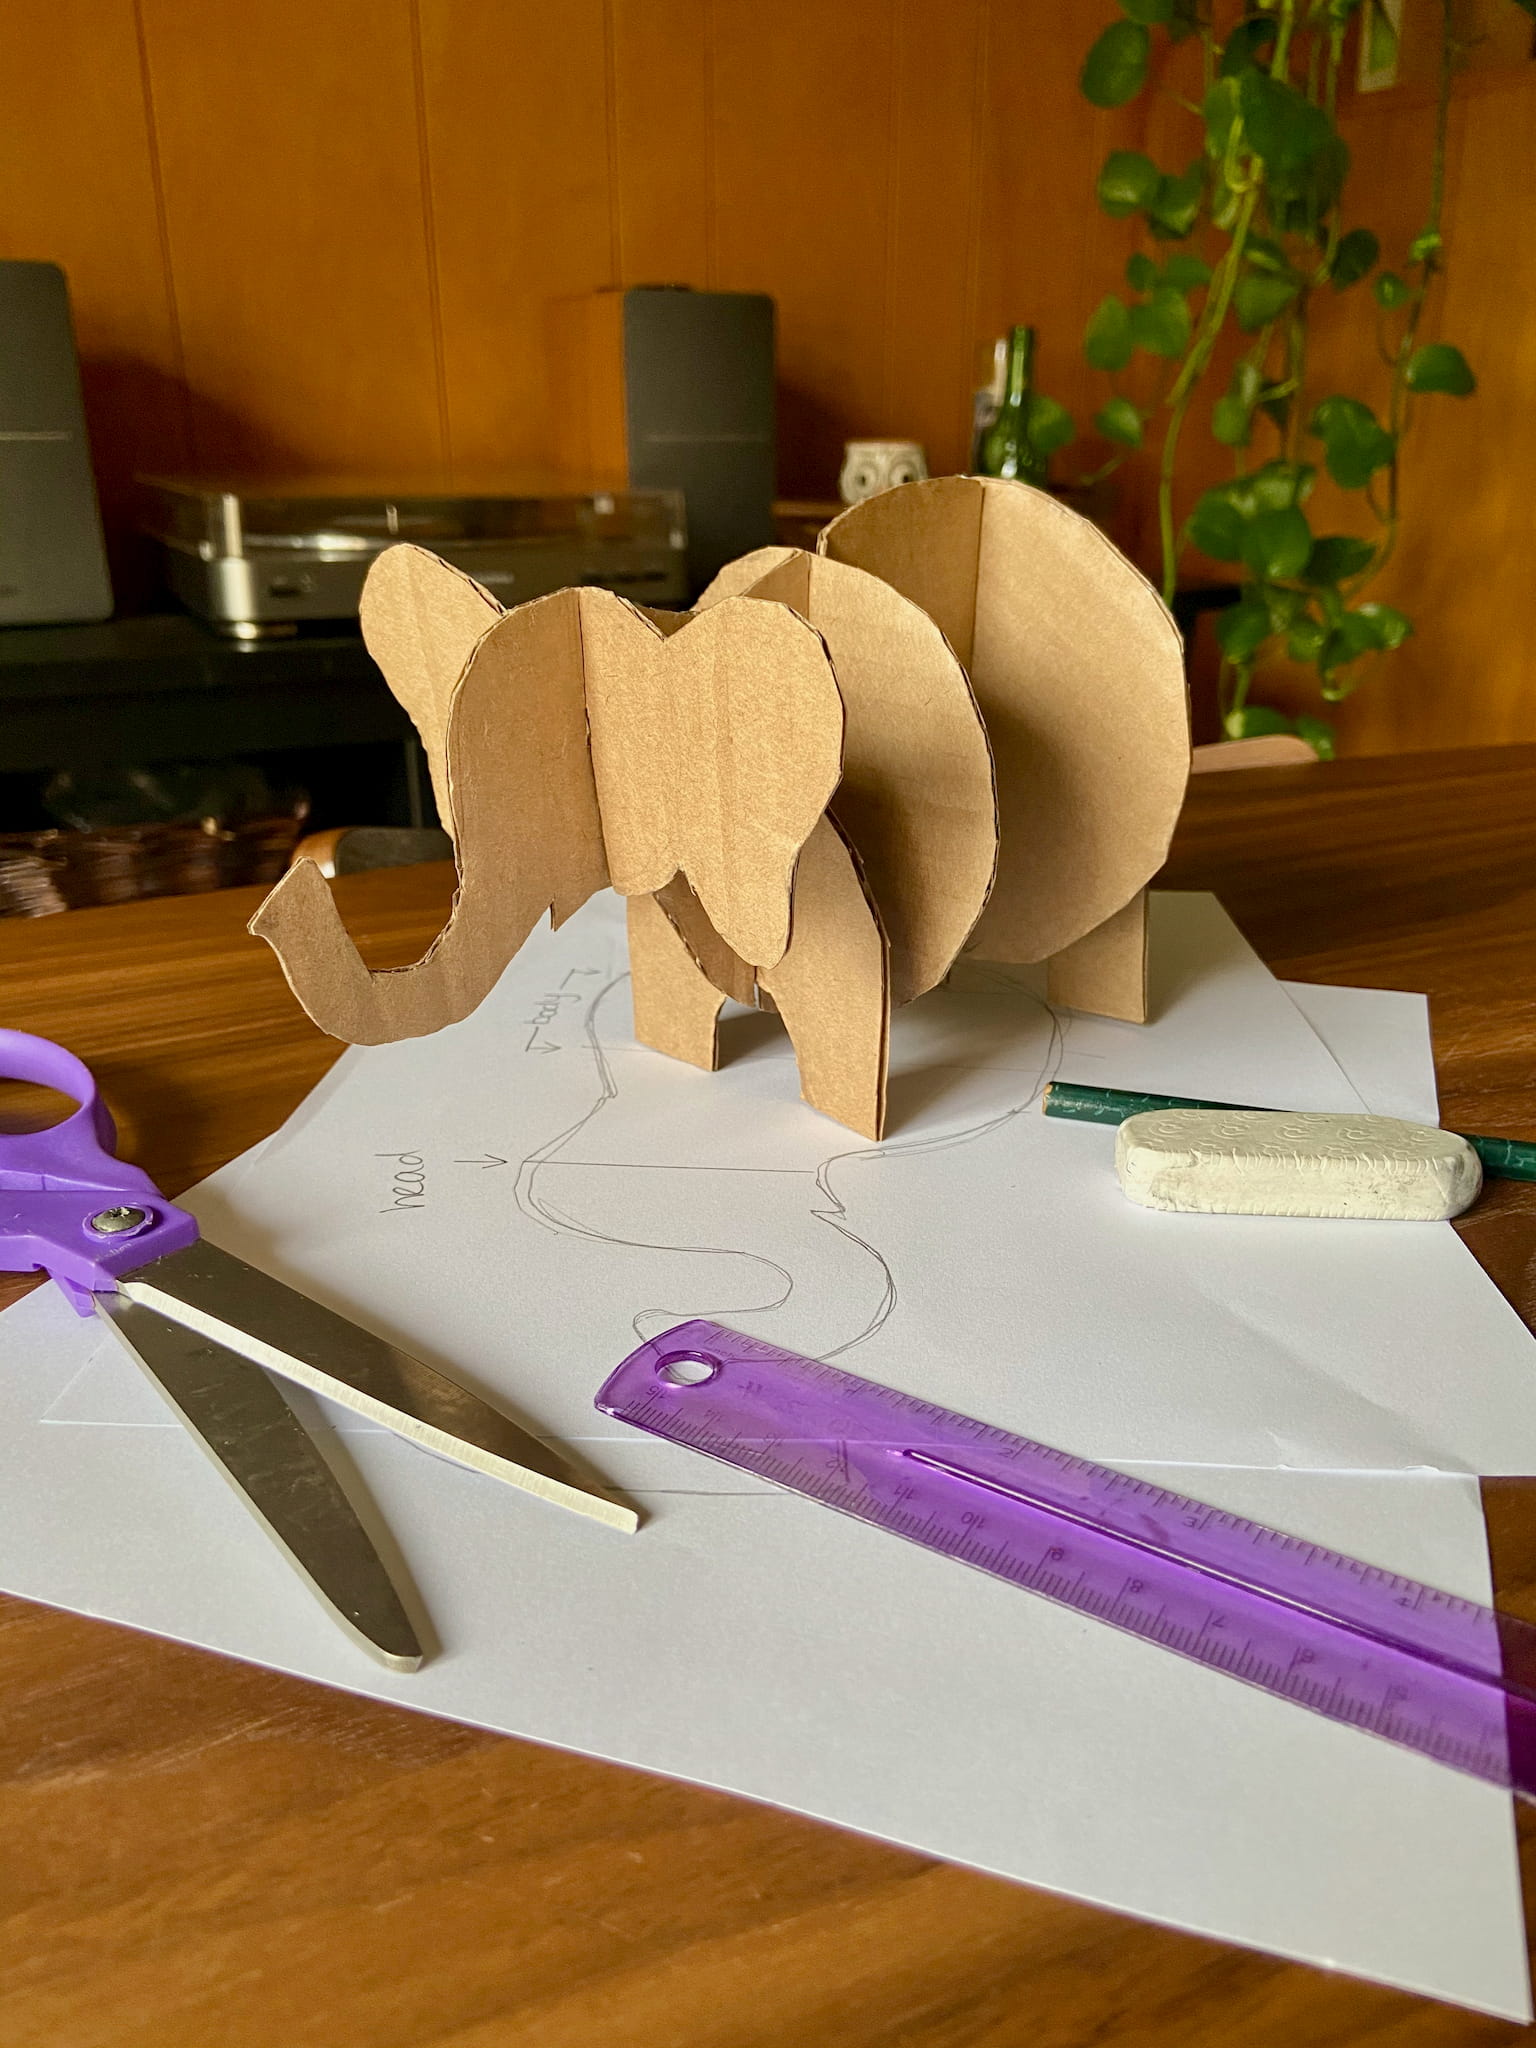
In this at-home activity, we will connect another aspect of conservation to craft: recycling! Watch the video clip from our IDENTITY episode below to learn all about Maruyama’s work, while keeping an eye out for the treasure hunt clues. Then, using recyclable materials like cardboard, create your own elephant sculpture with these simple steps!
Treasure Hunt: Watch closely! Check off these visual clues as you find them in the video.
- Woman wearing a face shield
- A dog shaking hands
- A yellow rose
- Maps as skin
- A bird hitching a ride
Hands-on Activity: Make your own elephant sculpture!
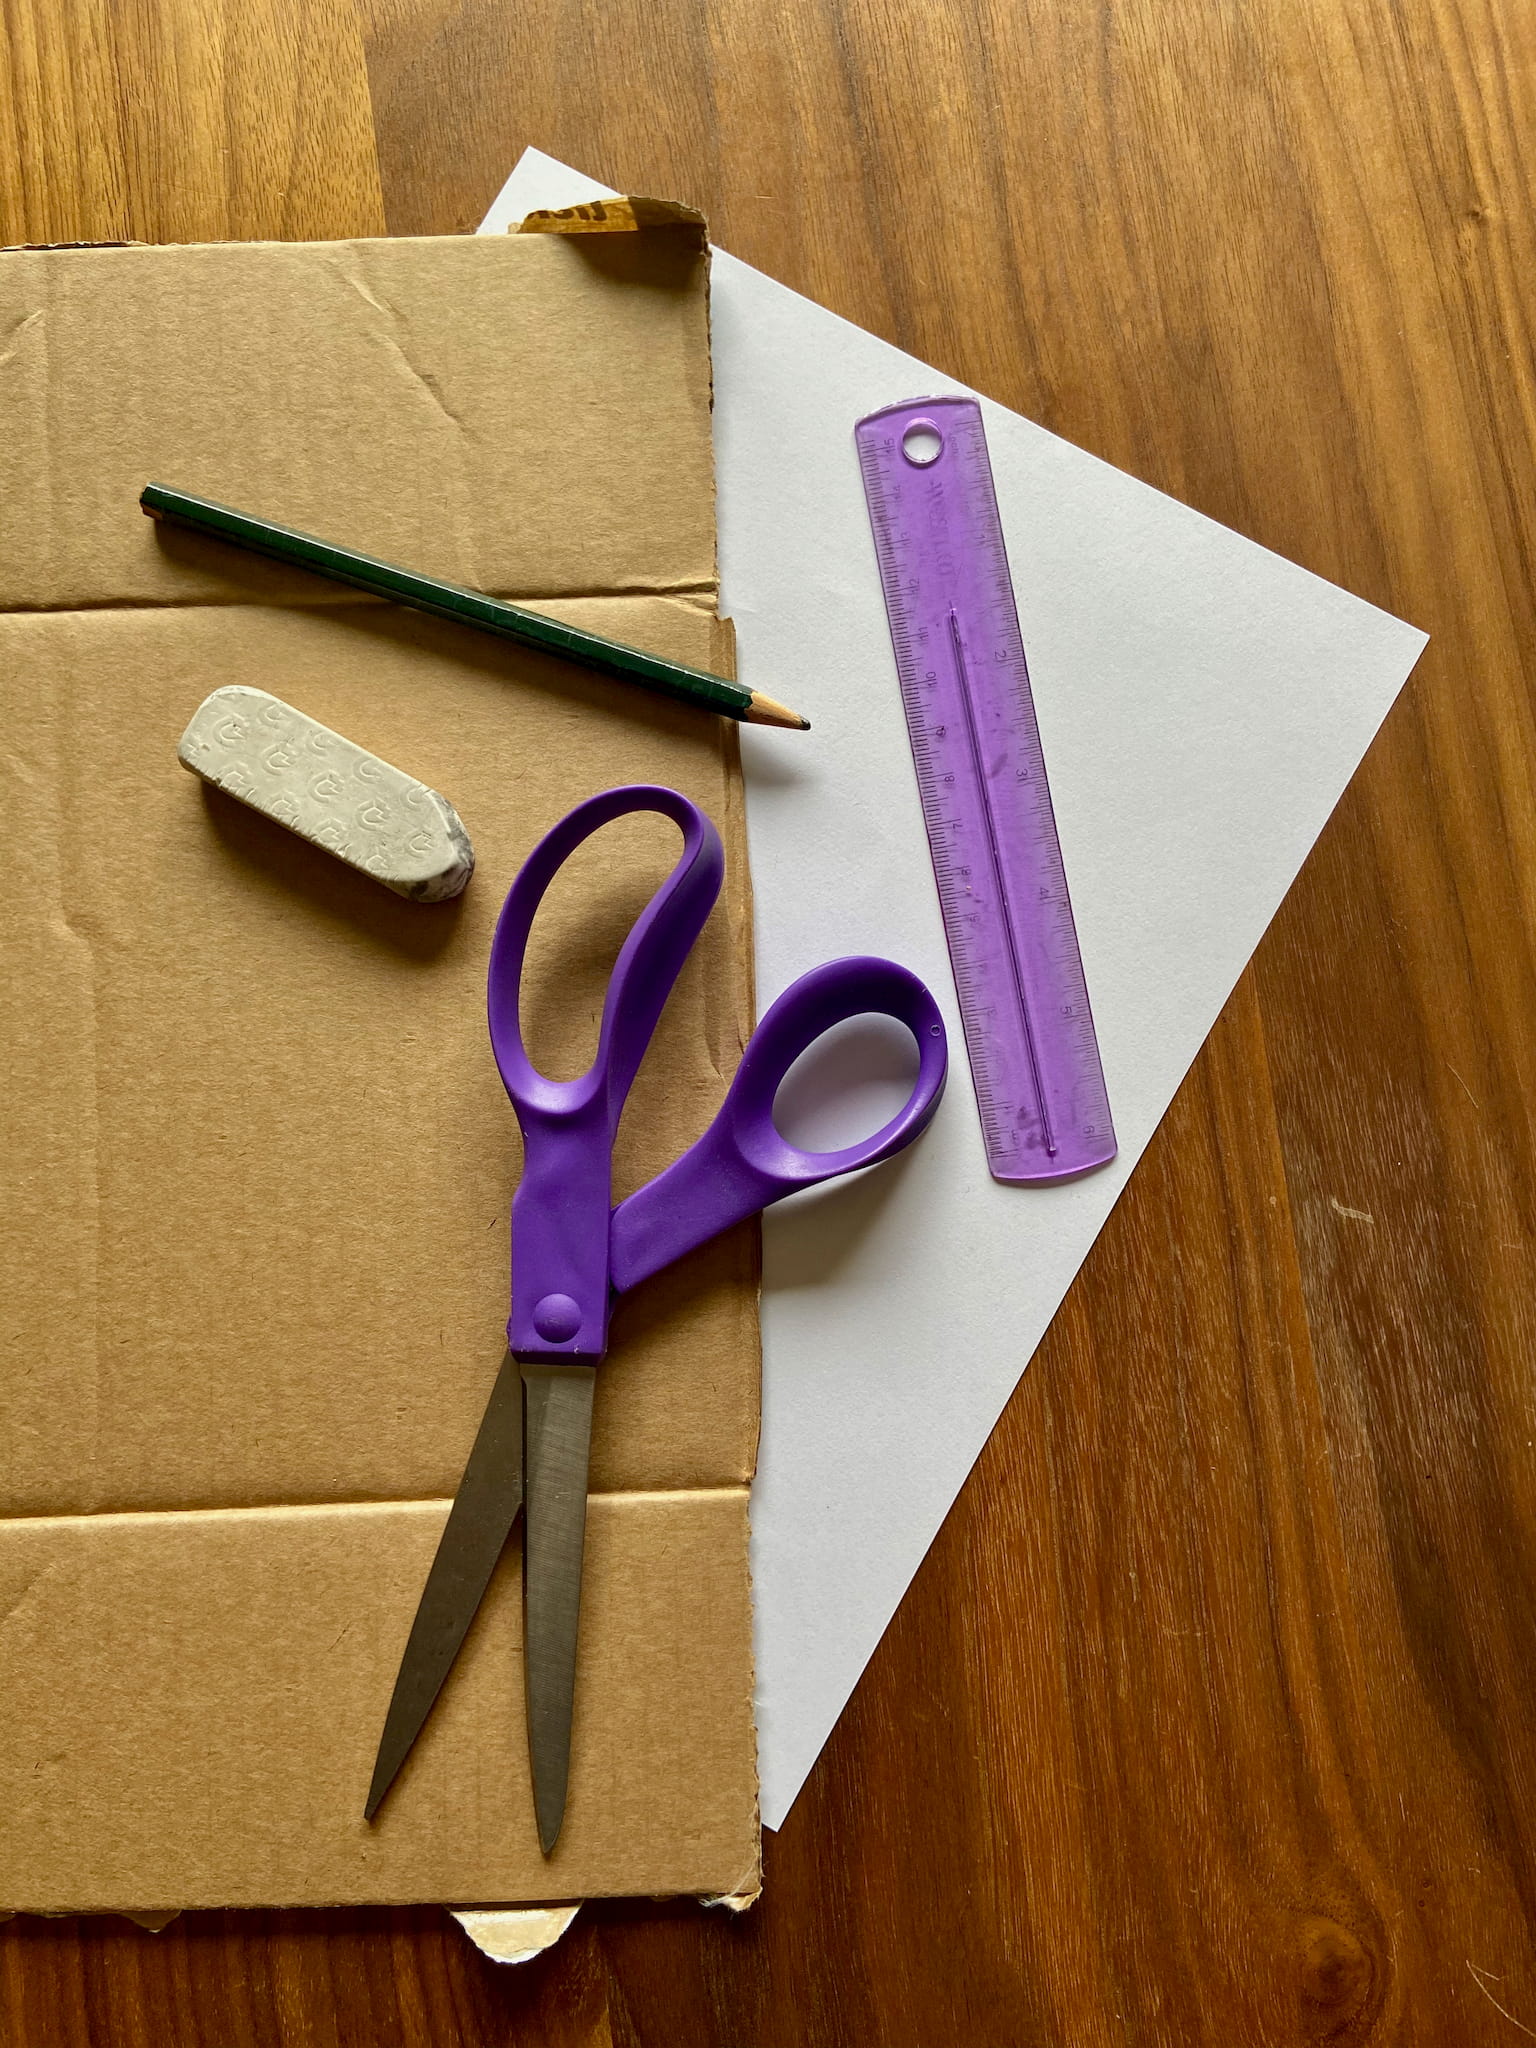
Materials:
- Scrap paper
- Scissors
- Pencil
- Ruler
- Clean cardboard
- Glue (optional)
- Paint & paintbrushes (optional)
How to:
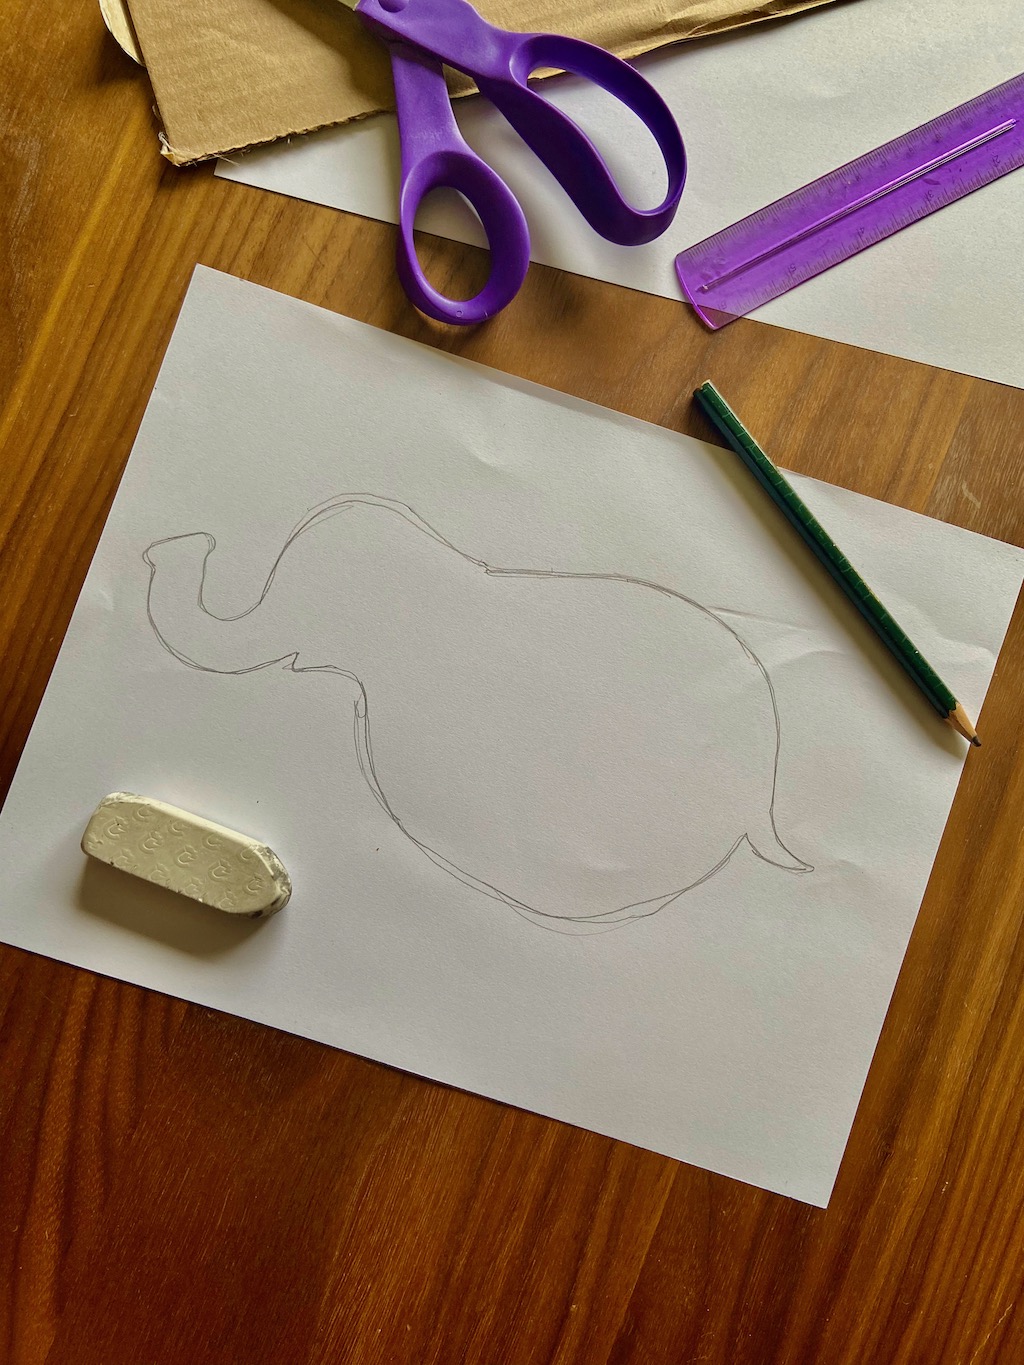
1 . Sketch out the basic shape of the elephant’s side view onto a piece of paper or directly onto the cardboard – do not include any limbs or large features. This is our base shape.
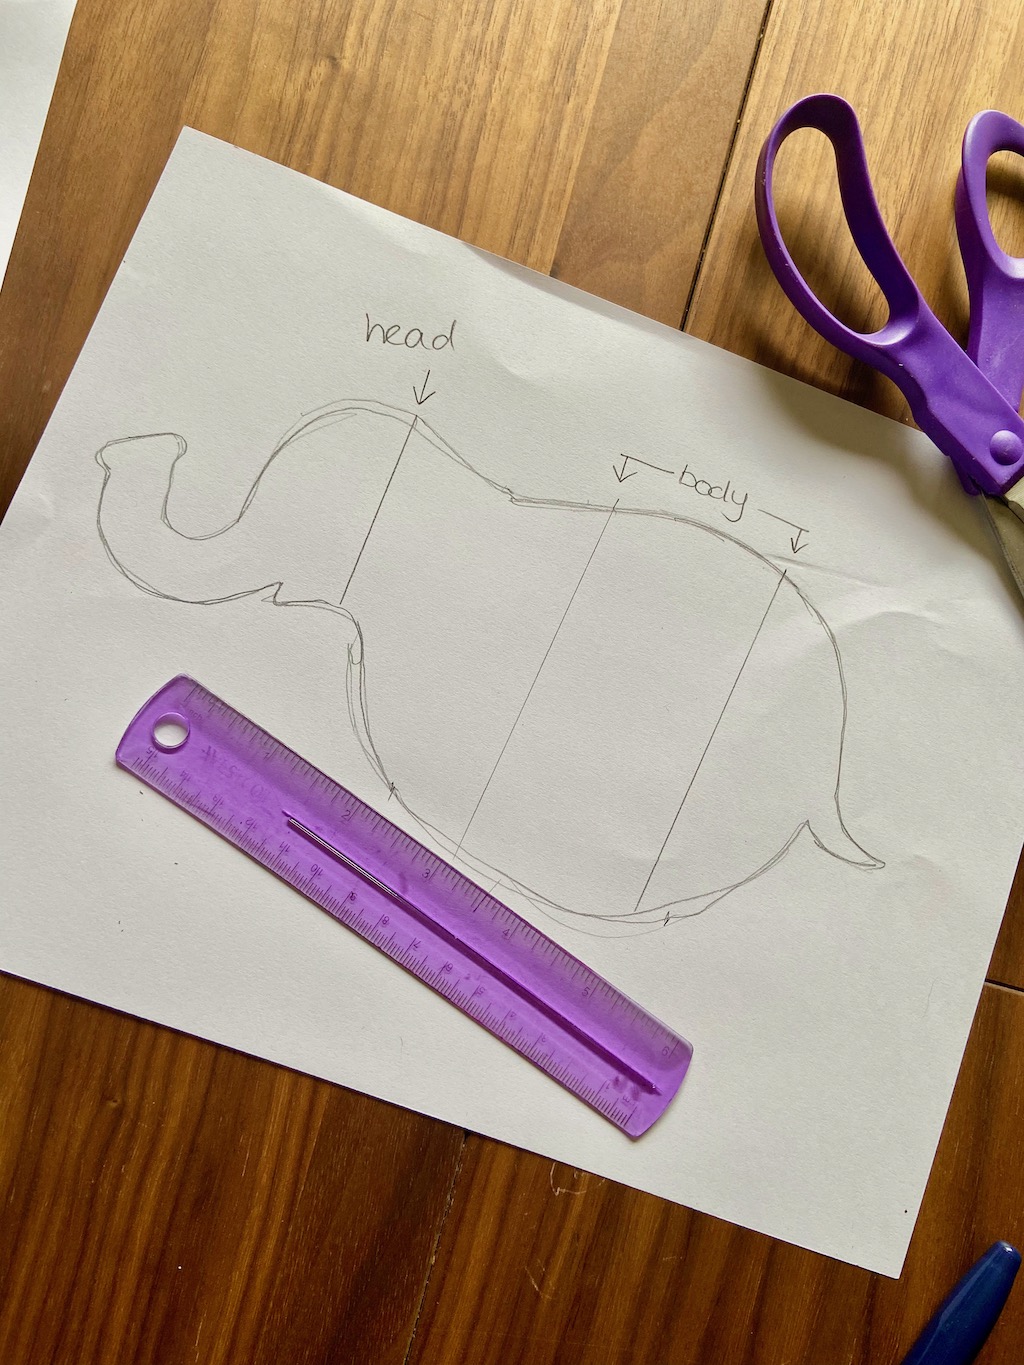
2 . Mark on the top of the base shape where the pieces for the head and body will be (Make at least 2 marks for the body). Draw a line at each mark across the base shape. Use a ruler to measure each line. Write those measurements down to help you remember!
3 . For each measurement, draw a circle with an equal diameter. You will have at least 3 circles: 2 for the body, 1 for the head.
4 . Draw ears on the smallest circle for the elephant’s head.
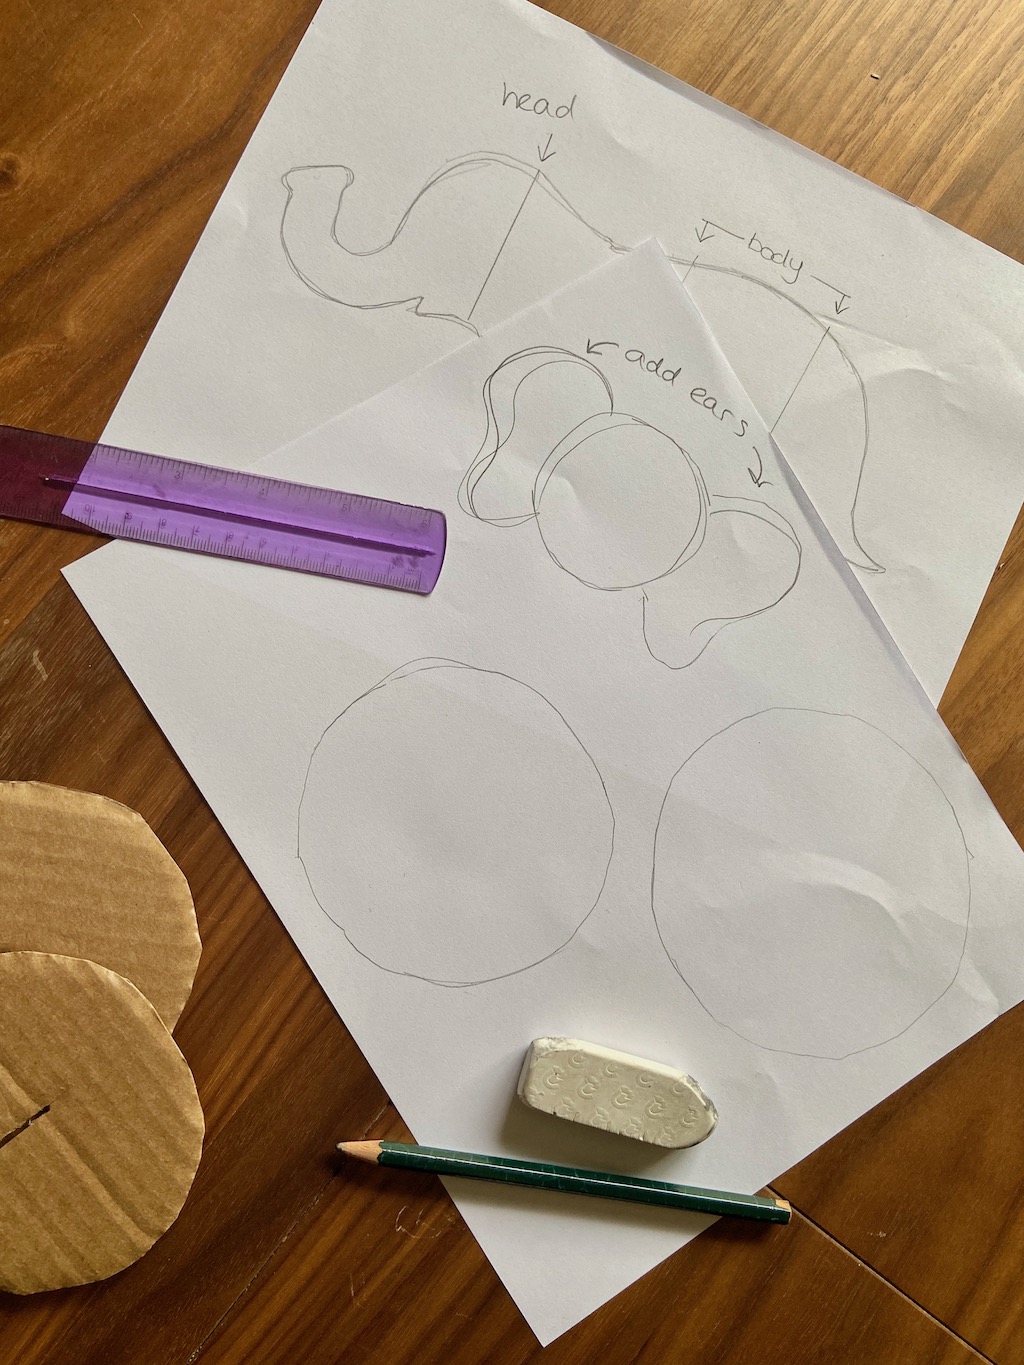
5 . Draw the shape of a pair of legs for the elephant. You will make 2 of these pieces.
6 . Cut all of these shapes out of the clean cardboard. You will have:
- The base shape
- 2 body circles
- 1 head (with ears!)
- 2 pairs of legs
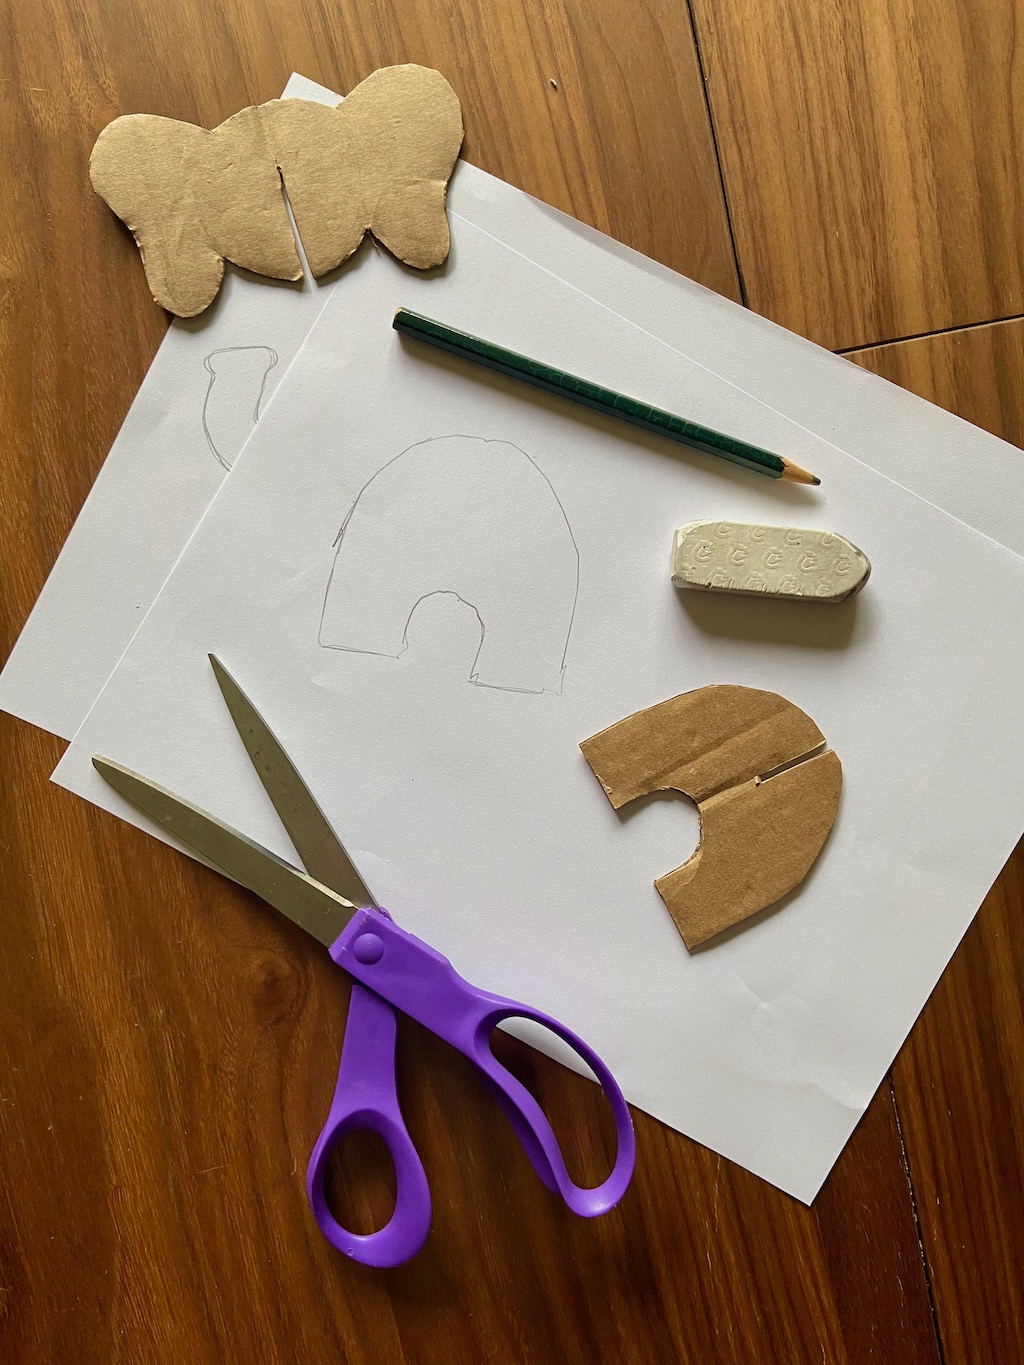
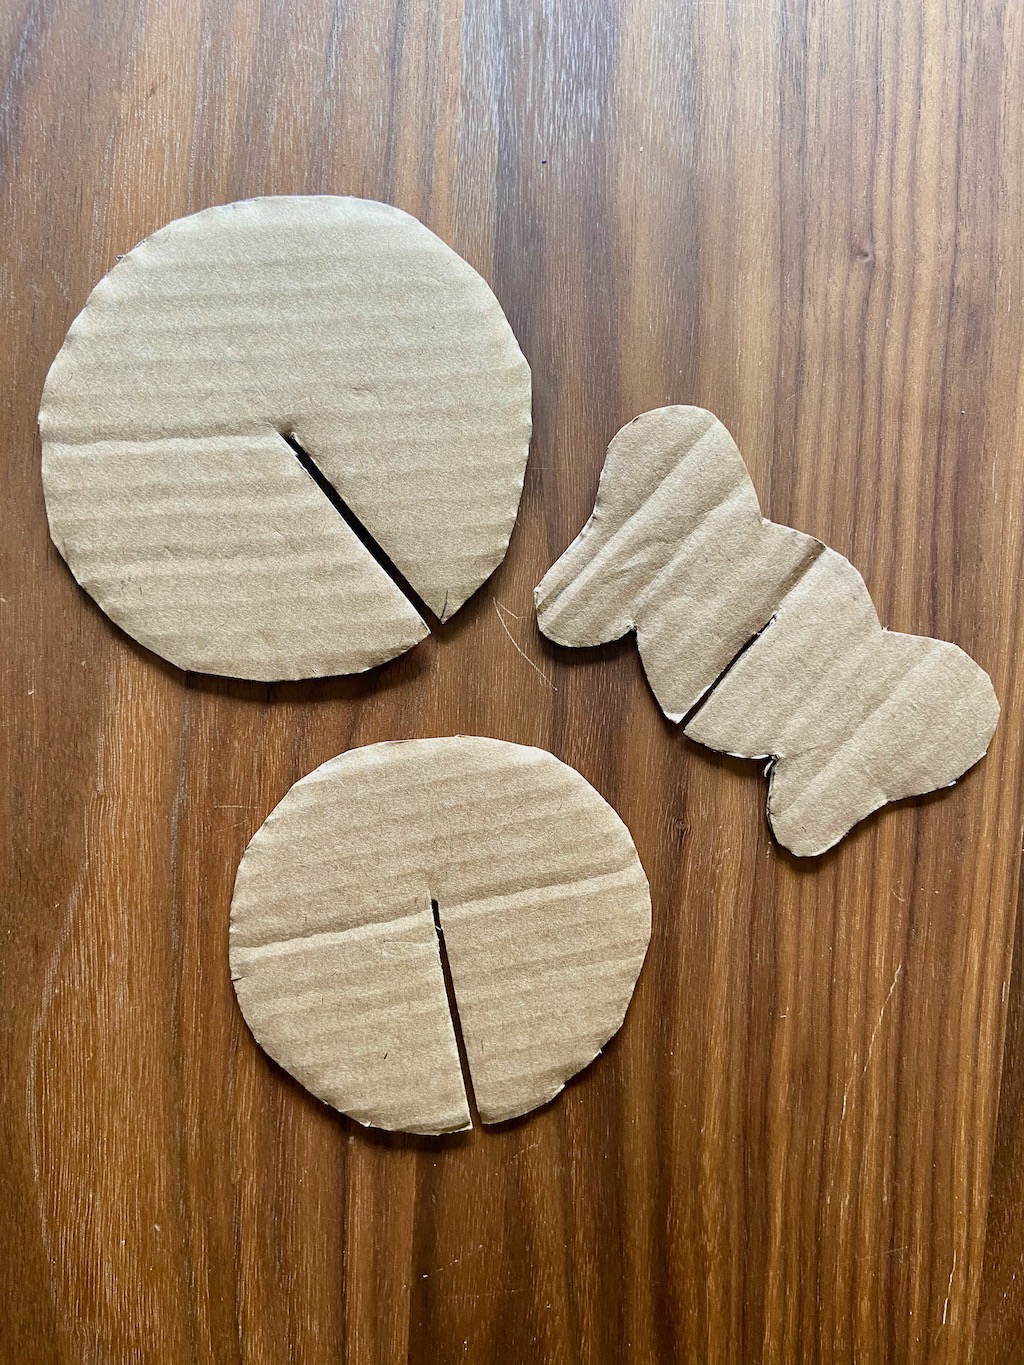
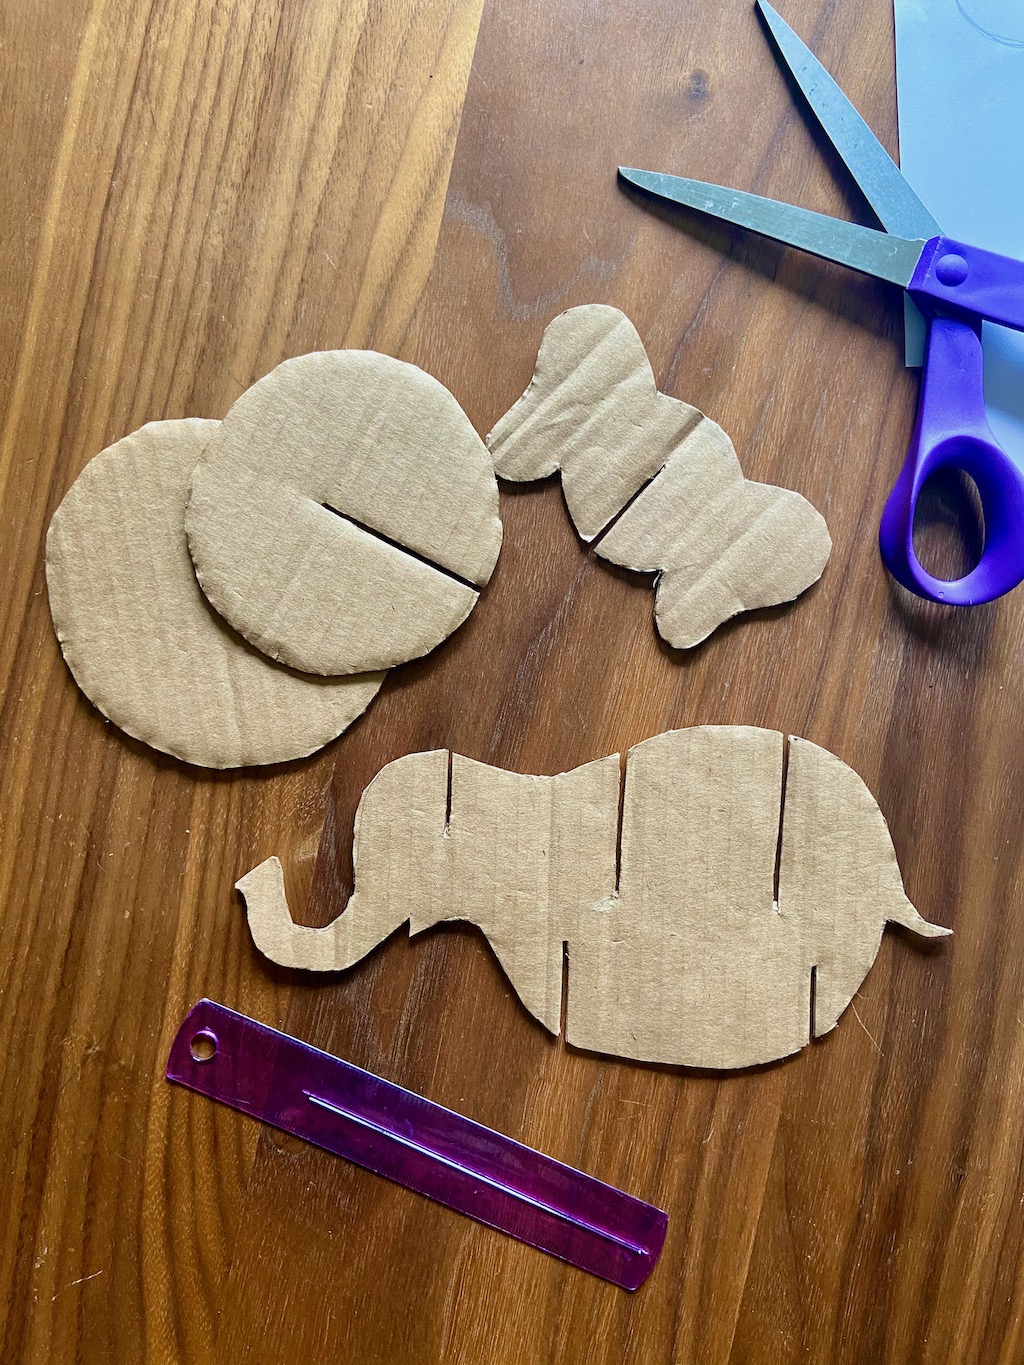
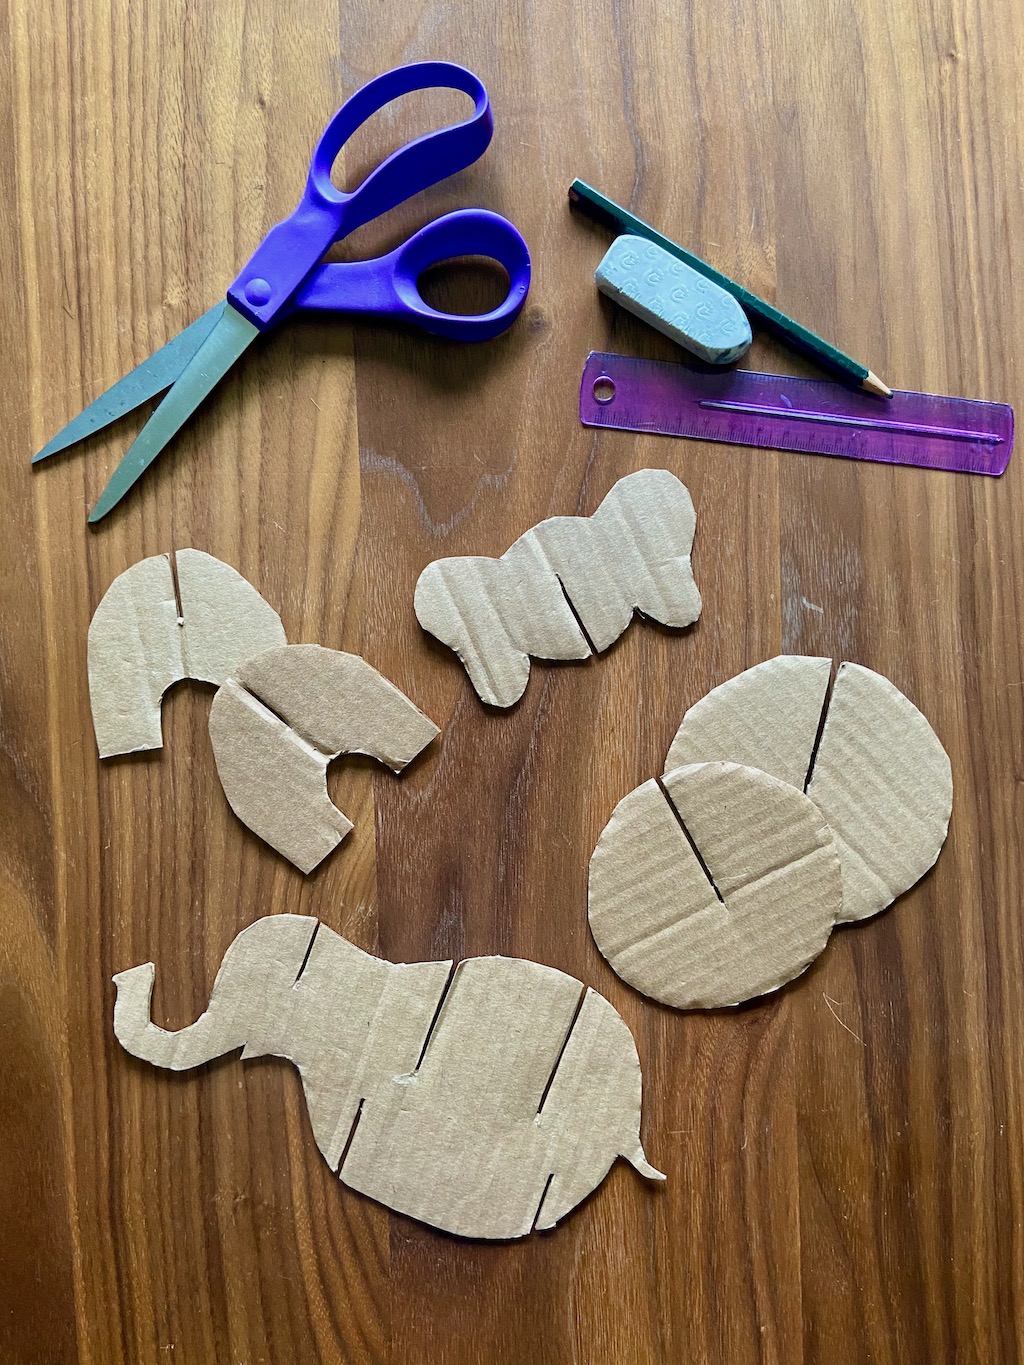
7 . Make a cut about halfway into the center of the body circles, the head, and each pair of legs. This is how the pieces will attach to the base shape.
8 . Make a cut for each piece into the base shape. Make these cuts equal in size to the cuts made in the pieces themselves. Cut the slits for the head and body pieces at the top of the base, with the legs attaching to the bottom.
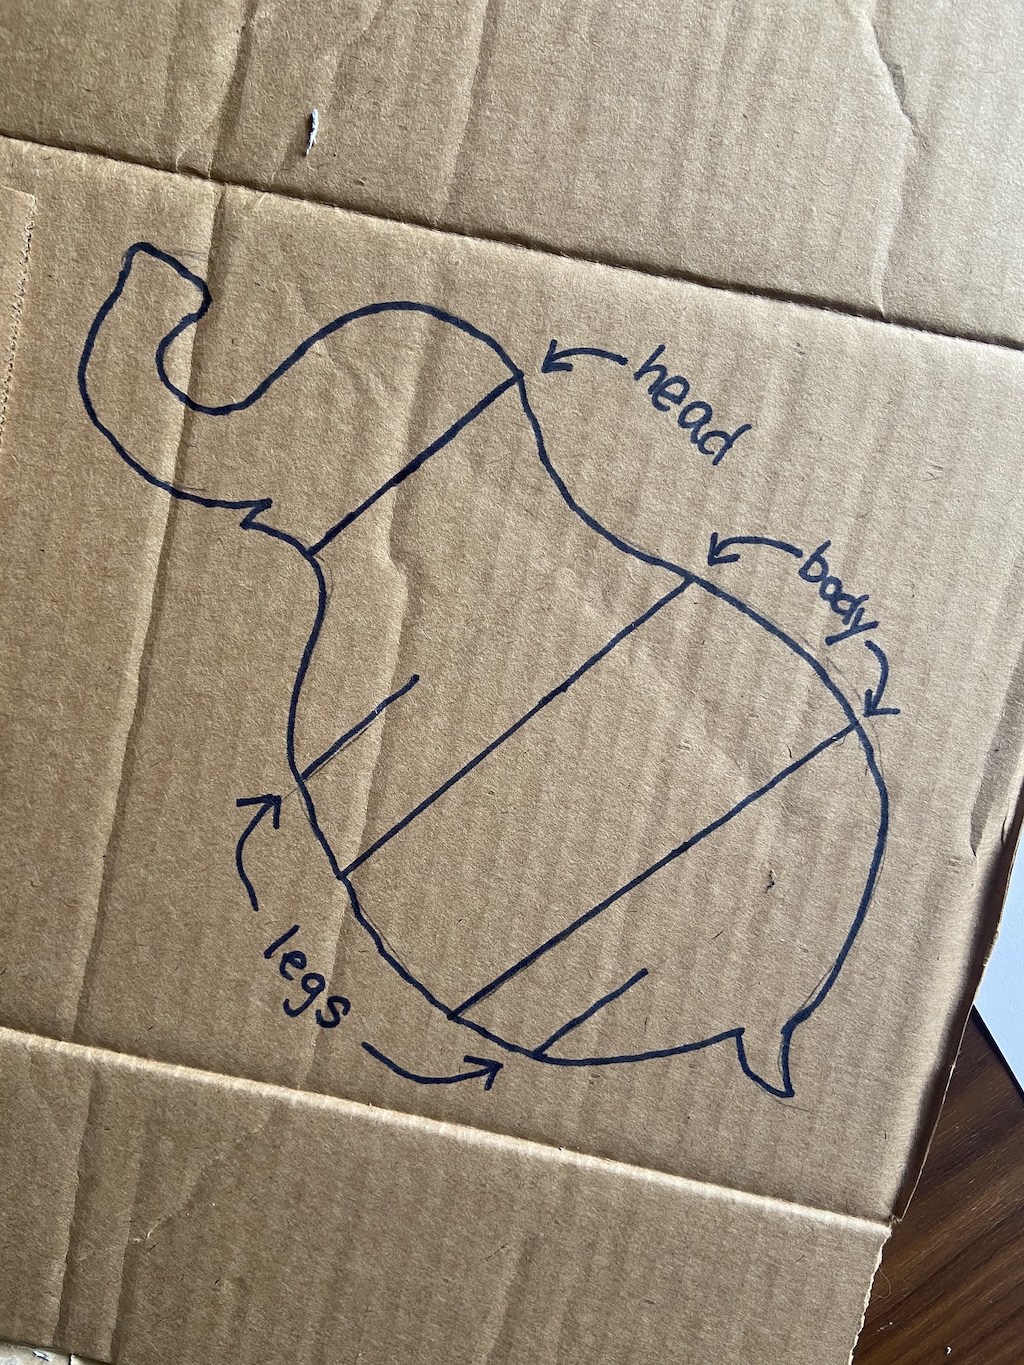
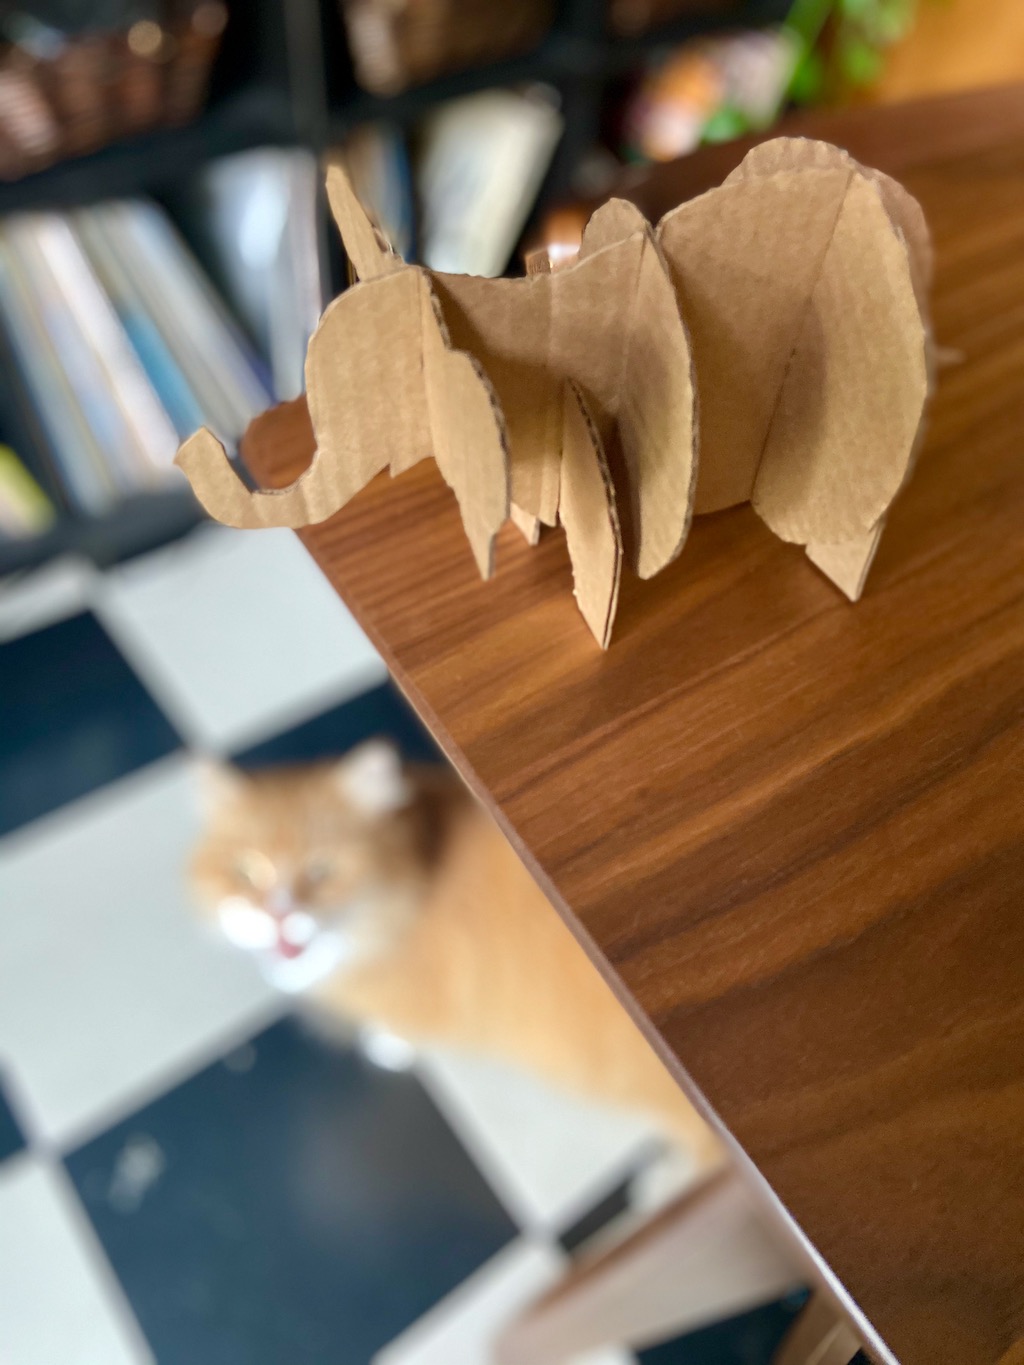
9 . Ready to assemble! Place each piece into its corresponding spot, using the cuts you have made to slide them onto the base shape and push them into place.
10 . Ta da! You have made an elephant! Feel free to use glue to keep the pieces in place permanently, or have fun taking it apart and putting it back together again. You can also decorate the cardboard with scrap or wrapping paper, paint, or markers! If you do, make sure to let the cardboard dry completely before you connect the pieces again.

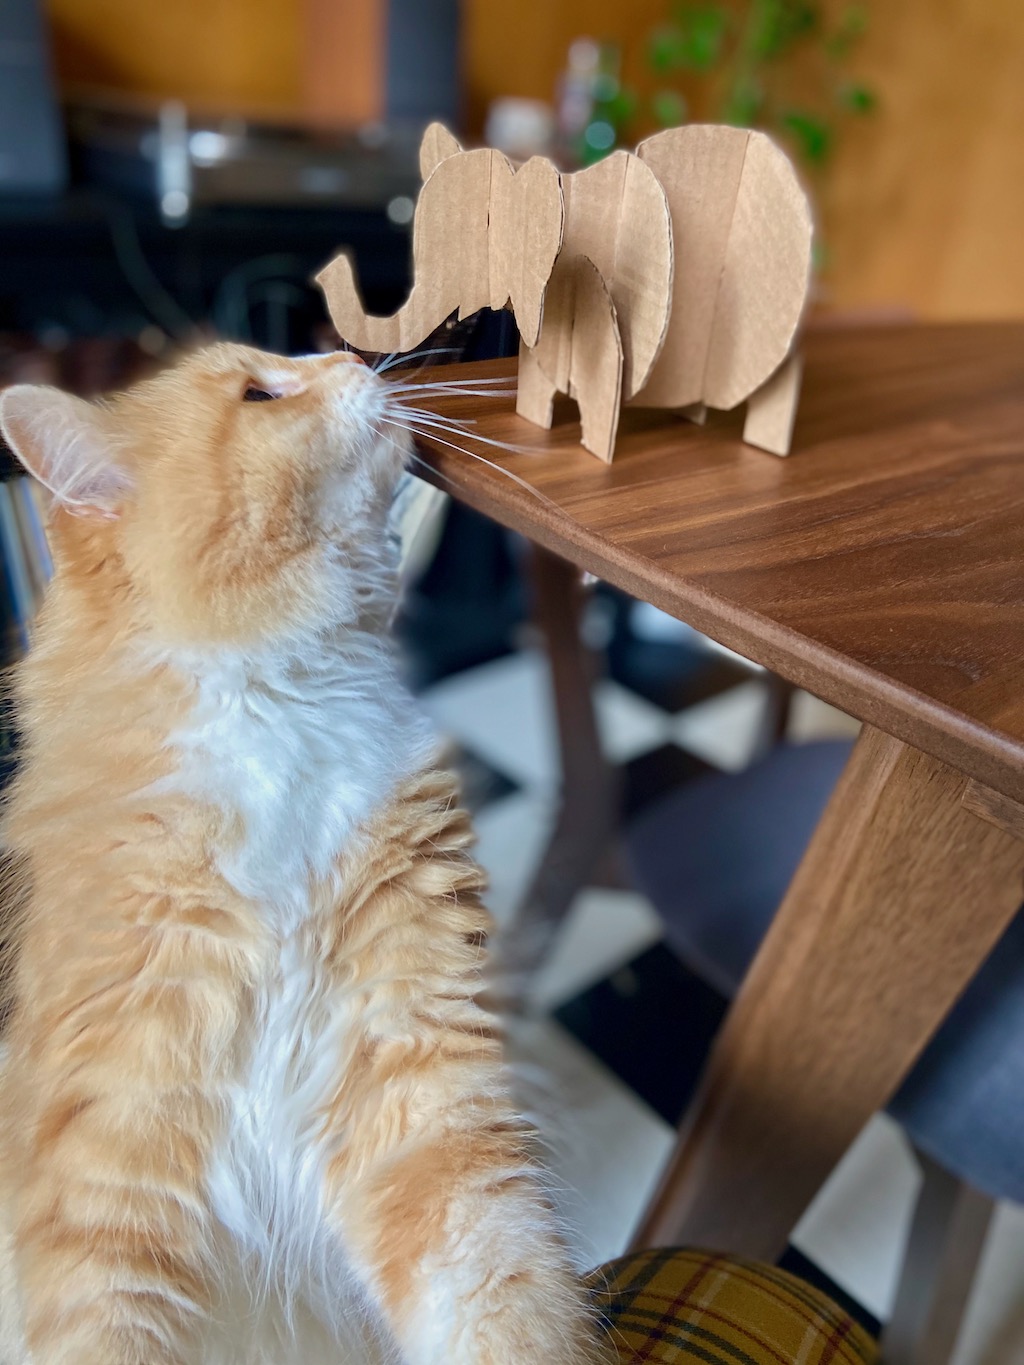
Experiment with making other animals using these same steps, but with different shapes. Get creative and happy crafting!